Need a power source where only a light bulb socket exists? How to repurpose a compact fluorescent lamp (CFL) base into a functional E27 to power outlet converter. This project provides a practical, repeatable solution for low-power device connectivity in your workshop. We focus on structural modification and secure soldering to ensure a safe and durable result for your home lighting setup.
Video Author: LifeKaki
⚡ Quick Guide: How to Make It in 7 Steps
- Carefully disassemble the compact fluorescent bulb base using pliers.
- Remove all internal electronic components to clear the housing.
- Route the electrical wires through the bulb housing base.
- Solder the wire connections to the internal screw base contacts.
- Attach power leads securely to the metal contact points.
- Install the two-pin female outlet terminal into the housing.
- Verify electrical continuity and test the completed adapter.
📋 In This Article
- Tools & Materials — what you will need for this project
- Technical Specifications — device parameters
- Disassembling the Bulb Base — opening the CFL housing
- Removing Internal Electronics — clearing the interior
- Soldering Connections — wiring the screw base
- Final Assembly and Testing — verifying the adapter
- Frequently Asked Questions (FAQ) — answers to popular questions
📊 Technical Specifications & Components
| Socket Type | E27 |
| Voltage Rating | 220-240V |
| Terminal Type | Two-pin female outlet |
| Material | Recycled CFL plastic housing |
Tools & Materials Used
🛠️ Electric Soldering Iron — BUY ON ALIEXPRESS 🛒
- Power Electric Mini Drill — BUY ON ALIEXPRESS
- DT9205A Digital Multimeter — BUY ON ALIEXPRESS
Step-by-Step Assembly & Testing
Disassembling the Bulb Base
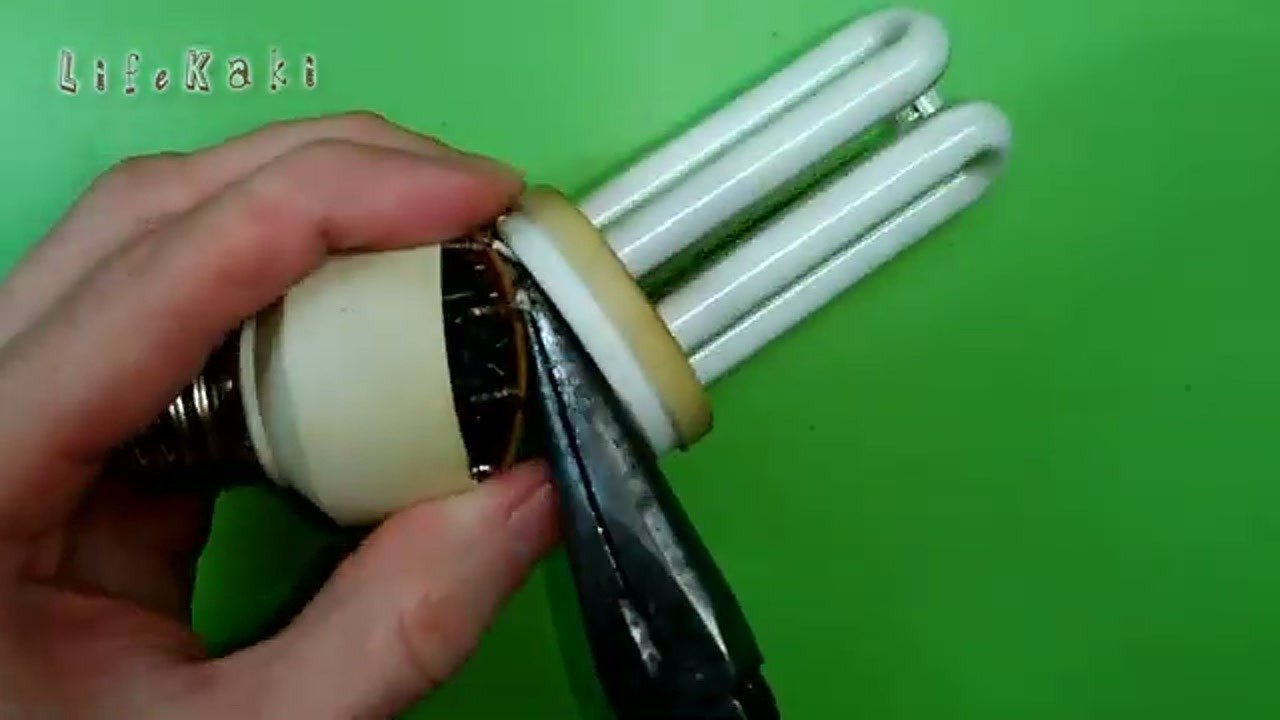
Begin by separating the plastic base of the compact fluorescent lamp from the glass tube. Use a pair of sturdy pliers to pry the seams apart carefully. This step requires patience to avoid cracking the plastic housing. Once the tube is detached, the internal cavity becomes accessible. Ensure all glass shards are removed safely before proceeding to the next stage.
Removing Internal Electronics
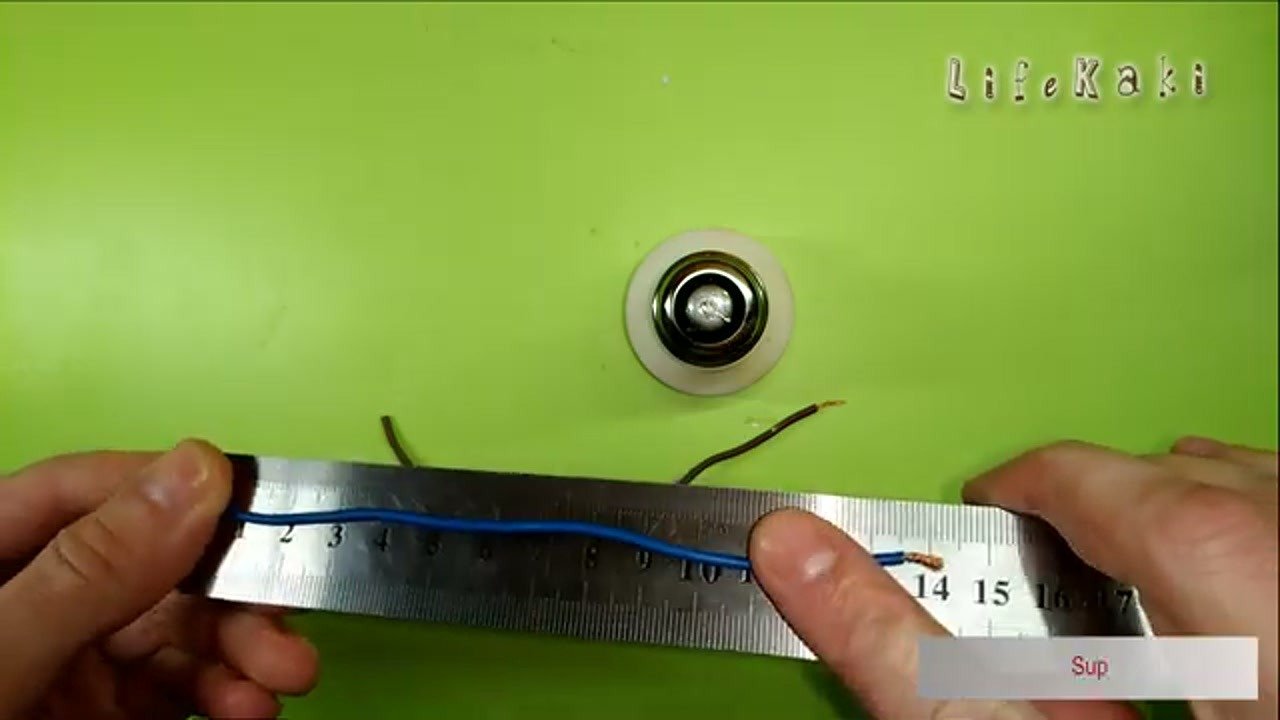
Extract the original ballast and electronic components from inside the base. These parts are no longer needed for the power adapter conversion. Use a small screwdriver or pliers to disconnect any remaining wires attached to the internal contacts. Clean the interior thoroughly to make room for the new wiring. A clear housing ensures the new connections will fit without interference.
Soldering Connections
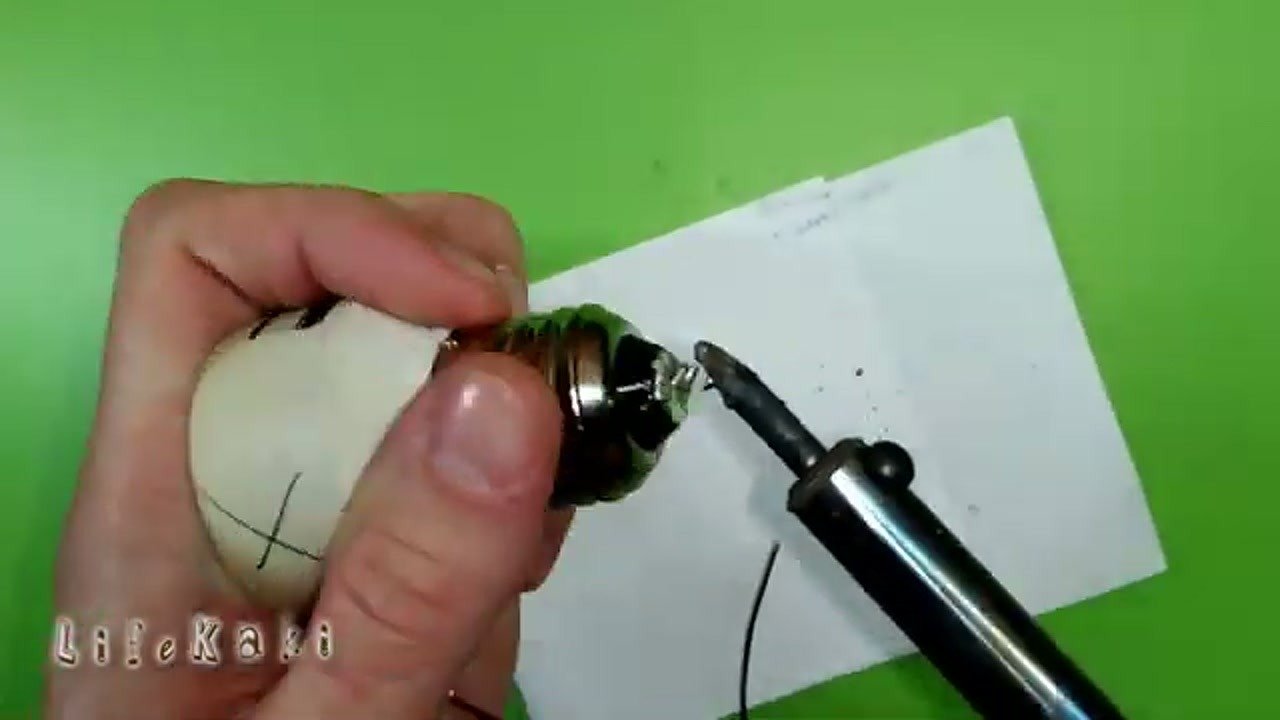
Prepare the electrical wires by stripping the ends and applying flux for a clean solder joint. Solder the wires directly to the screw base contacts to ensure a solid electrical path. Use the soldering iron at an appropriate temperature to avoid melting the surrounding plastic. Check each connection for cold solder joints that might cause resistance. Proper soldering is critical for the reliability of the final unit.
Attaching Power Leads
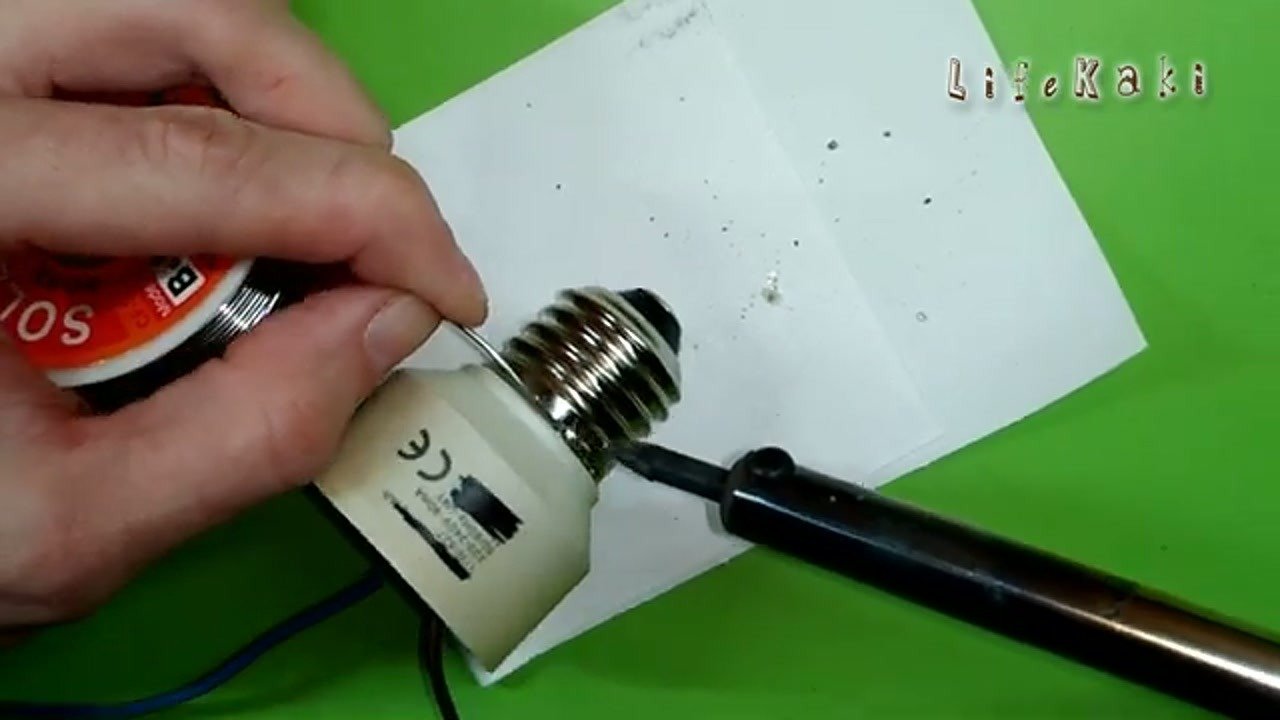
Secure the power leads to the metal contact points of the screw base. Ensure the wires are routed correctly through the housing to prevent short circuits. Use heat shrink tubing or electrical tape if necessary to insulate exposed conductors. Tighten all mechanical connections to prevent movement during use. This creates a stable foundation for the female outlet terminal.
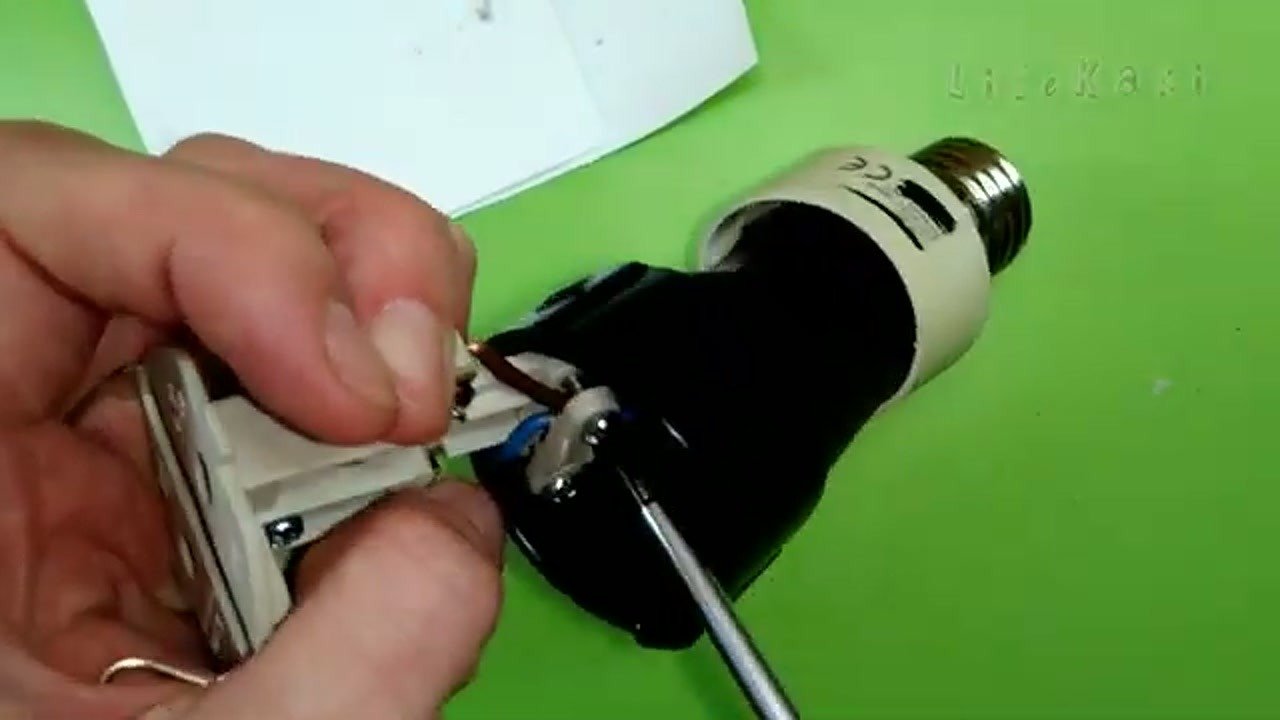
Securing the Terminal Housing
Insert the two-pin female outlet terminal into the modified housing. Use a screwdriver to fix the terminal in place, ensuring it sits flush with the base. Check that the internal wires are not pinched or strained during this installation. The goal is a compact and secure unit that fits standard E27 sockets. Verify the alignment of the pins for easy plug insertion.
Inspecting the Final Assembly
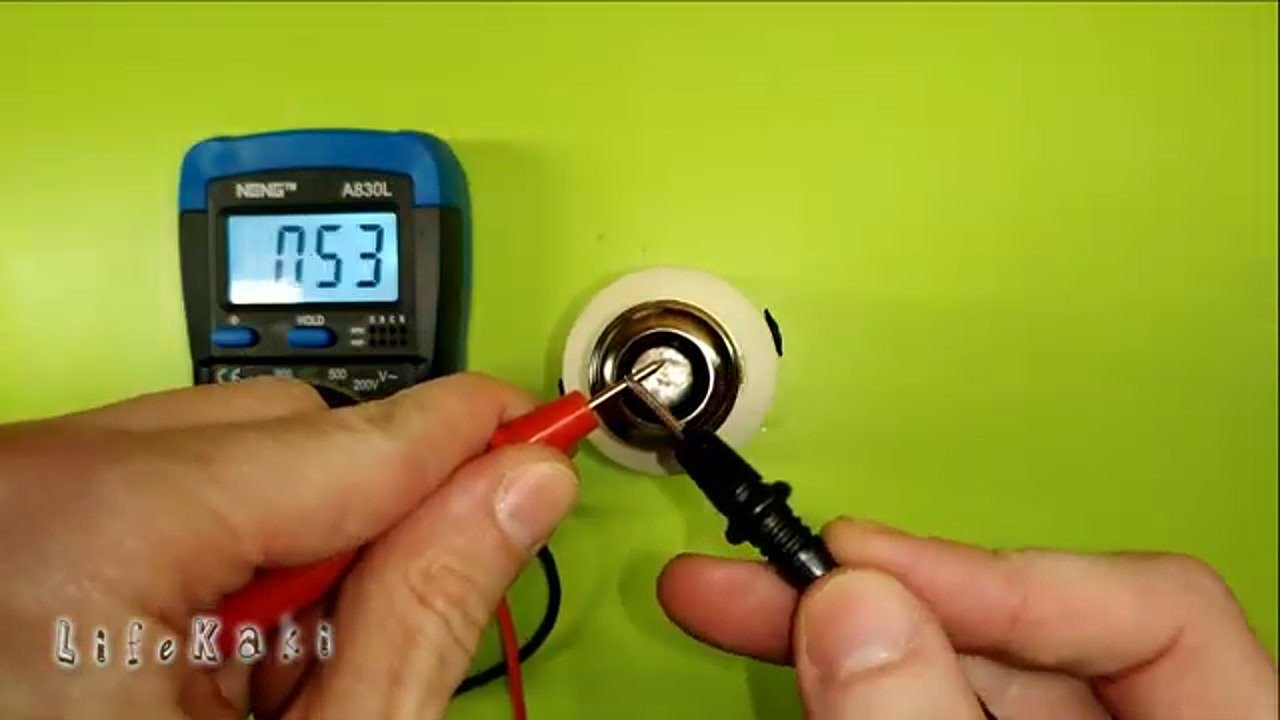
Perform a continuity test using a multimeter to verify all connections. Set the meter to resistance mode and check for a clear path between the screw base and the outlet terminals. Ensure there is no accidental short circuit between the live and neutral lines. A successful test confirms the adapter is ready for safe use. Always double-check your work before connecting to mains power.
Final Verification
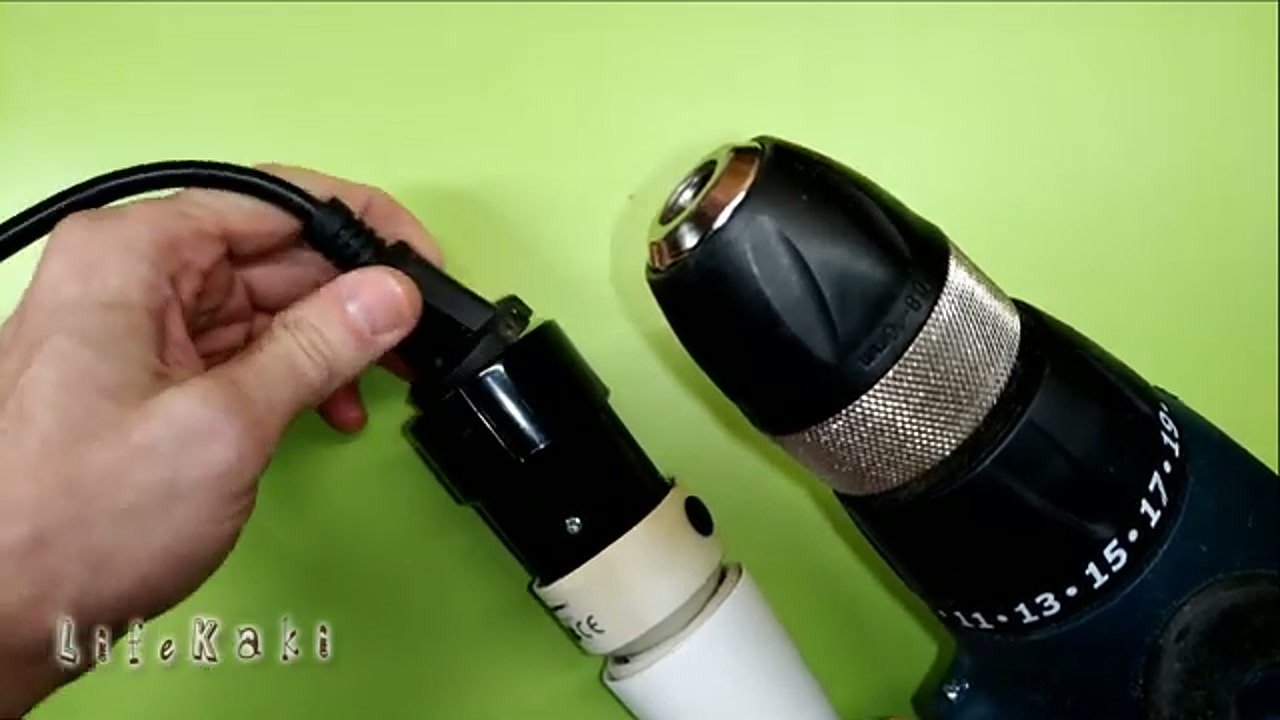
Plug a power cord into the newly created adapter to perform a final functional test. Ensure the fit is snug and the adapter remains stable in the socket. Observe the device for any signs of overheating or buzzing during initial operation. This final step confirms the project is successful and ready for practical application. Your custom E27 to power outlet adapter is now complete.
⚠️ CAUTION: SAFETY WARNING!
Warning: This project involves working with electrical components that connect to mains voltage. Always ensure the light fixture is completely disconnected from the power supply before starting. Improper wiring can lead to electrical shock or fire hazards. Use proper insulation for all internal connections and do not exceed the power rating of the original socket wiring.
Summary & Tips
Repurposing a CFL base into an E27 to power outlet adapter is a practical way to add utility to existing light sockets. By following these steps, you create a functional, low-power connection point for your workshop tools. Always prioritize safety and proper insulation to ensure a durable and reliable result. This DIY project is a great example of upcycling for better workshop efficiency.
📋 FAQ
❓ Is this adapter suitable for high-wattage appliances?
Answer: No. This modification is intended for low-power devices only. Ensure the total load does not exceed the rating of the original socket wiring.
❓ What safety precautions should be taken?
Answer: Always ensure the light fixture is completely disconnected from the power supply before performing any modifications. Use proper insulation for all internal connections.
❓ Can I use any light bulb base for this project?
Answer: Compact fluorescent bulb bases are preferred due to their hollow design, which provides sufficient space for internal wiring and the outlet terminal.
Disclaimer: I purchased all tools for this guide with my own money to ensure an unbiased review. This post contains affiliate links, meaning I earn a small commission if you make a purchase at no extra cost to you.
🛒 Useful Links & Products
Electric Soldering Iron
🛒 BUY ON ALIEXPRESSPower Electric Mini Drill
🛒 BUY ON ALIEXPRESSDT9205A Digital Multimeter
🛒 BUY ON ALIEXPRESS





Leave a Reply