Frequent power interruptions in electric drills often stem from simple internal wire breaks rather than motor failure. This guide provides a practical, step-by-step walkthrough for disassembling a drill, identifying faulty connections, and performing a reliable repair. By following this inspection method, you can restore your power tool to full functionality without the need for a replacement. Learn how to safely open the casing, test continuity, and clean internal components for long-term durability.
Author: LifeKaki
⚡ Quick Guide: How to Repair Your Drill in 7 Steps
- Remove the external casing screws to access the internal motor housing.
- Organize all small components and screws to prevent loss during disassembly.
- Inspect the internal wiring and motor housing for signs of debris or damage.
- Use a multimeter to test continuity and locate broken power cord connections.
- Strip the damaged wire ends and reconnect them securely to the switch mechanism.
- Clean out accumulated dust and debris to prevent future overheating.
- Reassemble the drill housing and verify operation with a final power test.
📋 In This Article
- Tools & Materials — essential items for the repair
- Technical Specifications — drill performance parameters
- Disassembly and Inspection — opening the drill casing
- Wiring and Continuity Testing — identifying electrical faults
- Repair and Reassembly — restoring connections and cleaning
- Frequently Asked Questions (FAQ) — common repair queries
📊 Technical Specifications & Components
| Model | CED-1000 Electric Drill |
| Power Supply | 230V~50Hz |
| Motor Power | 450W |
| Speed Range | 0-750rpm |
| Chuck Capacity | 10mm |
Tools & Materials Used
🛠️ Electric Soldering Iron — BUY ON ALIEXPRESS 🛒
.
Step-by-Step Assembly & Testing
Disassembly and Casing Removal
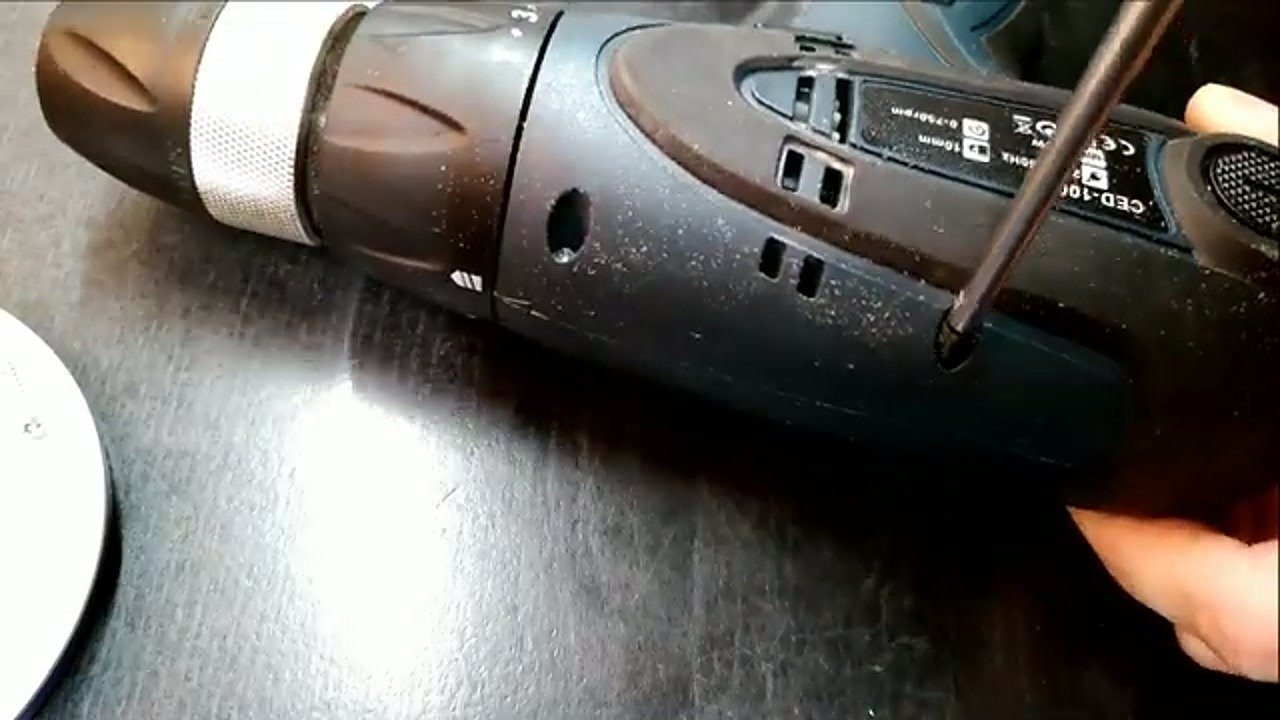
Grab a Phillips screwdriver and back out every single screw on the outer shell. Pry the plastic halves apart. Don’t yank it, or you’ll snap the trigger wires. Dump the screws into a magnetic tray. Check the motor housing right away for melted plastic or scorch marks.
Internal Wiring Inspection
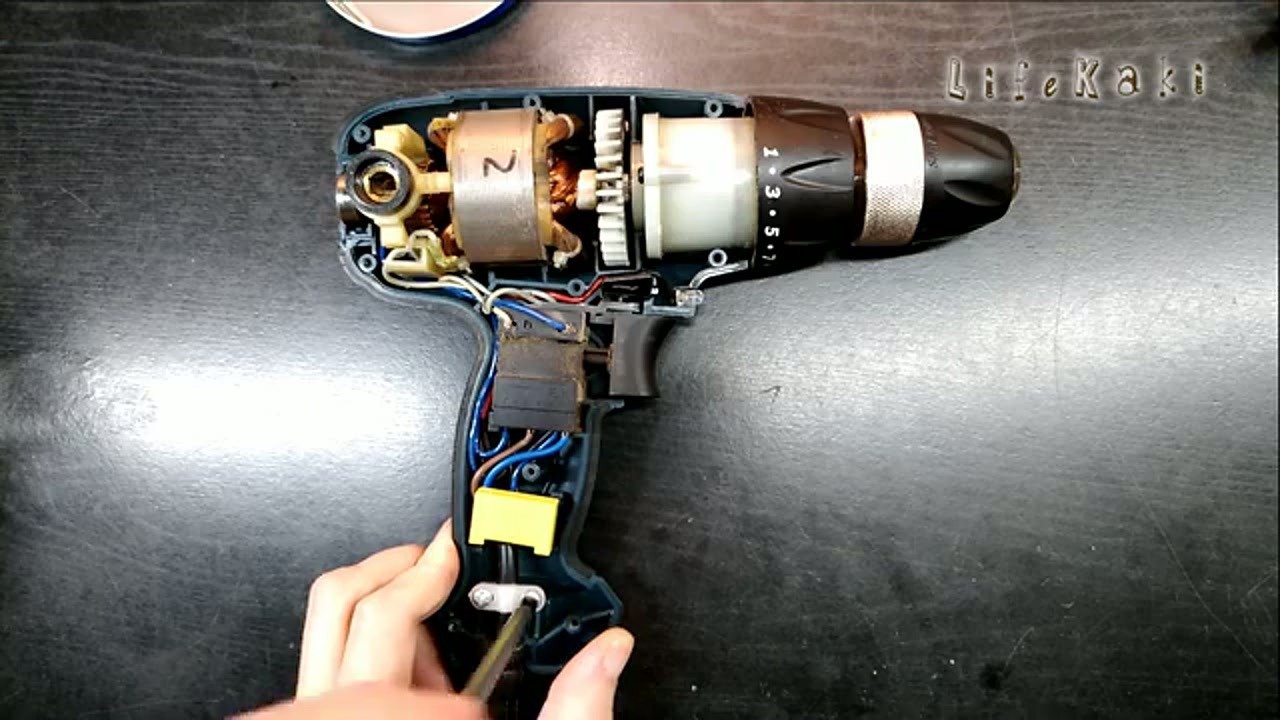
Trace the thick power cord straight to the trigger switch. Inspect the copper strands for fraying or pinch points. Grab your multimeter. Set it to continuity mode and probe the plug prongs against the internal switch terminals. A silent meter means a dead cable.
Stripping and Reconnecting Wires
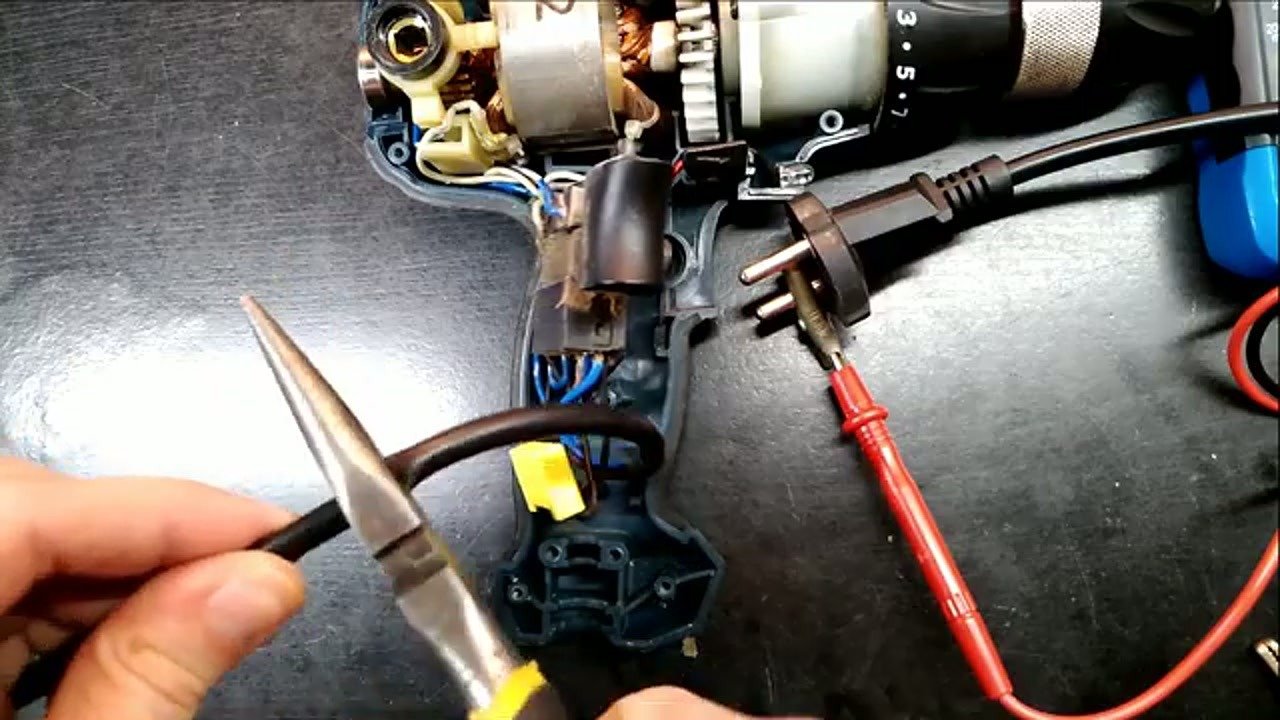
Snip off the damaged wire section entirely. Strip back a quarter-inch of fresh insulation. Twist the bare copper strands tight. Heat up the soldering iron and melt a solid bead of rosin-core solder directly onto the switch terminal. Push the tinned wire into the molten pool. Hold it steady until the joint turns dull.
Cleaning and Maintenance
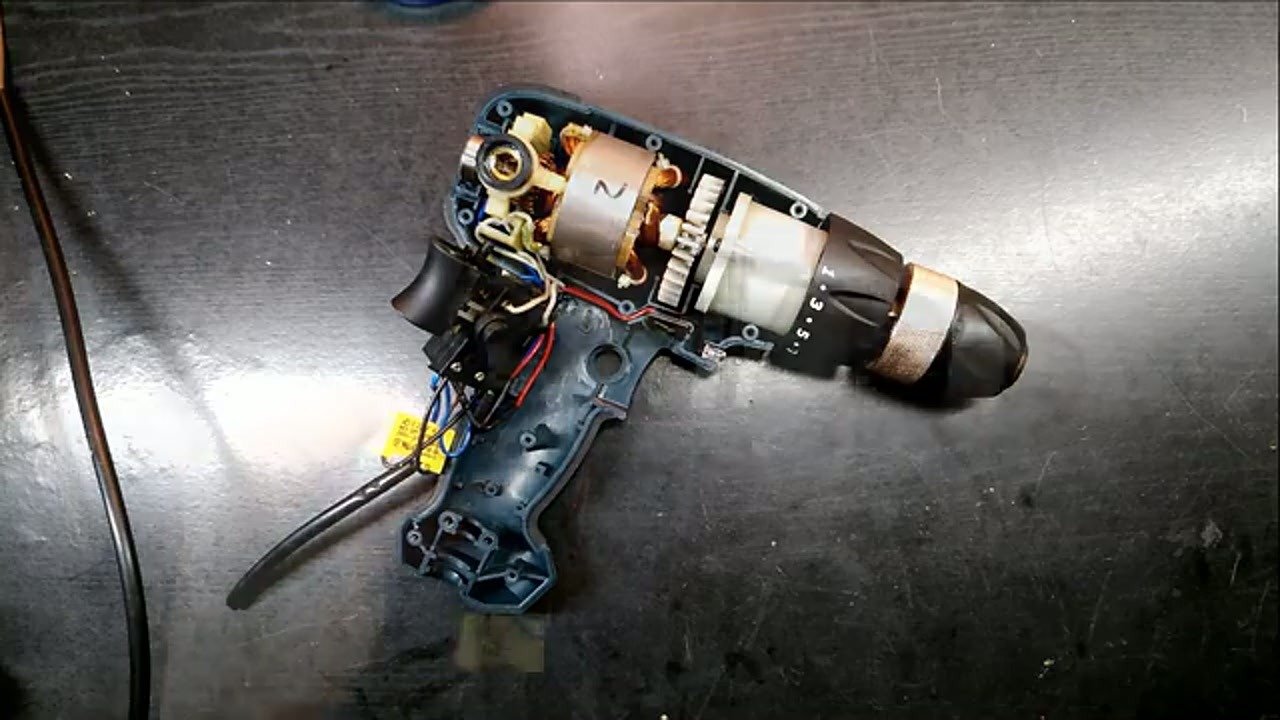
Blow out the entire motor housing with compressed air. Carbon dust builds up fast and kills these motors. Hit the commutator surface and the brush holders. Check the carbon brushes. If they look worn down to the spring, swap them out now.
Reinstalling Components
Drop the stator and rotor back into the plastic ribs. Seat the trigger switch. Route every single wire through the plastic channels. Do not let any wire cross a screw post. Slap the top casing back on and squeeze it tight.
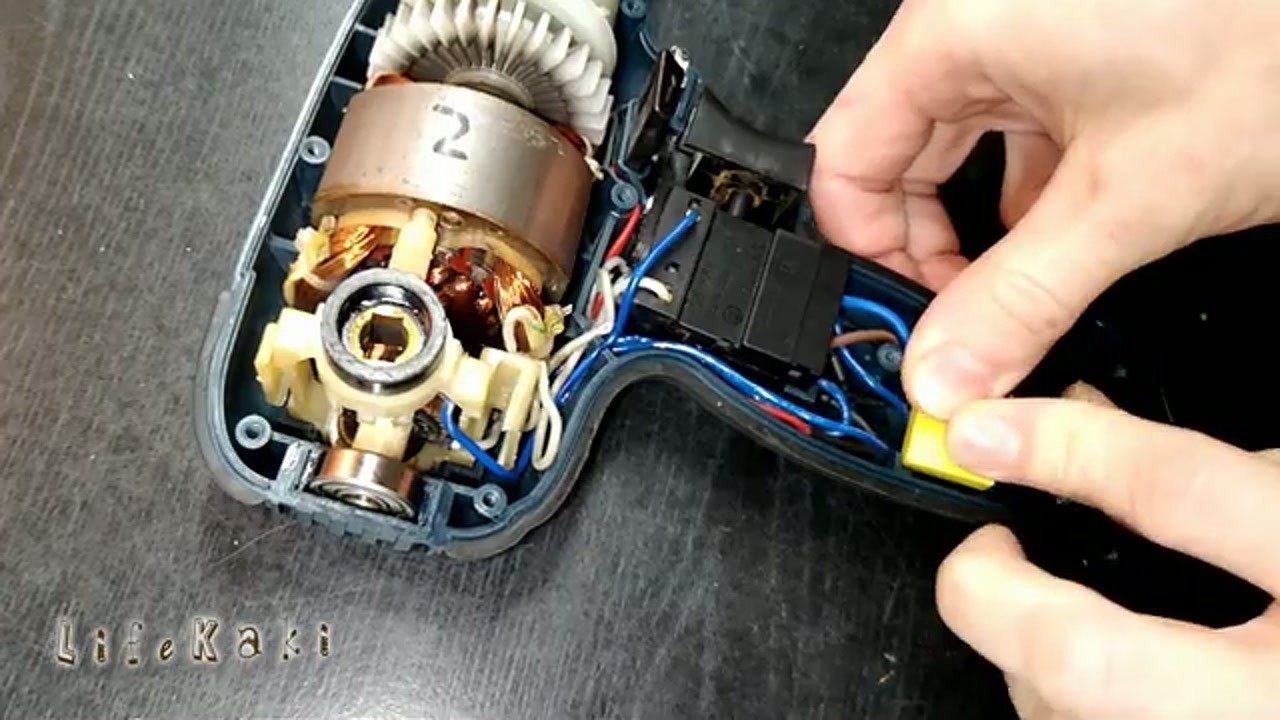
Final Assembly and Testing
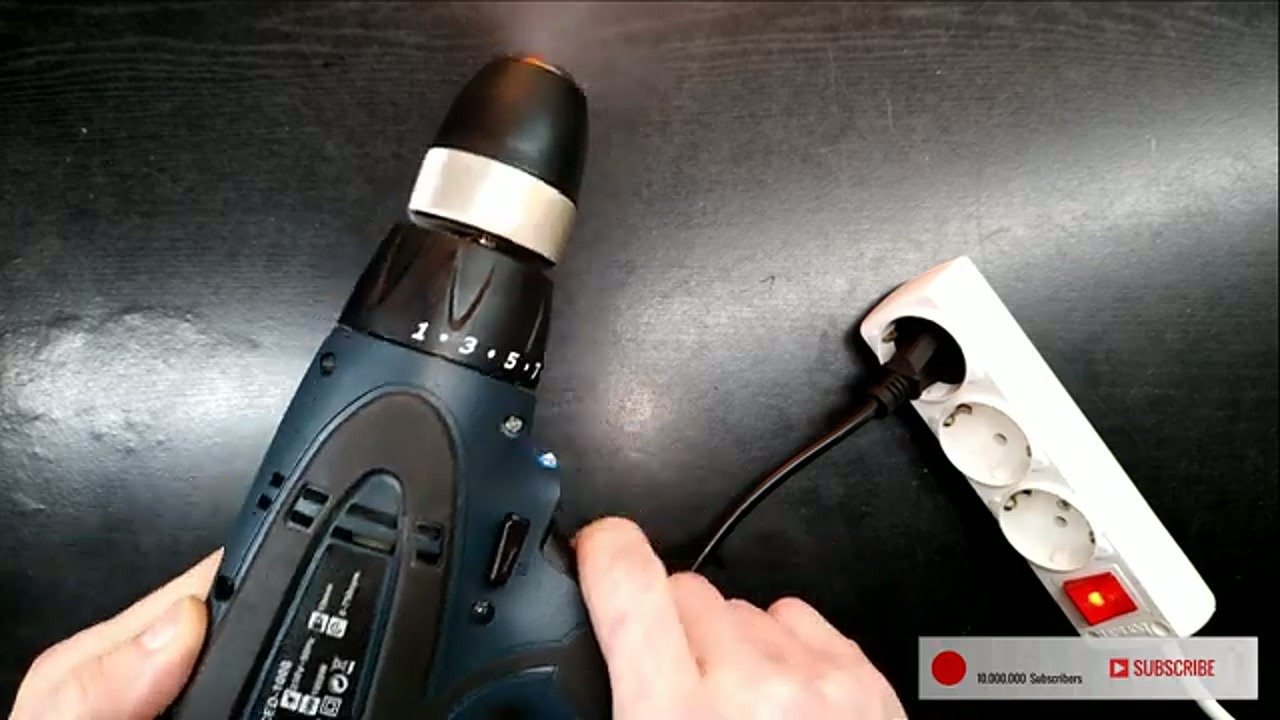
Drive all the housing screws back in. Do not over-torque them into the cheap plastic. Plug the drill into the wall socket. Squeeze the trigger. Listen for smooth spinning and watch the vents for excessive sparking. Good to go.
⚠️ CAUTION: SAFETY WARNING!
Always disconnect the drill from the power supply before opening the casing. Working with internal electrical components carries a risk of shock. Ensure the soldering iron is used in a well-ventilated area to avoid inhaling fumes.
Summary & Tips
Repairing an electric drill with power interruptions is a practical and repeatable process. By systematically inspecting the internal wiring and cleaning the motor housing, you can resolve most connection failures without buying a new tool. Regular maintenance, such as clearing debris and checking wire integrity, extends the lifespan of your power tools significantly. Always ensure the drill is unplugged before starting any repair work to maintain workshop safety.
📋 FAQ
❓ Is it worth repairing a drill with a broken wire?
Answer: Yes, wire fatigue is a common and minor issue. Repairing it is a highly practical way to extend the tool’s lifespan without the cost of a replacement.
❓ What should I look for when inspecting the motor?
Answer: Check for loose connections, signs of burnt insulation on the wires, and accumulated dust that could obstruct cooling airflow to the motor.
Disclaimer: This post contains affiliate links, meaning I earn a small commission if you make a purchase at no extra cost to you.
🛒 Useful Links & Products
Electric Soldering Iron
🛒 BUY ON ALIEXPRESSDT9205A Digital Multimeter
🛒 BUY ON ALIEXPRESS





Leave a Reply