Found a snapped 3.5mm plug that broke off inside the audio port today. The tip is still stuck in there. Most people would either tear the whole tablet apart or hand it to a repair shop. Not happening. This is a five-minute fix with a pen casing and a bit of friction. No damage to the pins inside, no drama.
Author: LifeKaki
⚡ Quick Guide: How to Extract a Snapped Audio Plug in 6 Steps
- Examine the port to locate the broken 3.5mm headphone tip.
- Choose a thin, hollow plastic pen barrel for removal.
- Check the tube tip wall thickness to ensure a 0.6mm fit.
- Position the plastic sleeve over the jack and press inward.
- Maintain pressure to friction-grip the broken nub.
- Pull the tool outward to remove the fragment from the port.
📊 Technical Specifications & Repair Parameters
| Audio Jack Type | Standard 3.5 mm (1/8 inch) TRS / TRRS |
| Tool Tip Wall Thickness | Approx. 0.6 mm |
| Extraction Force Method | Non-destructive mechanical interference friction fit |
| Device Compatibility | Universal (iPad, smartphones, laptops, audio gear) |
📊 Project Overview & Costs (USA Market)
🔧 Difficulty Level: Easy
⏱️ Time Investment: DIY: 10-15 mins | Pro: 5 mins
💡 Verdict: Self-extraction saves approximately $60 and prevents potential damage to internal screen cables during device disassembly.
Tools & Materials Used
• Narrow Plastic Pen Tube Body
🔧
Multi Function Disassembly Set
AliExpress 🛒
🔧
DIGITAL CALIPER Measuring micrometer DGQIBU
AliExpress 🛒
🔧
Ugreen Aux Cable Jack 3.5mm Audio Cable
AliExpress 🛒
🛠️
BUY ON ALIEXPRESS 🛒
Recommended
Smartphone Repair Tool Kit
Step-by-Step Audio Jack Extraction
Locating the Fragment and Selecting a Sleeve
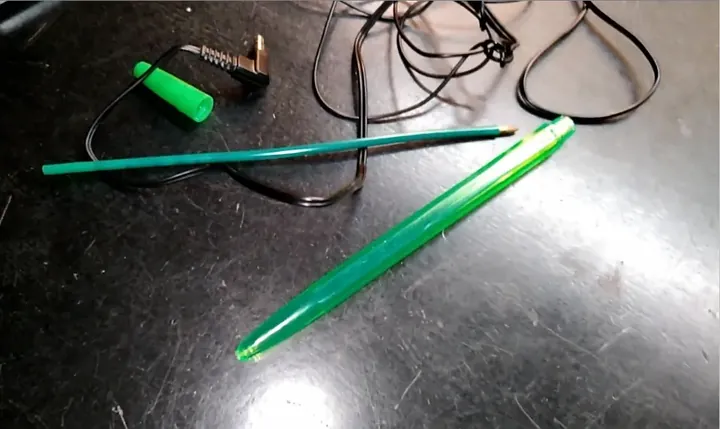
A broken 3.5mm audio jack tip is a common issue when a cable is pulled laterally. Before attempting any aggressive fixes like applying adhesive to a toothpick, I carefully examined the socket. The brass fragment rested just past the internal spring clips. Using metal tools risks bending those contact points, so I chose a hollow plastic pen tube instead. The material needs enough flexibility to expand slightly while remaining rigid enough to maintain its shape. I selected a slim pen body from my workbench that matched the diameter of the broken tip. If the plastic is too soft, it won’t grip the metal; if it’s too thick, it won’t slide into the port. A rigid polymer tube is the best approach to avoid unnecessary repairs.

Measuring Dimensions with Calipers
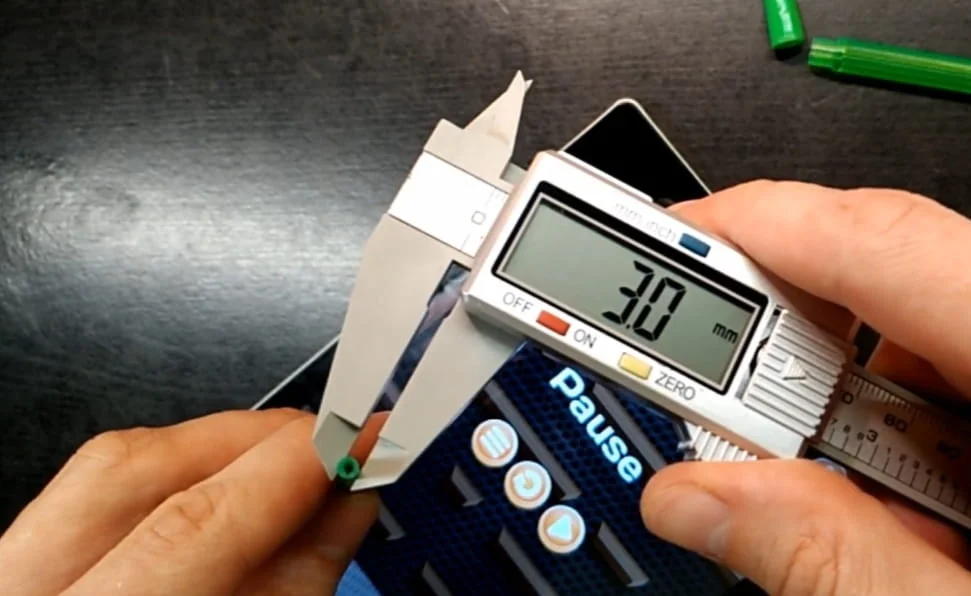
Success depends on precise dimensions. I used digital calipers to check the wall thickness of my plastic sleeve, finding it measured exactly 0.6 mm. This thin profile is critical because the clearance between the broken jack and the port wall is minimal. A tool exceeding 0.8 mm will likely deform against the port rim before reaching the fragment. I trimmed the plastic opening to remove any rough manufacturing burrs, ensuring a clean, flush entry. I measured twice to verify the diameter was consistent. Careful preparation prevents the tool from jamming or flaring inside the socket.
Inserting the Extraction Sleeve
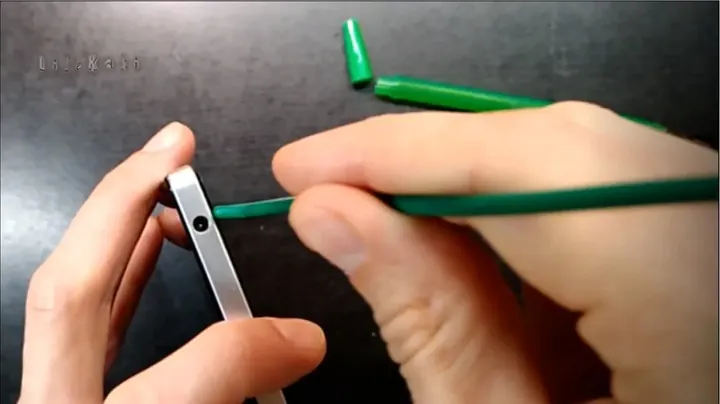
I aligned the sleeve perpendicularly to the device frame to avoid shearing the plastic against the metal rim. Applying steady, direct pressure, I pushed the tube into the audio barrel. I felt the resistance as the sleeve engaged the broken plug. I continued to press firmly, allowing the inner plastic wall to stretch and form a tight friction fit around the broken metal shoulder. I braced my thumb against the chassis for control. Hearing a slight click indicated the internal retention spring had shifted. I held this position for a few seconds to ensure the grip was secure.
Removing the Broken Plug
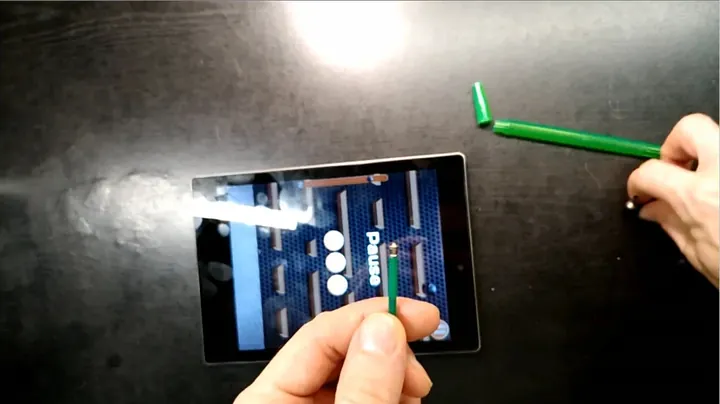
Keeping a firm grip on the pen body, I pulled the sleeve straight outward. I avoided any lateral movement to maintain the friction grip on the metal. I used two fingers to apply force directly along the central axis of the socket. As I pulled, I felt the drag of the fragment releasing from the internal springs. The piece exited smoothly on my first attempt, leaving the contact pads undamaged. I verified that the broken brass segment was lodged inside the plastic tool and cleared away any debris.
Inspecting Hardware and Functional Testing
I compared the extracted fragment against a whole plug to ensure the entire assembly was removed. The tip, ring, and sleeve were all present. Once the cavity was clear, I performed a functional test using an auxiliary cable. I plugged it in until I felt the retention system click into place. I played a stereo test track and checked the output settings, confirming both channels were active. The tablet correctly routed audio to the external output without signal issues. Thorough testing confirms the port is fully operational.
Port Cleaning and Maintenance
I finished by clearing any residual debris from the port. Lint accumulation can prevent proper seating of future connectors. I used a dry, non-conductive probe to gently clean the contacts. I avoided liquid cleaners to prevent shorts on the internal motherboard. Using compressed air, I blew out the remaining dust while pointing the device downward. Proper maintenance ensures stable grounding and clean signal transmission. The port is now back to standard factory condition.

Summary & Tips
Disassembly is unnecessary for removing a broken audio plug. A 0.6mm plastic tube creates sufficient friction for a clean extraction without damaging internal components. Maintaining a simple extraction tool on your workbench is a practical way to avoid expensive repair services.
📋 FAQ
❓ Does this method risk damage to the audio port pins?
Plastic is significantly softer than the gold-plated contacts. Using a plastic tool and applying straight, linear pressure ensures the port remains safe.
❓ What steps should I take if the fragment is deeply seated?
Select a slightly more rigid plastic tube and use a knife to trim the outer rim for a precise fit. Sufficient seating pressure is required to establish a firm grip.
❓ Is using superglue recommended for extraction?
Adhesives carry a high risk of flowing into the socket and permanently bonding the fragment. Mechanical friction is the safer, preferred alternative.
Disclaimer: Tools used for this guide were purchased independently. This article contains affiliate links; purchases made through them may provide a commission at no additional cost to the reader.
🛒 Useful Links & Products
Smartphone Repair Tool Kit
🛒 BUY ON ALIEXPRESSMulti Function Disassembly Set
🛒 BUY ON ALIEXPRESS





Leave a Reply