If your electric heater is blowing cold air or failing to power on, the issue often lies within the control board rather than the heating element itself. This guide walks you through a practical, step-by-step repair process to identify burnt traces and faulty capacitors. By performing this inspection and soldering fix, you can restore your heater’s functionality without purchasing a replacement. We focus on real-world troubleshooting to help you get your convector back in working order safely.
Author: LifeKaki
⚡ Quick Guide: How to Repair Your Heater in 7 Steps
- Disconnect the heater from the power outlet completely.
- Remove the backup battery to prevent short circuits.
- Inspect the PCB for burnt traces and damaged components.
- Repair broken circuit connections using a soldering iron.
- Replace any bulging or leaking capacitors in the power section.
- Tighten all terminal connectors to ensure reliable electrical contact.
- Reassemble the unit and perform a temperature test.
📋 In This Article
- Tools & Materials — Required items for the repair
- Technical Specifications — Heater control board parameters
- Safety and Disassembly — Preparing the device for inspection
- Circuit Restoration — Fixing broken connections
- Capacitor Inspection — Identifying power section failures
- PCB Component Analysis — Visual check of the control board
- Precision Soldering — Securing reliable connections
- Terminal Maintenance — Tightening connectors for safety
- Final Assembly — Putting the unit back together
- Testing and Verification — Checking heat output
📊 Technical Specifications & Components
| Component type | Convection heater PCB |
| Common failure points | Electrolytic capacitors, burnt traces |
| Testing method | Thermal output verification |
| Safety requirement | Full power isolation |
Tools & Materials Used
🛠️
BUY ON ALIEXPRESS 🛒
Recommended Tool
Electric Soldering Iro
🔧
Digital Infrared Thermometer
AliExpress 🛒
Step-by-Step Assembly & Testing
Safety and Disassembly
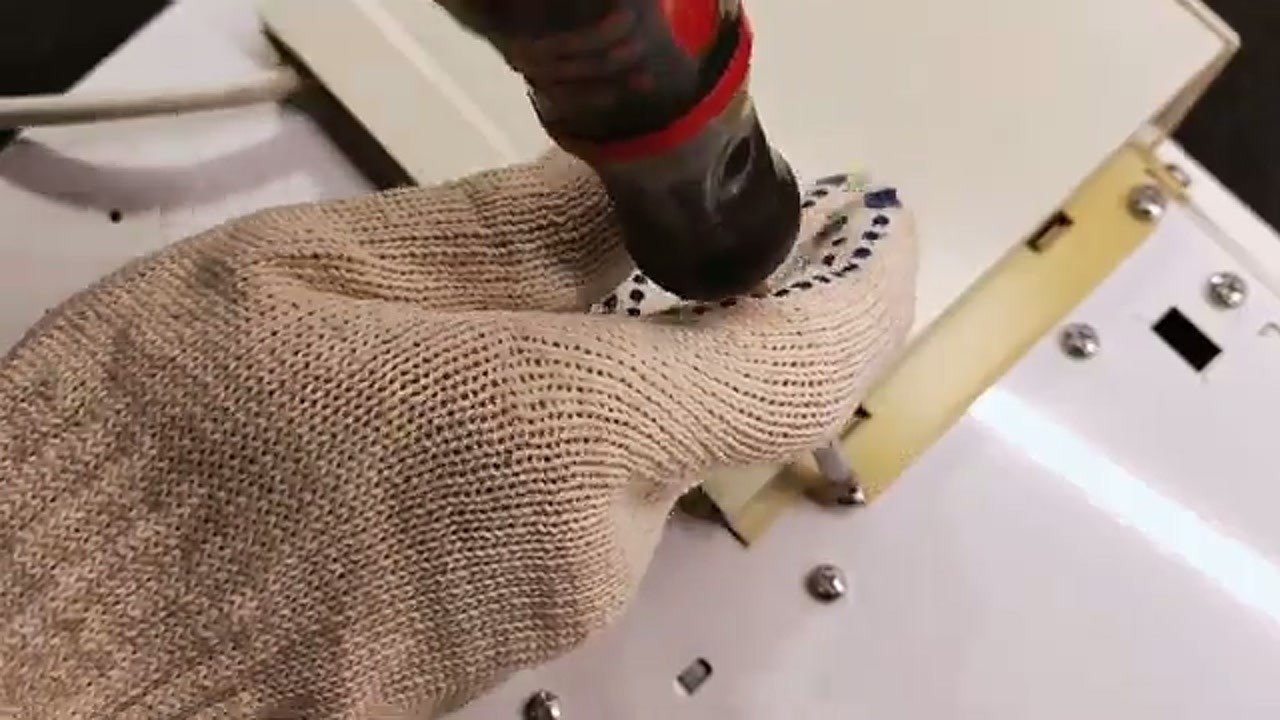
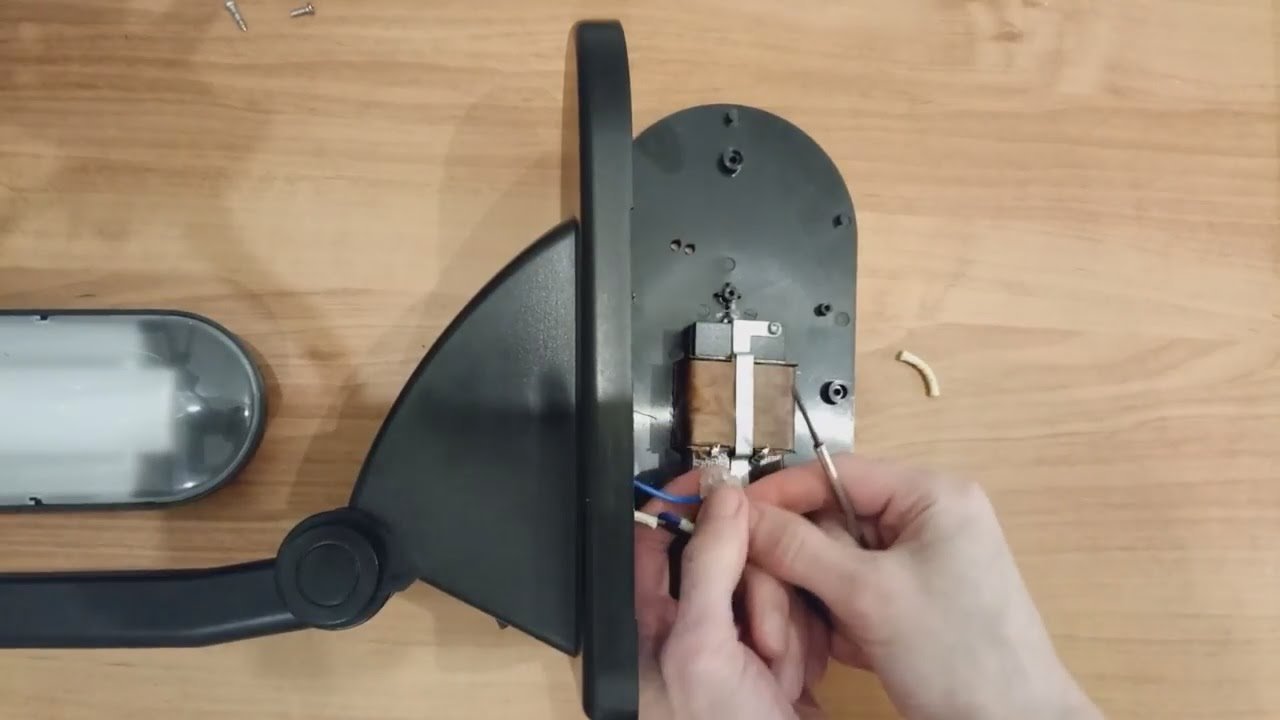
Begin by ensuring the heater is completely disconnected from the power source. Safety is the priority when working with high-voltage appliances. Locate and remove the backup battery if your model includes one to prevent accidental short circuits. Carefully open the casing to expose the main printed circuit board. This allows for a clear view of the internal wiring and components for inspection.
Circuit Restoration
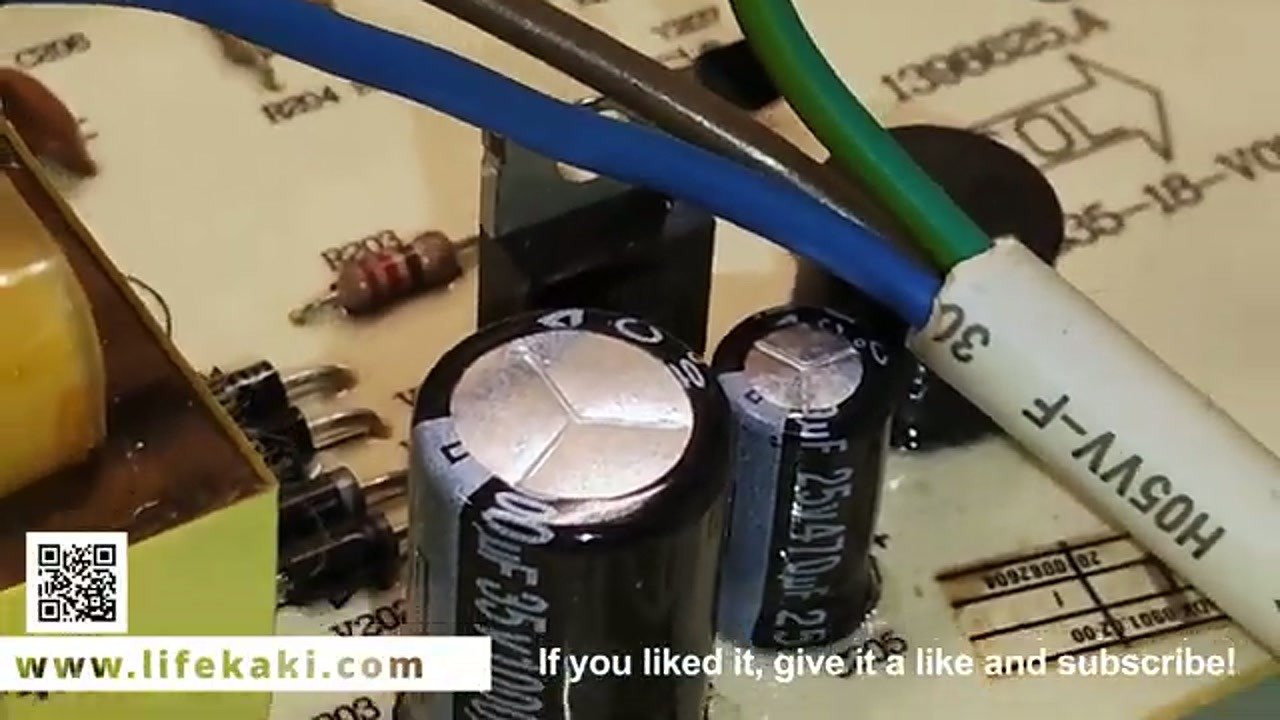
During the inspection, look for any signs of physical damage on the board. I identified an open circuit connection that prevented the heater from functioning correctly. Using a soldering iron, I carefully bridged the gap to restore electrical continuity. This step is essential for re-establishing the power path to the heating elements. A solid connection ensures the heater will operate reliably once reassembled.
Capacitor Inspection
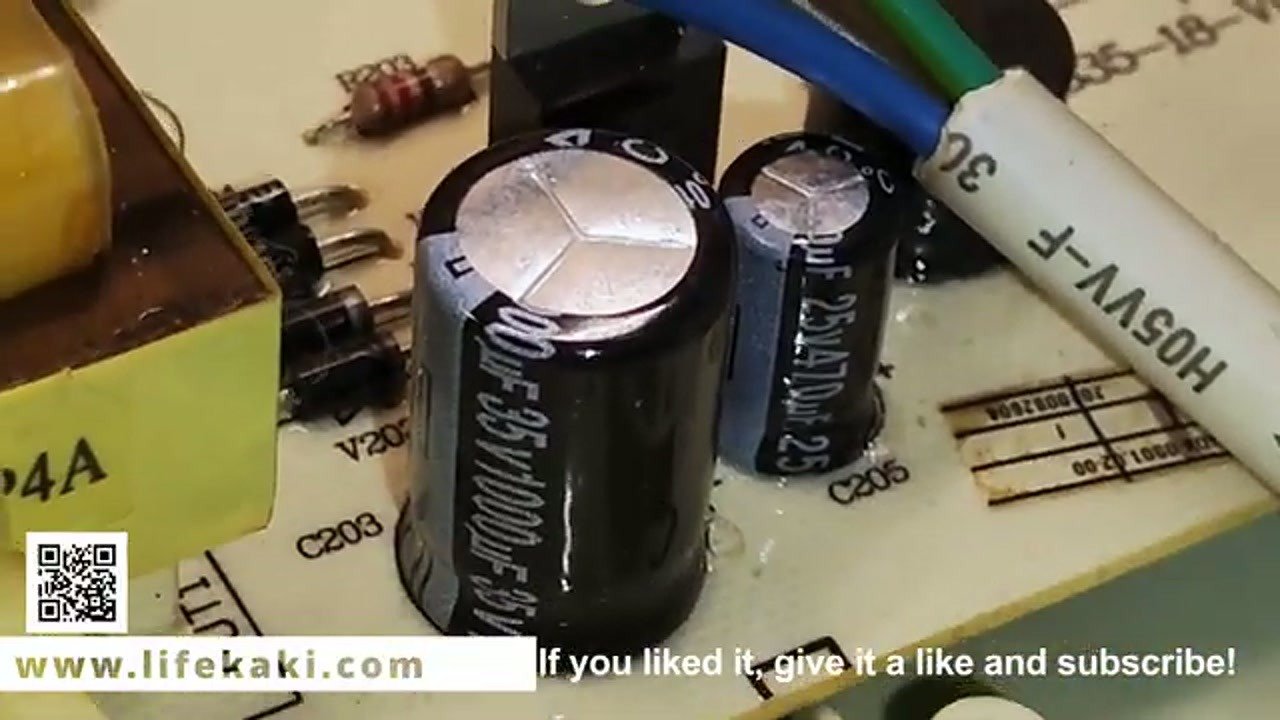
Focus your attention on the power section of the PCB. Electrolytic capacitors often dry out or fail after several years of operation due to heat exposure. Check for physical signs of failure such as bulging tops or leaking electrolyte. If you notice these symptoms, the capacitors must be replaced to maintain stable voltage. This is a common cause for heaters that fail to turn on.
PCB Component Analysis
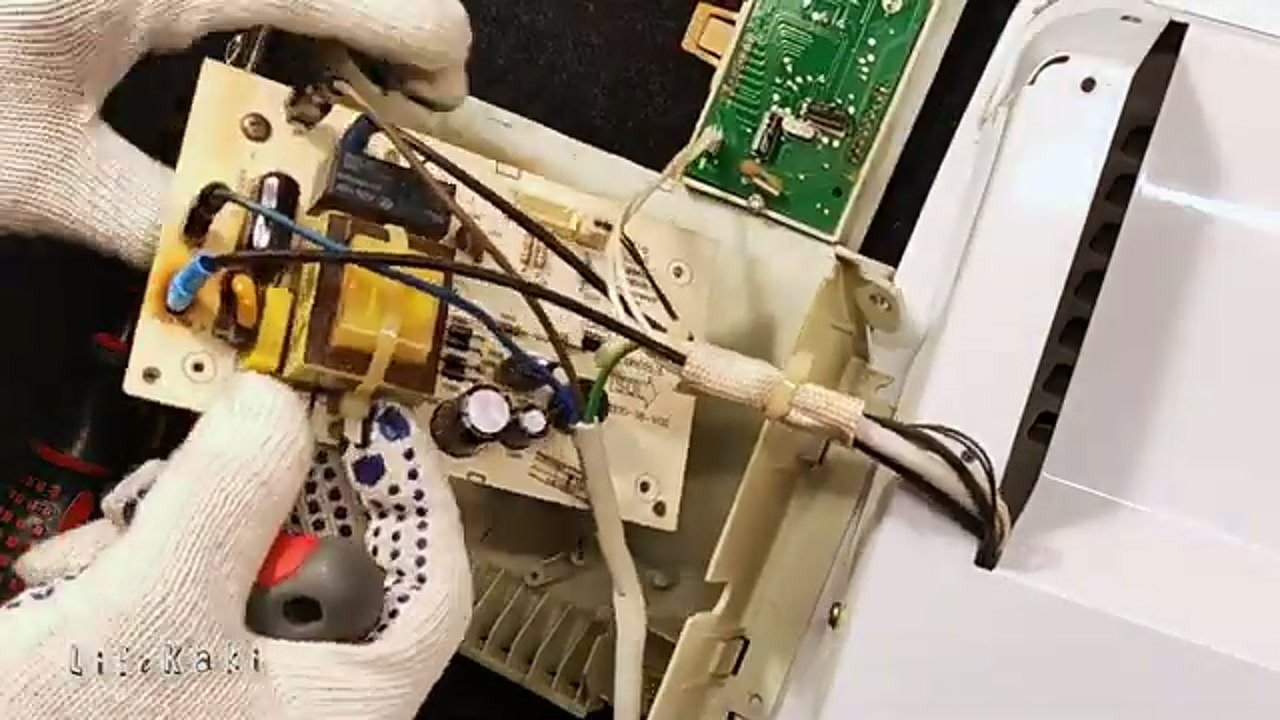
Perform a thorough visual scan of the entire control board while it is exposed. Look for discoloration on the board surface, which indicates overheating or component stress. Ensure all wires are securely attached to their respective terminals. A systematic check helps identify secondary issues that might cause future failures. Keep the board clean to prevent dust from causing additional heat buildup.
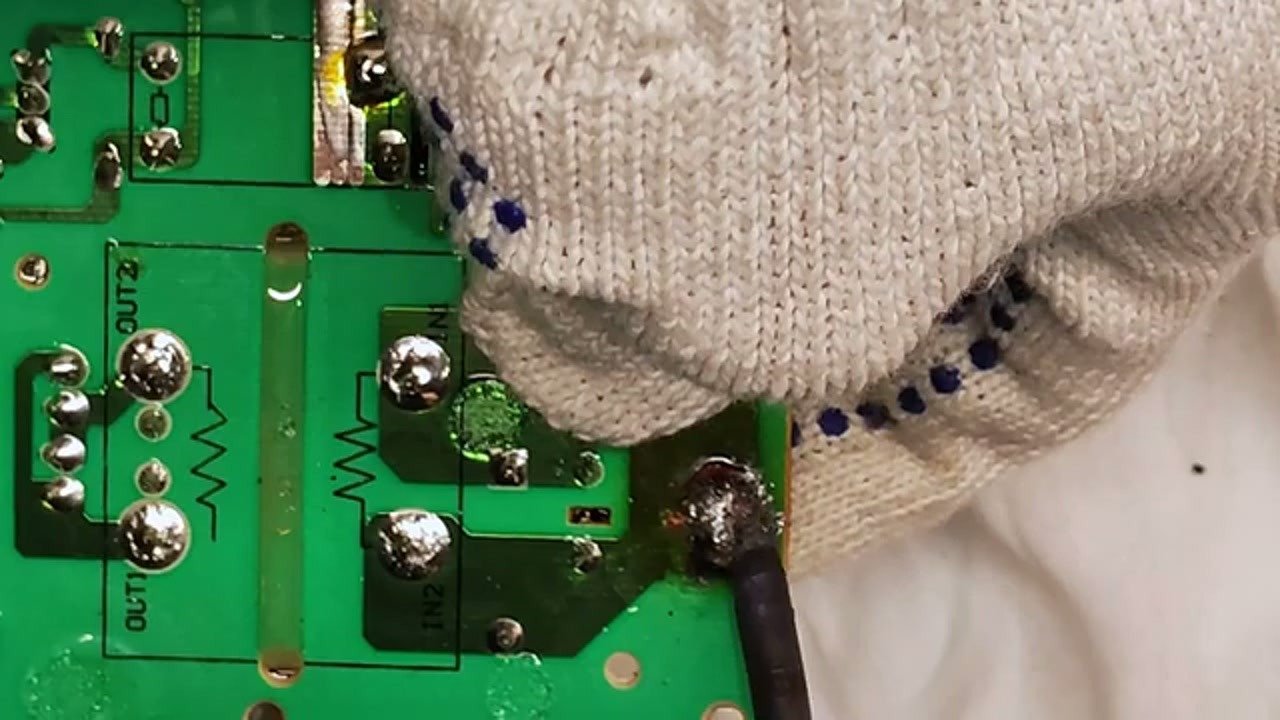
Precision Soldering
Precision is critical when working on small electronic boards. Apply the soldering iron to create a clean, robust joint on the repaired traces. A high-quality solder joint prevents resistance buildup and overheating during high-current operation. This ensures the repair is durable and eliminates the risk of fire hazards caused by poor connections. Always verify the joint is shiny and smooth for the best electrical contact.
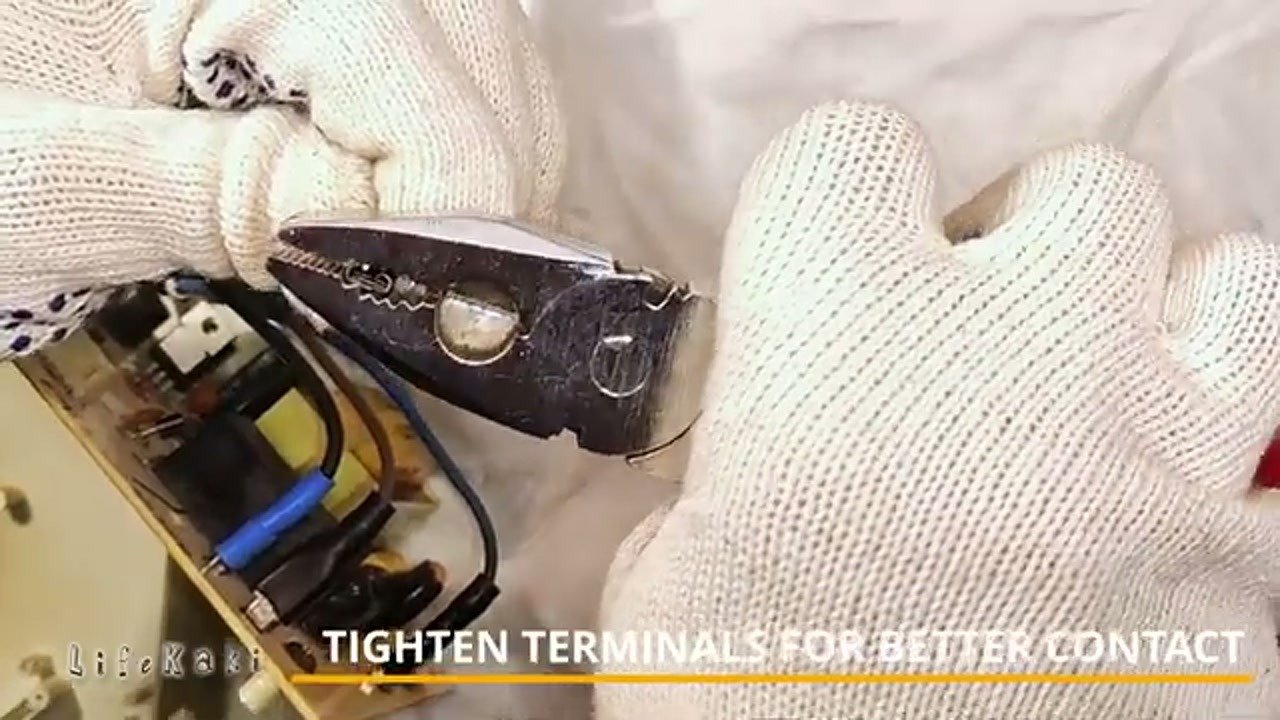
Terminal Maintenance
Loose terminal connectors are a frequent source of intermittent power issues. Use pliers to gently tighten these connectors to ensure a firm, secure fit. Proper tension prevents arcing, which can damage the terminals over time. This simple maintenance step significantly improves the reliability of the heater’s electrical system. Ensure every connector is seated correctly before moving to reassembly.
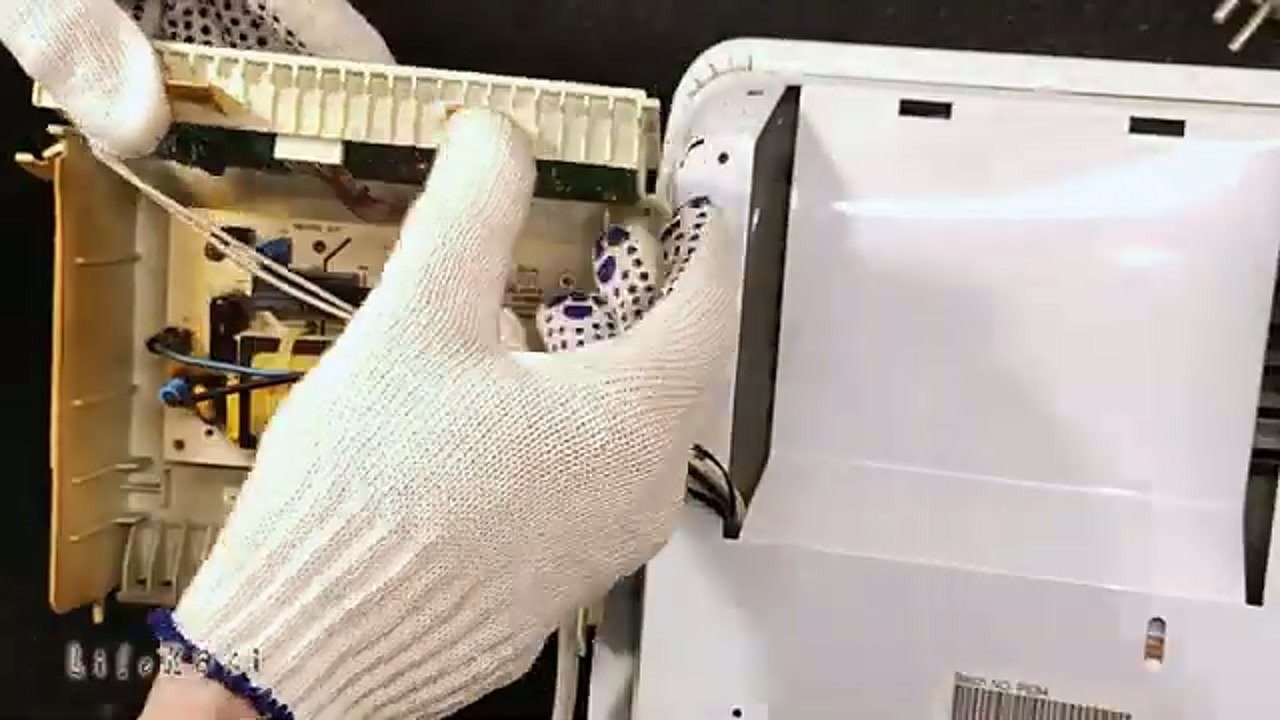
Final Assembly
Carefully place the PCB back into its original position within the housing. Route the wires neatly to avoid pinching or tension on the connectors. Ensure all screws are tightened to secure the board firmly. Double-check that no wires are touching the heating elements or sharp metal edges. A clean, organized assembly is vital for long-term safety and performance.
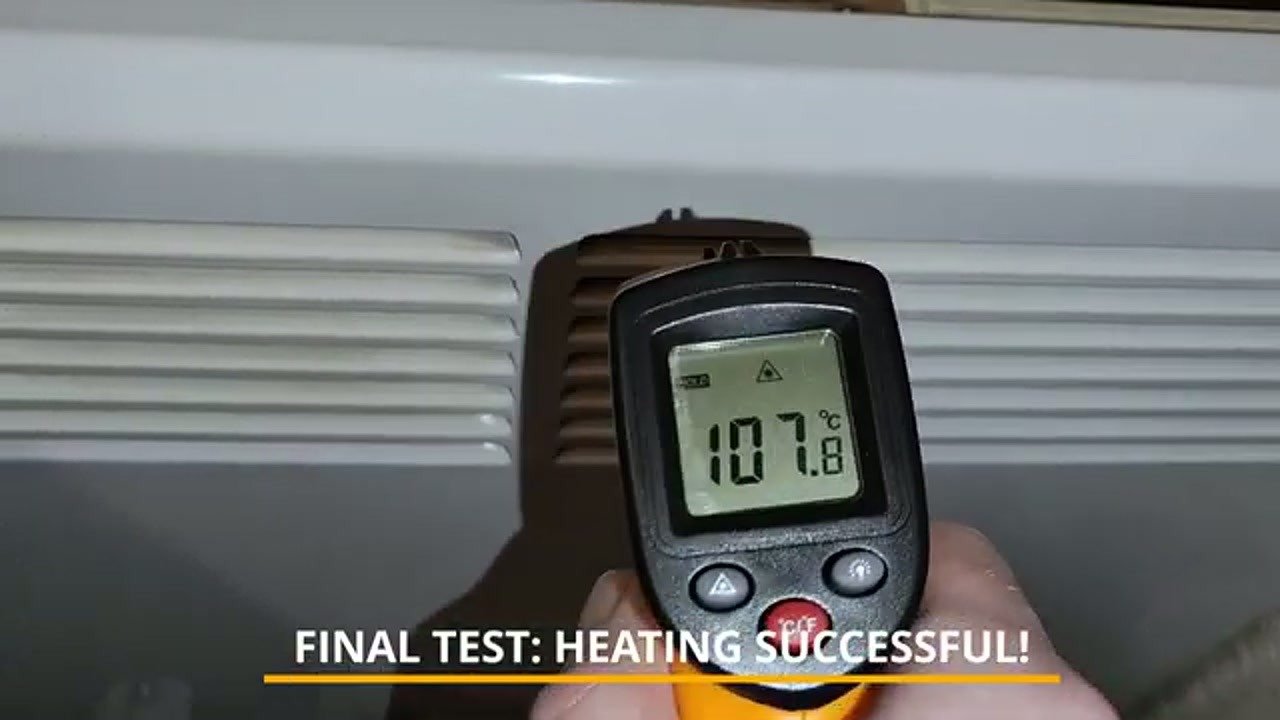
Testing and Verification
After reassembling the unit, perform a final test to verify the repair. Plug the heater in and set it to the desired temperature. Use an infrared thermometer to monitor the heat output at the vents. You should see a steady rise in temperature, confirming the heating elements are receiving power. A successful temperature check indicates that the control board is functioning as expected.
⚠️ CAUTION: SAFETY WARNING!
Always disconnect the heater from the power outlet and remove the backup battery before starting any repair. Working with high-voltage electronics carries a risk of electric shock and fire if not handled correctly.
Summary & Tips
Repairing your electric heater’s control board is a practical way to extend the life of your appliance. By identifying burnt traces, replacing worn capacitors, and securing loose terminal connections, you can resolve common heating failures effectively. This DIY approach is not only cost-effective but also reduces electronic waste. Always prioritize safety by disconnecting the power before starting any repair.
📋 FAQ
❓ Why is my heater blowing cold air?
Answer: This is often caused by a faulty control board relay or a broken circuit trace that prevents the heating element from receiving power.
❓ How do I know if a capacitor is bad?
Answer: Look for physical signs like a bulging top or leaking fluid on the capacitor casing. These indicate that the component has failed and needs replacement.
❓ Is it safe to solder the PCB myself?
Answer: Yes, provided you have basic soldering skills and ensure the device is completely unplugged. Use precision tools to avoid damaging adjacent components.
Disclaimer: I purchased all tools for this guide with my own money to ensure an unbiased review. This post contains affiliate links, meaning I earn a small commission if you make a purchase at no extra cost to you.
🛒 Useful Links & Products
Electric Soldering Iro
🛒 BUY ON ALIEXPRESSDigital Infrared Thermometer
🛒 BUY ON ALIEXPRESS





Leave a Reply