I have a standard garden pressure sprayer on the bench that quit building pressure. Tossing the bottle into the trash is a waste. I’m taking apart the pump assembly, measuring every replacement seal from the KDGPUM kit, and restoring the airtight seal now.
Author: LifeKaki
⚡ Quick Guide: Garden Sprayer Seal Replacement
- Unbox the KDGPUM seal kit and lay out all O-rings on the bench.
- Measure seal dimensions using digital calipers.
- Unscrew the collar and separate the pump tube from the sprayer body.
- Remove the worn rubber O-ring from the pump mechanism.
- Clean the groove and seat the fresh O-ring firmly.
- Reassemble the pump mechanism and tighten it onto the bottle.
- Build pressure and test the spray stream in a basin.
📊 Technical Specifications & Components
| Product | KDGPUM Garden Sprayer Seal Ring Kit |
| Material | Industrial-grade rubber |
| Compatibility | 3L, 5L, 8L manual pressure sprayers |
| O-ring diameters | 3.9 mm to 49.0 mm |
| Stopper diameter | 23.8 mm |
| Smallest thickness | 1.0 mm |
📊 Project Overview & Costs
🔧 Difficulty Level: Easy
⏱️ Time Investment: 15-20 minutes
💡 Verdict:DIY repair saves in replacement costs.
Tools & Materials Used
• KDGPUM 3L/5L/8L Garden Sprayer Seal Ring Kit
Digital Caliper DGQIBU
AliExpress 🛒
🛠️
BUY ON ALIEXPRESS 🛒
Recommended
Repair Tool Kit
Garden Sprayer Step-by-Step Assembly & Testing
Unboxing and Initial Seal Inspection
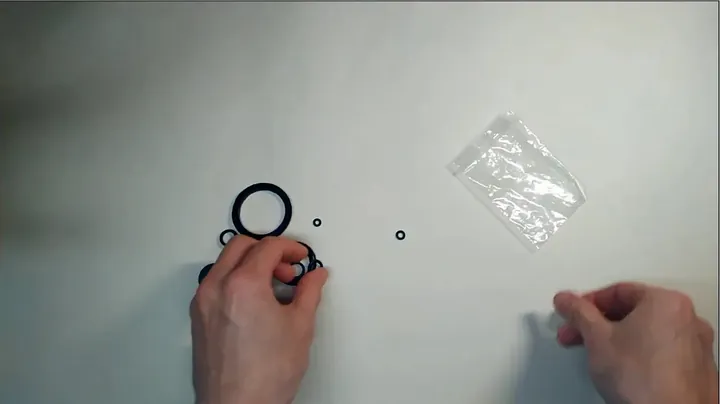
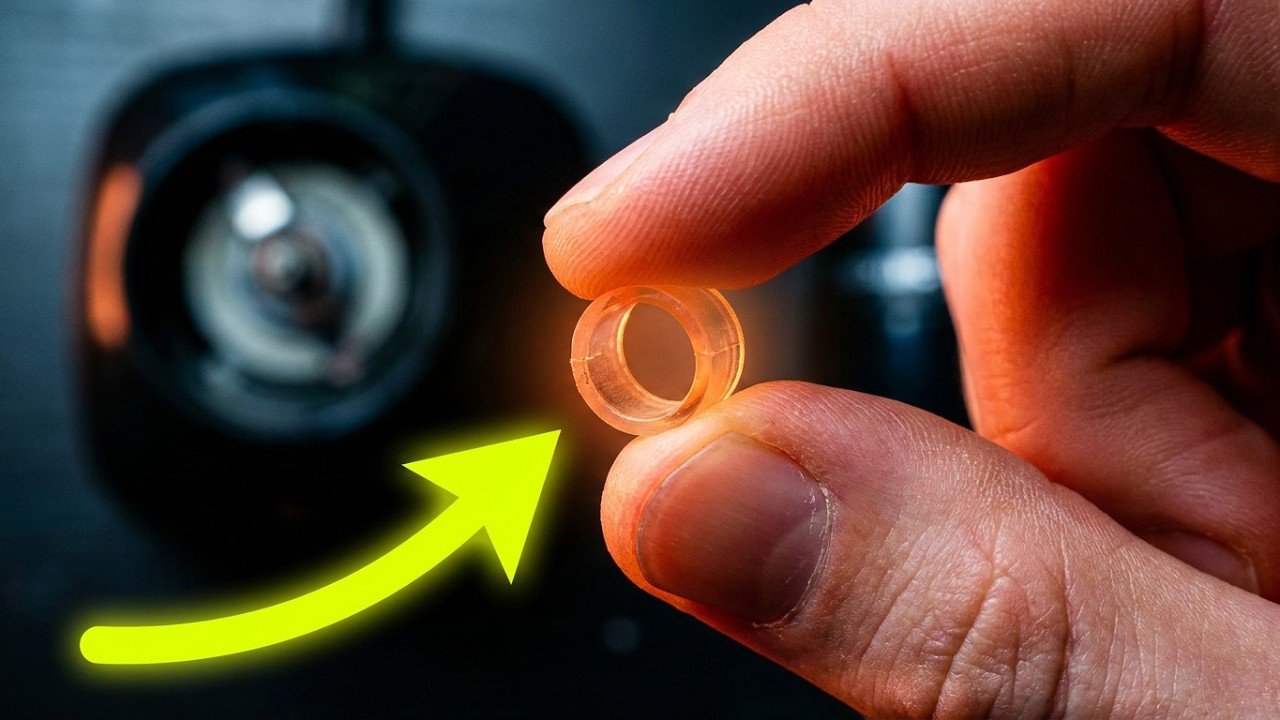
I set the O-rings from the kit on a clean surface. Inspecting each rubber piece is essential. I check the stopper and rings for molding defects or dry rot. I hold the 49.0 mm ring to the light to confirm circular integrity. Cracks cause air leaks under pressure. I use the calipers to confirm the 3.90 mm size. Sorting these parts prevents installation mistakes. Everything checks out.
Measuring Mid-Sized Seal Ring Dimensions
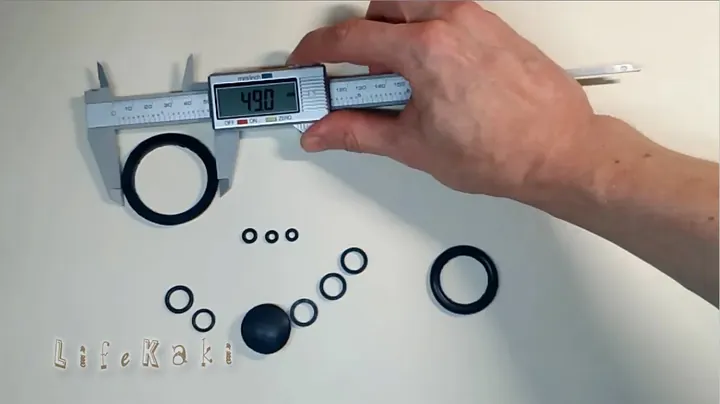
I measure the replacement rings with the calipers to confirm dimensions. The small ring measures 5.5 mm. Next is the 11.5 mm ring. Checking these ensures the right part fits the channel. The next ring is 14.4 mm. I measure the rubber stopper at 23.8 mm. Rubber can deform, so checking geometry is good practice. I keep light pressure on the calipers to avoid false readings. Sizing is correct.
Final Measurements and Pump Disassembly
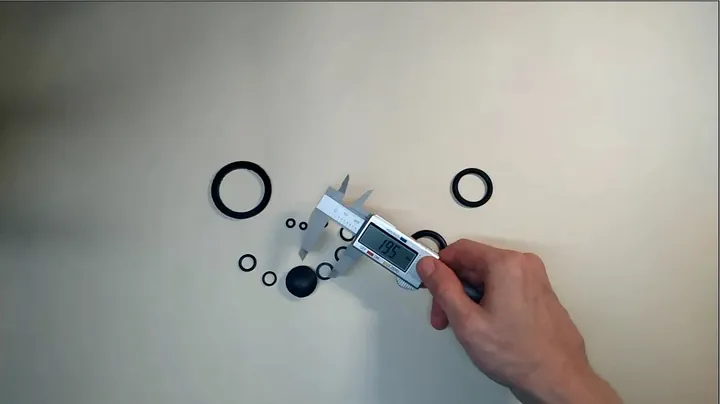
I measure the 1.0 mm seal, the 35.2 mm ring, and the 25.4 mm ring to finish. I place the sprayer on the bench. I grip the green collar and unscrew it from the black tube. Dried residue makes this tight, so I use steady pressure. I avoid twisting to prevent cracking the plastic. The thread is clear.
Prying and Installing the Replacement Seal
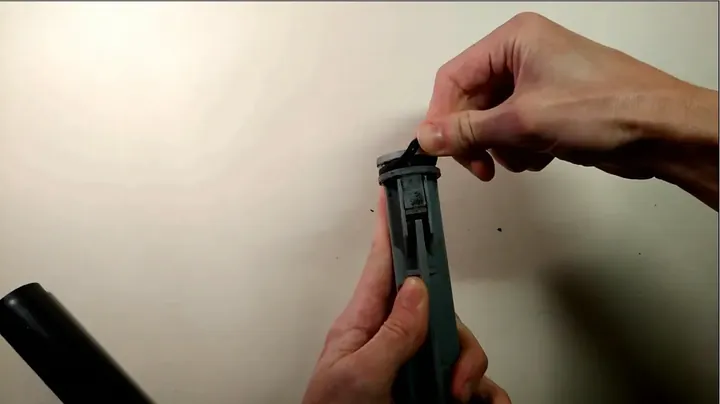
I use a pry tool to remove the worn seal. I pull the ring out of the groove. I avoid scratching the plastic surface. I clean the groove of all debris. I seat the new O-ring by stretching it over the mechanism and pressing it into the channel. It fits flush. I reinsert the tube.
Reassembling the Pump Mechanism into Bottle
I align the pump into the bottle neck. I rotate counter-clockwise to engage the threads. I tighten by hand until the seal compresses. Overtightening damages the plastic. The assembly is secure.
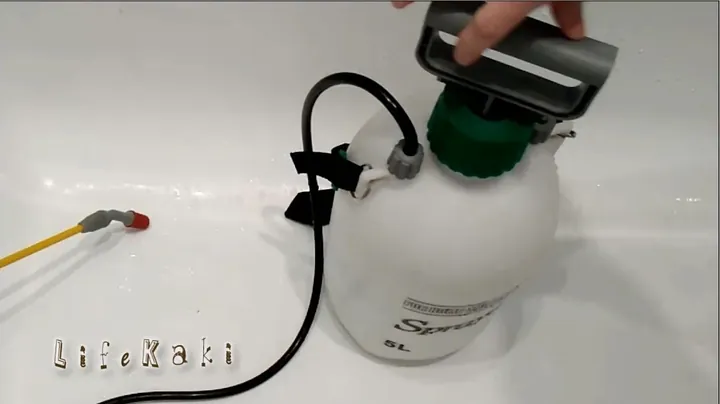
Pressurizing and Wand Trigger Testing
I check the wand for debris. I point the nozzle away from me. I cycle the pump handle. Resistance builds within the cylinder. If the seal holds, there is no air leakage. I trigger the sprayer to discharge water. Pressure is maintained.
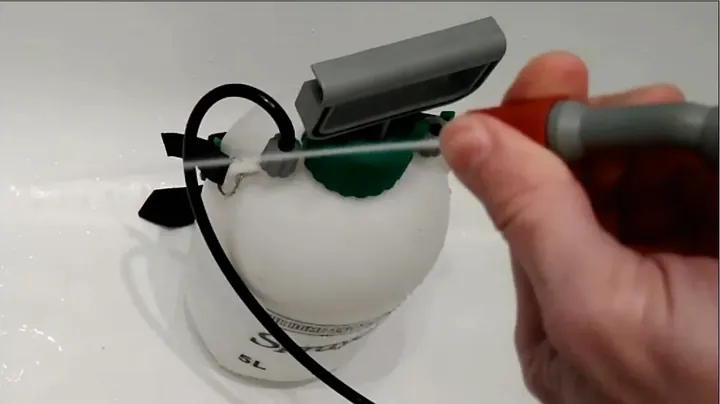
Verifying Continuous Spray Pattern
I verify the spray pattern. The stream is uniform. No leaks occur at the collar or joints. The piston seals correctly. The seal kit restores the sprayer to factory performance. I release the pressure before storage. The job is complete.
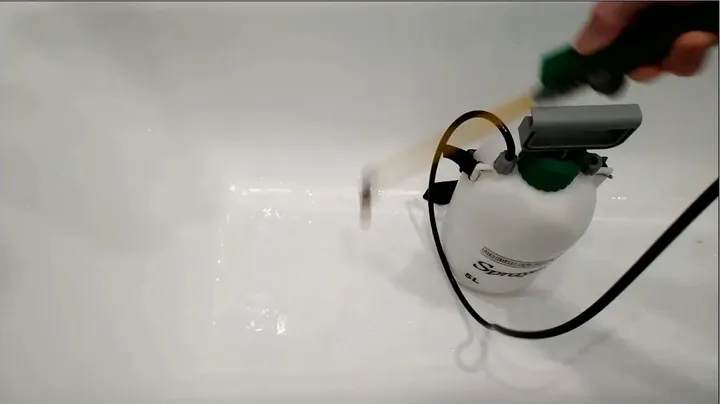
⚠️ CAUTION: SAFETY WARNING!
Depressurize the bottle via the relief valve before disassembly.
Summary & Tips
Summary: A loose handle indicates a failed seal. A seal replacement takes ten minutes. Calipers assist with matching ring sizes.
📋 FAQ
❓ How do I identify a faulty seal?
Zero resistance during pumping indicates a failed seal.
❓ Does the KDGPUM kit fit generic sprayers?
Yes. It fits most 3L, 5L, and 8L units. Measure the groove first.
❓ Should I apply silicone grease?
Silicone grease reduces friction and prevents rubber degradation.
Disclaimer: Tools purchased independently. This post contains affiliate links.
🛒 Useful Links & Products
Smartphone Repair Tool Kit
🛒 BUY ON ALIEXPRESS





Leave a Reply