This guide details building an effective antenna using only coaxial cable and a splitter. The project is simple, suitable for DVB-T, DVB-T2, TDT, and ISDB-T reception, and does not require an external amplifier. It involves precise cutting, stripping, and connecting, followed by immediate signal testing. This configuration serves as an excellent option for backup, emergency signal acquisition, or a quick indoor installation.
Author: LifeKaki
⚡ Quick Guide: How to Make It in 5-10 Steps
- Measure and mark the coaxial cable for the antenna loop and feed line.
- Cut the marked cable segments with precision.
- Carefully strip the outer jacket and shielding from the cable ends.
- Form the stripped coaxial cable into a precise antenna loop shape.
- Connect the antenna loop ends to the input port of a TV splitter.
- Attach the main feedline cable, running to the TV, to an output port on the splitter.
- Plug the completed antenna into your television’s antenna input.
- Scan for channels and verify stable digital TV reception.
📊 Technical Specifications & Components
| Coaxial Cable | 75-ohm impedance |
| Antenna Type | DVB-T2 compatible (also DVB-T, TDT, ISDB-T) |
| Amplifier | Not required for this design |
| Splitter | Standard TV signal splitter |
📊 Project Overview
🔧 Difficulty Level: Easy
⏱️ Time Investment: DIY: 30-45 minutes | Pro: 10-15 minutes
Tools & Materials Used
• Measuring Tool (e.g., Metric Ruler)
• Wire Stripper
🔧
F Connectors & TV Plug Kit
AliExpress 🛒
🔧
TV Splitter
AliExpress 🛒
🛠️
BUY ON ALIEXPRESS 🛒
Recommended
Coaxial Cable 75Ω
Step-by-Step Assembly & Testing
Measuring and Preparing the Coaxial Cable
Begin by taking a 75-ohm coaxial cable and a ruler to mark the necessary sections. The total length must accommodate both the antenna loop and sufficient slack for the feed line to comfortably reach the television. Using a marker, indicate the specific lengths for the antenna elements. For UHF frequencies, approximately 15-20 centimeters per side for the loop generally provides effective reception. Double-check every mark before proceeding to cut.
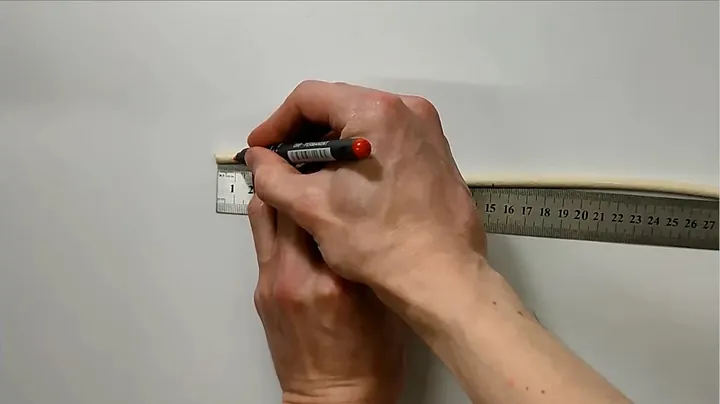
Cutting the Main Cable Segment
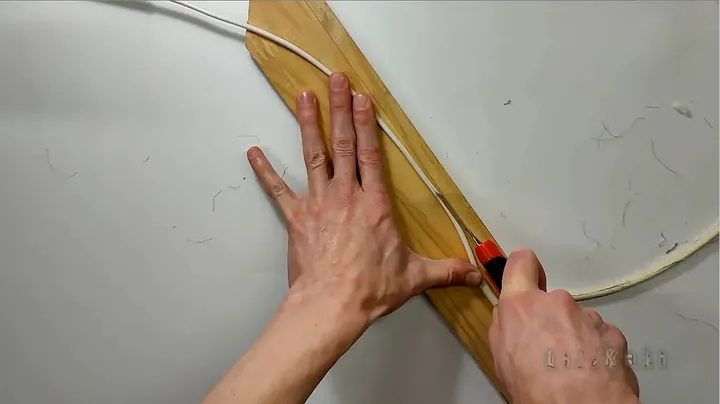
With all measurements confirmed, use scissors to make the initial cuts. Cut straight and cleanly; jagged edges can introduce signal interference or complicate the stripping process. Keep the ruler nearby during cutting to maintain accuracy. This cut separates the main antenna loop section from the rest of the cable spool.
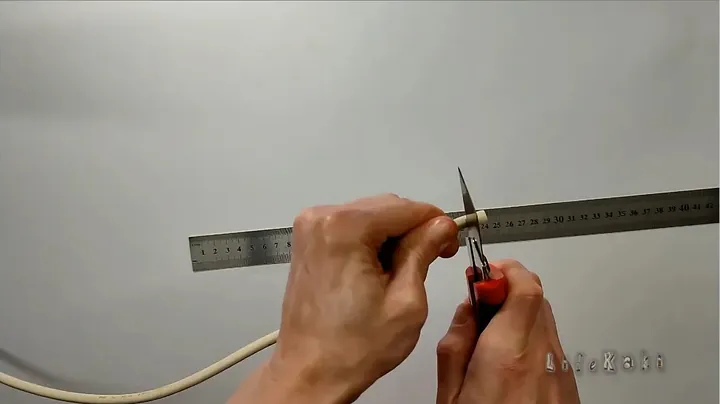
Stripping the Outer Jacket and Shielding
The next step involves stripping the outer insulation. Use a utility knife and a ruler to score the outer jacket, taking care to avoid nicking the braided shielding underneath. Expose about an inch of the shielding to facilitate proper connections. Apply just enough pressure to cut the jacket without penetrating the internal components. Peel back the outer layer cleanly.
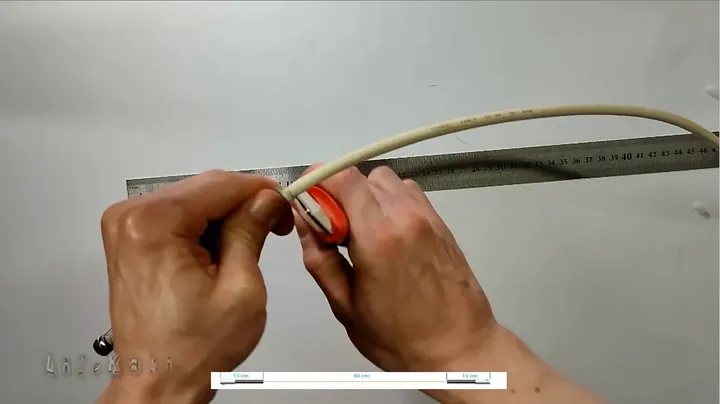
Preparing the Inner Conductor
After stripping the outer jacket and exposing the braided shield, carefully prepare the inner conductor. Remove a smaller section of the dielectric material to reveal the bare copper wire. Use the knife again, making a shallow cut around the dielectric and then removing it. Aim for a clean, unfrayed section of the central copper wire without damage or bending.
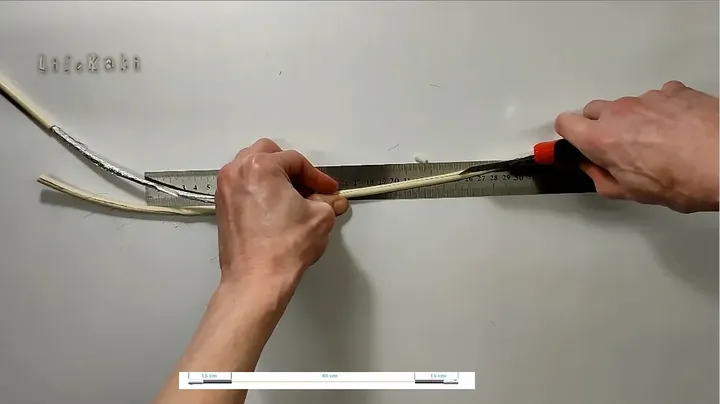
Forming the Antenna Loop
This stage involves shaping the antenna. Carefully bend the prepared coaxial cable into a loop, often a square or rectangular form, utilizing a template for consistency. Ensure the bends are smooth and uniform, avoiding sharp kinks that could damage the cable’s internal structure.
Connecting the Splitter and Cable Ends
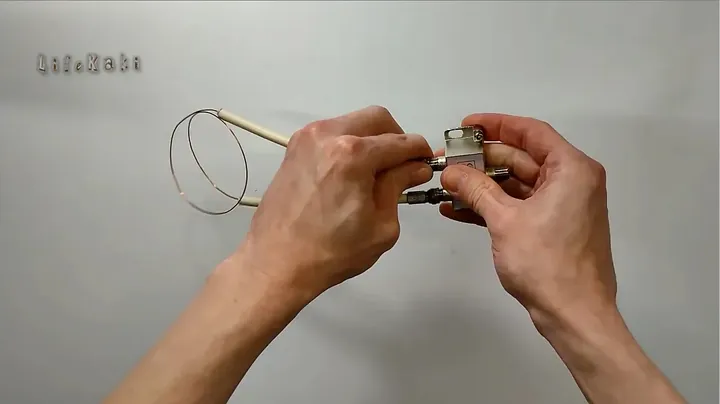
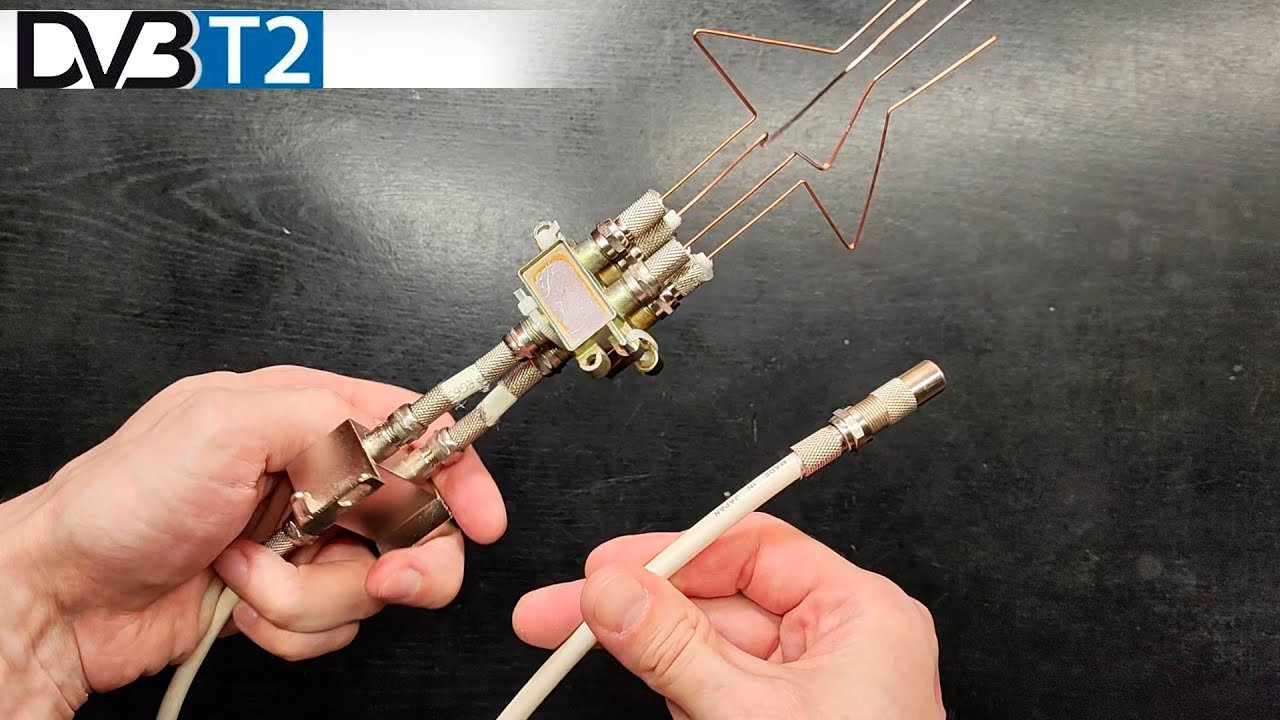
Now, connect the antenna loop to the TV splitter. Take the two stripped ends of the antenna loop and attach them to the splitter’s input port using F-connectors. These F-connectors must be threaded tightly to ensure solid, metal-to-metal contact with the cable’s shielding and inner conductor. The splitter serves as a junction and a simple impedance-matching device.
Attaching the Feedline Cable
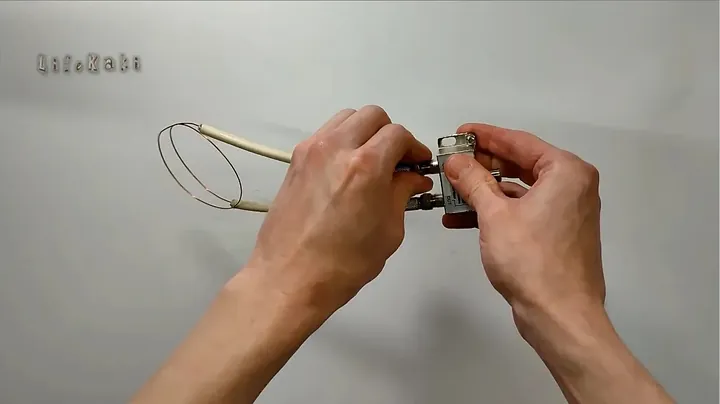
With the antenna loop connected, attach the main feedline cable, which runs directly to the television. Take another F-connector, carefully prepare the end of the feedline cable, and then thread it onto one of the TV splitter’s output ports. Again, tightness is essential. A firm, secure connection that resists wiggling or loosening is necessary. This cable transports the signal from the DIY DVB-T2 antenna to the TV. Double-check the threads; cross-threading is difficult to rectify.
Final Antenna Assembly
With all F-connectors properly installed and tightened, perform a final inspection of the entire antenna assembly. Confirm that all connections are secure and that the cable loop maintains its intended shape. Attach the TV antenna plug to the end of the feedline cable, which connects to the television. This typically involves a simple screw-on or crimp connection, ensuring the inner conductor makes good contact with the plug’s pin. Gently tug on all components to confirm they will not disconnect.
Connecting Antenna and Scanning Channels
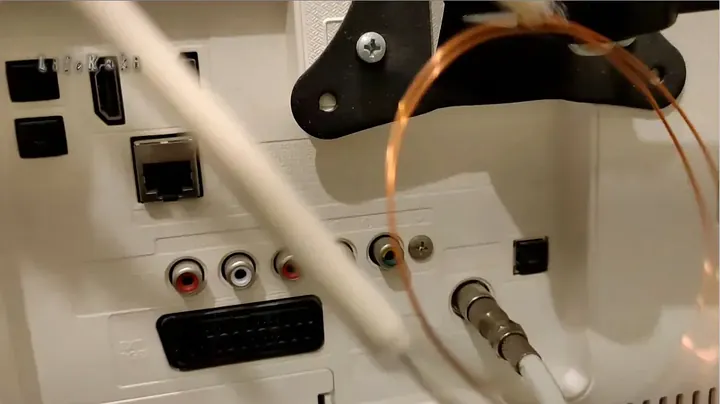
With the antenna fully assembled, plug the TV antenna plug directly into the antenna input on the television. Once connected, navigate the TV’s menu to the channel scanning or auto-tune function. This process may take several minutes as the television searches for available digital signals. A progress bar usually appears on the screen, indicating the scan’s advancement.
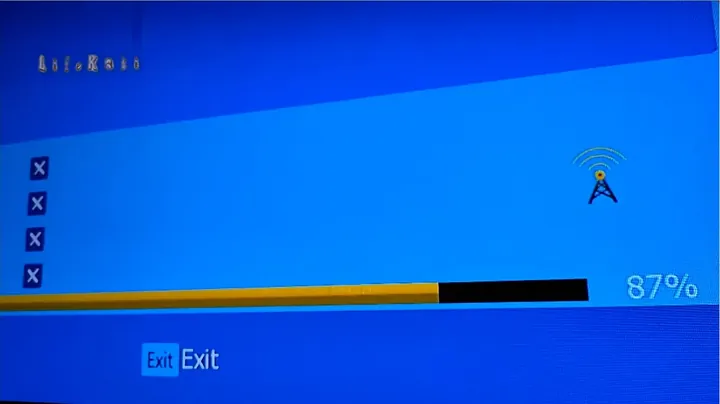
Signal Test and Final Result
The channel scan has concluded, and now it is time to test the signal. Cycle through the channels the TV has found, checking for picture quality, stability, and any pixelation. If the reception is choppy or channels are missing, adjust the antenna’s position or orientation slightly. Sometimes, even minor adjustments can significantly improve reception. This simple coaxial cable antenna, without any complex amplifiers, successfully receives free digital TV channels. It offers a practical, clean solution for backup or basic indoor viewing.
Summary & Tips
This straightforward coaxial antenna construction delivers free digital TV. It represents a minimal setup demonstrating that expensive equipment is not always necessary for adequate reception, especially for local channels. Ensure clean cuts and tight F-connectors.
📋 Frequently Asked Questions (FAQ)
❓ Can this DIY antenna work for analog TV signals?
No, this design is specifically for DVB-T2, DVB-T, and other digital terrestrial signals. Analog TV is largely obsolete, and this antenna will not receive those older signals effectively.
❓ Do I need an amplifier with this homemade antenna?
For strong local signals, an amplifier is likely unnecessary. This design performs well without one. If the signal is weak or the transmission source is distant, an amplifier might be beneficial, but test the antenna without one first.
❓ What if I’m not getting many channels after building it?
This can happen. First, inspect all connections to ensure they are secure. Then, try repositioning the antenna. Moving it higher, closer to a window, or rotating it slightly can often significantly improve reception. Finding the optimal placement is key.
Disclosure: this post contains affiliate links. If you buy through them, we may earn a small commission at no extra cost to you.
🛒 Useful Links & Products
Coaxial Cable 75Ω
🛒 BUY ON ALIEXPRESSF Connectors & TV Plug Kit
🛒 BUY ON ALIEXPRESSTV Splitter
🛒 BUY ON ALIEXPRESS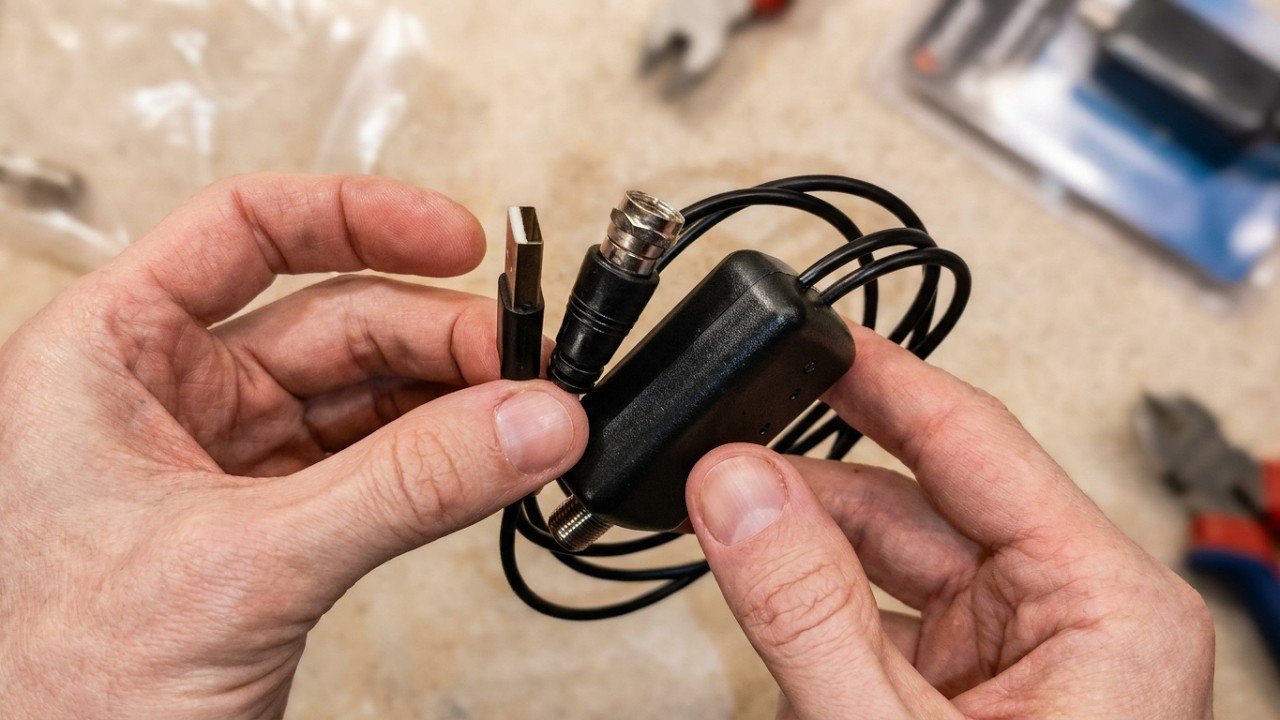




Leave a Reply