A blender that spins but fails to rotate the blades is a common kitchen appliance failure caused by a worn-out coupling. Instead of replacing the entire motor or buying a new unit, you can restore the friction grip using a simple DIY shim technique. This guide walks you through the inspection, material preparation, and installation process to get your blender back to full torque capacity.
Author: LifeKaki
⚡ Quick Guide: How to Fix a Blender Coupling in 6 Steps
- Inspect the motor shaft and coupling for signs of wear.
- Select a piece of flexible plastic tubing to act as a shim.
- Cut the tubing to the required ring size.
- Fit the shim tightly over the motor shaft.
- Trim any excess material to ensure a flush fit.
- Test the blender under load to verify torque transfer.
📋 In This Article
- Tools & Materials — Required items for the repair
- Coupling Inspection — Identifying the slipping mechanism
- Preparing the Shim — Cutting the friction ring
- Trimming Excess — Refining the fit
- Final Load Testing — Verifying the repair
📊 Technical Specifications
| Repair Method | Friction shim reinforcement |
| Material | Flexible PVC tubing |
| Primary Issue | Stripped motor-to-coupling interface |
| Compatibility | Standard household blender couplings |
Tools & Materials Used
🔧
Makita D-65713 Utility Knife Snap-Off Easy
AliExpress 🛒
🛠️
BUY ON ALIEXPRESS 🛒
Recommended
Blender Drive
Step-by-Step Assembly & Testing
Coupling Inspection
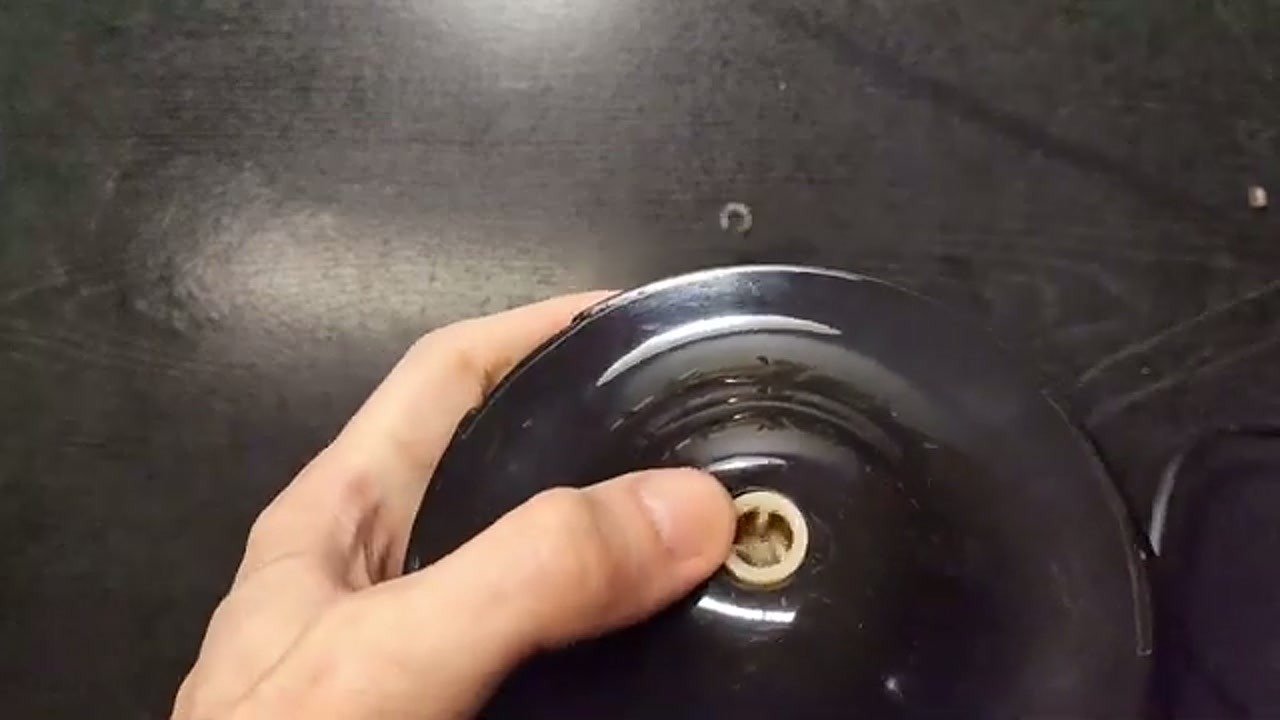
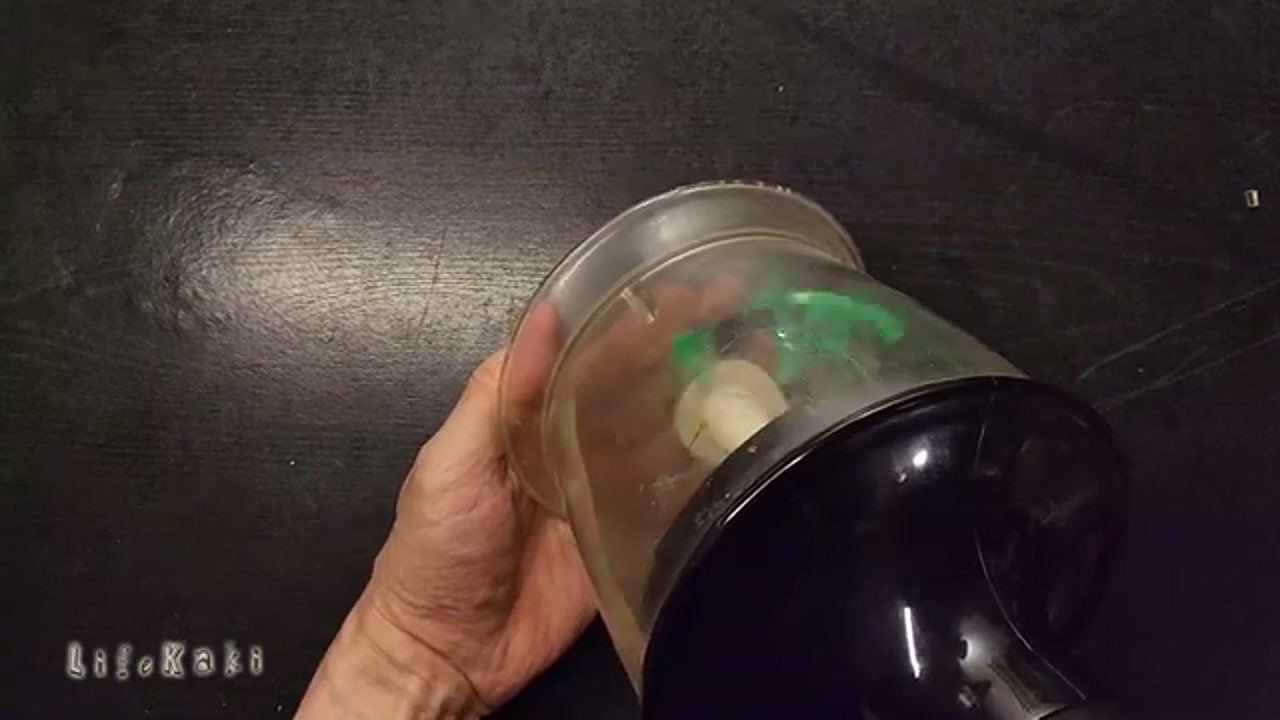
The first step is to isolate the failure point by checking the motor shaft interface. When the motor spins but the blades remain stationary, the internal plastic teeth of the coupling are likely stripped. You can observe the motor shaft rotating freely inside the coupling housing. This lack of resistance indicates that the friction fit has been completely compromised. Inspect the depth of the wear to determine if a simple shim will provide enough grip.
Preparing the Shim
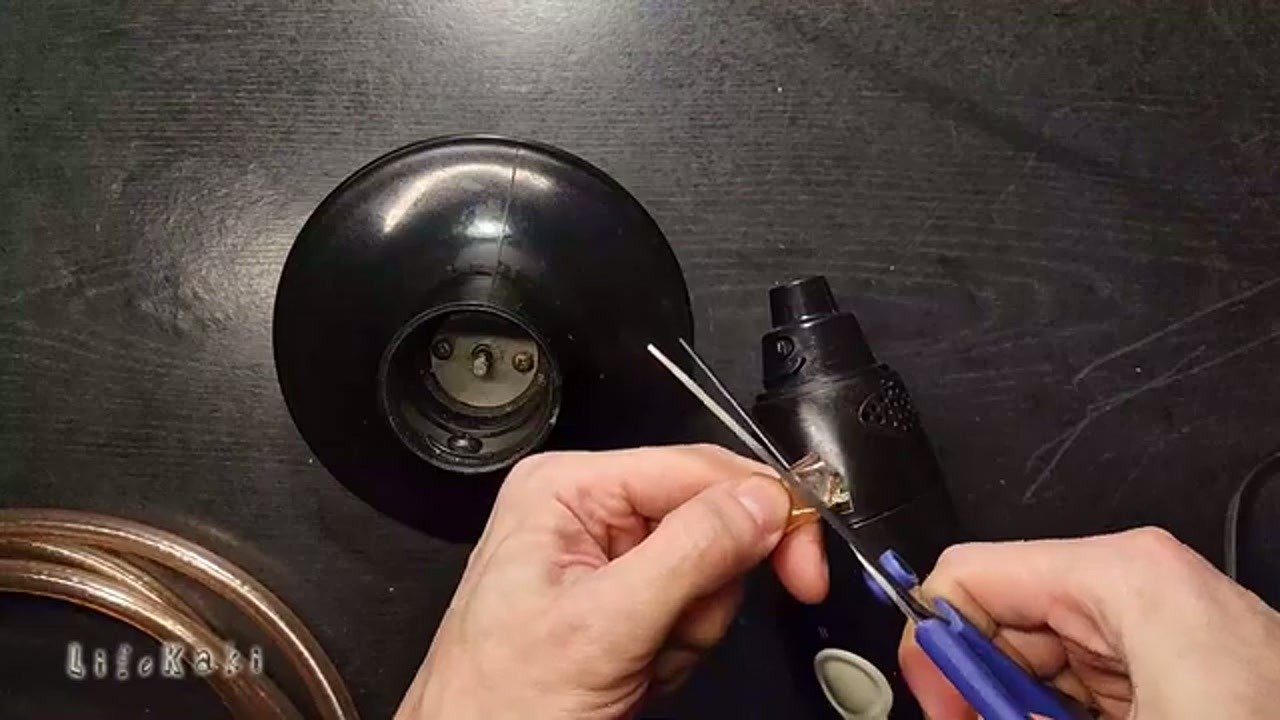
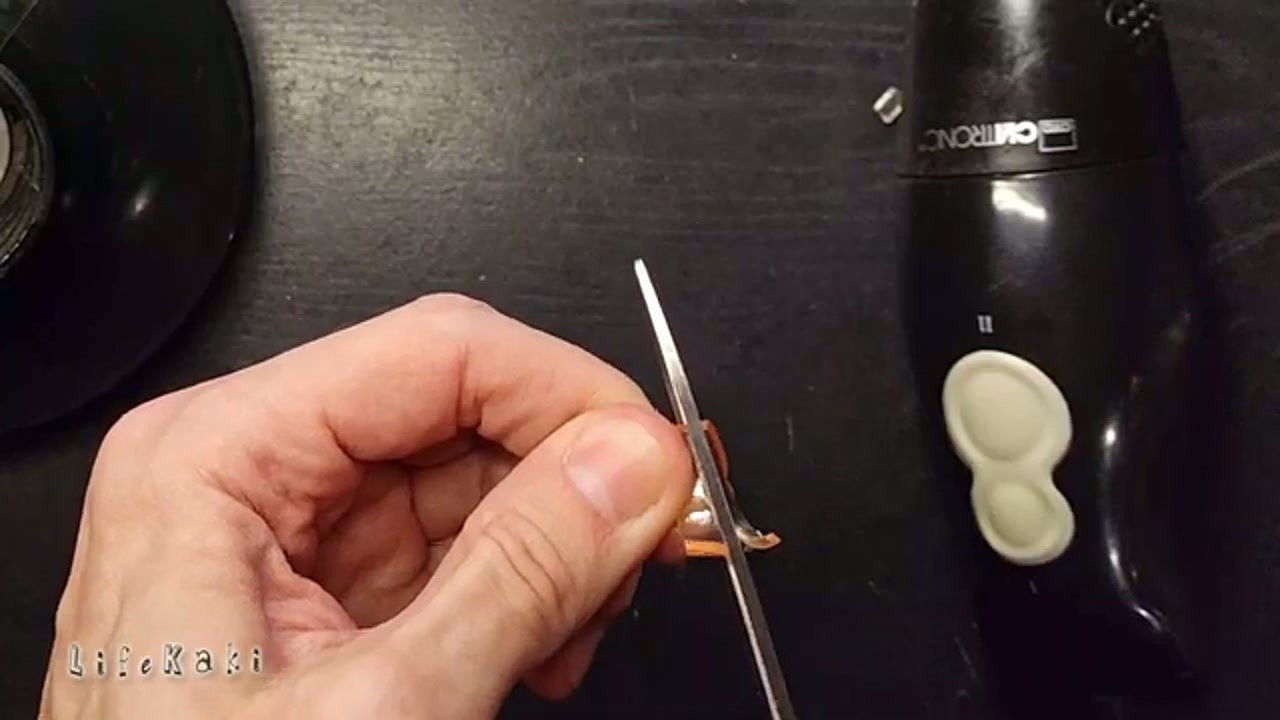
To restore the connection, you need a material that adds thickness and grip to the shaft. A piece of flexible PVC tubing is ideal for this purpose because it is durable and provides necessary friction. Measure the diameter of the motor shaft and cut a thin ring from the tubing. Ensure the ring is sized to fit snugly over the shaft without being too loose. This shim acts as a bridge between the motor and the coupling.
Trimming Excess
Once the shim is in place, you must ensure it does not interfere with the seating of the coupling. Use a sharp utility knife to trim any excess material that protrudes from the top or sides. A flush fit is essential so that the coupling can slide back onto the motor shaft completely. If the shim is too thick, the coupling will not engage properly, leading to further slippage under load.
Final Load Testing
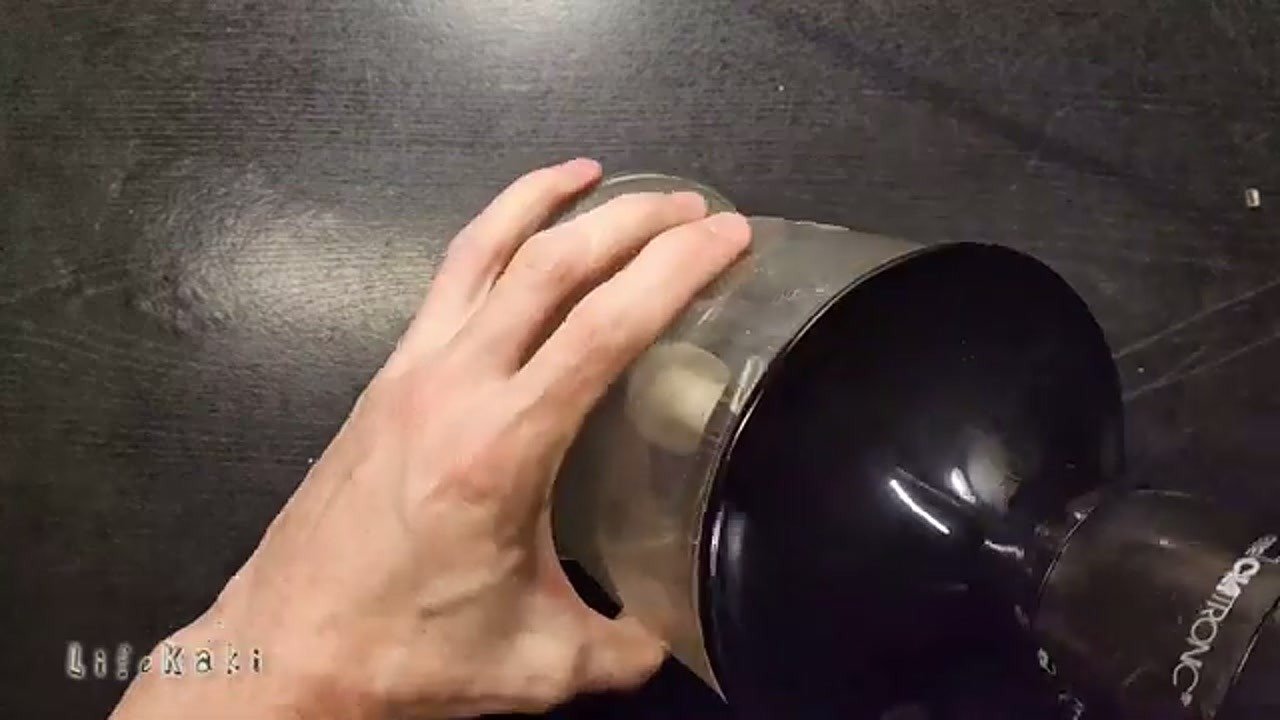
After installing the shim, reattach the coupling and secure it firmly. It is important to perform a test under load to verify that the torque is being transferred to the blades. Start the blender at a low speed to ensure there is no wobbling or unusual vibration. If the blades rotate consistently, the friction shim is successfully compensating for the worn plastic. This simple fix effectively restores the blender to working condition.
Verification of Torque
The final verification involves running the blender with a light load to confirm the repair holds. Observe the coupling during operation to ensure it remains seated on the motor shaft. If the motor continues to spin without the blades, the shim may need to be slightly thicker or more securely positioned. A successful repair will show immediate blade response as soon as the motor engages.
Final Assembly Check
Perform a final check of all components to ensure nothing is loose. The coupling should be centered and aligned with the motor shaft to prevent premature wear in the future. If the blender operates smoothly, the repair is complete and the unit is ready for regular use. This method is a practical way to extend the life of your appliance without expensive replacement parts.
⚠️ CAUTION: SAFETY WARNING!
Always unplug the blender from the power source before performing any repairs. Be careful when handling sharp utility knives while cutting the plastic shim to avoid injury.
Summary & Tips
Fixing a stripped blender coupling with a simple plastic shim is a highly effective and cost-efficient repair. By restoring the friction between the motor shaft and the coupling, you can avoid unnecessary appliance replacement. This DIY approach is a practical solution for anyone looking to handle common kitchen appliance repairs at home.
📋 FAQ
❓ Can I use other materials for the shim?
Answer: Yes, any thin, durable, and slightly flexible material like rubber or high-density plastic can work, provided it fits tightly and creates enough friction.
❓ How do I know if the coupling is too worn to fix?
Answer: If the internal plastic teeth are completely sheared off or the coupling housing is cracked, a shim may not be enough, and you should consider a replacement part.
❓ Is this repair permanent?
Answer: It is a reliable long-term fix for many blenders, though the shim may eventually wear down over time depending on the frequency of use.
Disclaimer: I purchased all tools for this guide with my own money to ensure an unbiased review. This post contains affiliate links, meaning I earn a small commission if you make a purchase at no extra cost to you.
🛒 Useful Links & Products
Recommended Blender Drive
🛒 BUY ON ALIEXPRESSMakita D-65713 Utility Knife Snap-Off Easy
🛒 BUY ON ALIEXPRESS






Leave a Reply