Today, I’m examining this 60W adjustable soldering iron, which features a ceramic heating element and precise temperature controls. I’ll be pushing it through a series of tests to see how it performs for common electronics tasks and if it can stand up to the demands of a working shop. This isn’t merely an unboxing; it’s a practical assessment of what this tool can actually accomplish on the workbench, starting from its initial warm-up to completing actual soldering operations. I’ll focus on its ability to hold a stable temperature, its heating speed, and how easy it is to use for different kinds of projects.
Author: LifeKaki
⚡ Quick Guide: How to Test and Use This Soldering Iron
- Unpack the 60W adjustable soldering iron and inspect its components.
- Set up the soldering iron securely on its stand, ensuring stability.
- Power on the iron and initiate temperature measurements using an infrared thermometer.
- Observe the iron’s initial heating capability by touching it to a metal piece.
- Continuously monitor and record the soldering tip’s temperature during operation.
- Assess the stability of the regulated temperature over time.
- Perform practical soldering tasks on different metal surfaces to gauge heat transfer.
- Re-verify the tip’s temperature accuracy with multiple measurements.
- Examine the quality of solder joints and the iron’s heat recovery after use.
- Test the iron’s efficiency in melting solder wire rapidly.
- Apply solder to a metal plate, checking for good flow and wetting characteristics.
- Clean the soldering iron tip thoroughly to maintain its longevity and performance.
- Inspect the overall build quality and assembly of the iron’s components.
- Confirm the soldering tip is securely fitted and properly aligned.
- Conclude the review with a final demonstration of the iron’s soldering capability.
📋 In This Article
- Technical Specifications
- Tools & Materials — what you need
- Initial Unboxing and First Look
- First Temperature Reading
- Continuous Temperature Monitoring
- Practical Soldering Performance Test
- Examining Solder Joint Quality and Recovery
- Solder Flow and Wetting on Plate
- Inspecting Overall Iron Assembly
- Final Soldering Demonstration and Verdict
📊 Technical Specifications & Components
| Product Name | Soldering Iron Adjustable 60W – Adjustable Temperature Electric Soldering Iron 60W |
| Input Voltage | 220V |
| Output Power | 60W |
| Heater Type | Ceramic heater |
| Temperature Control | Adjustable |
| Certification | CE |
| Origin | Mainland China |
📊 Project Overview
Difficulty Level: Easy
Time Investment: DIY: 20-30 minutes | Pro: 15-20 minutes
Professional Service Cost: N/A (Tool review, not a repair service)
Verdict: Investing in a reliable 60W adjustable soldering iron like this one provides the capability to handle numerous small electronics repairs independently, avoiding expensive professional service charges.
Tools & Materials Used
• Soldering iron stand
• Solder wire
• Metal test piece
• Soldering tip cleaning cloth
🔧
Electric Soldering Iron
AliExpress 🛒
🔧
Digital Infrared Thermometer
AliExpress 🛒
🛠️
BUY ON ALIEXPRESS 🛒
Recommended
I bought from store
Step-by-Step Assembly & Testing
Initial Unboxing and First Look
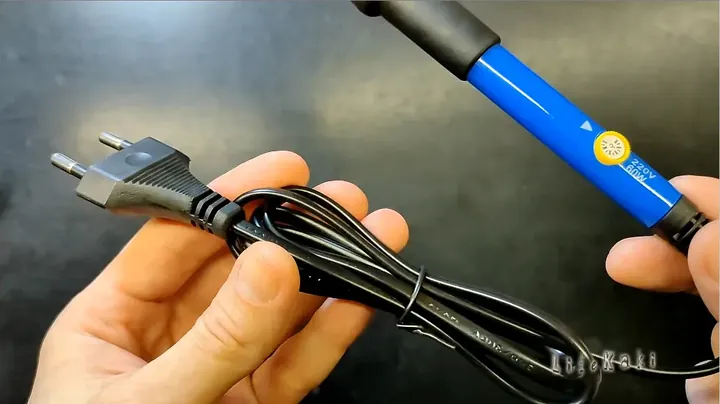
First things first, I’m pulling this 60W adjustable soldering iron out of its packaging. It’s always a good idea to give everything a quick once-over right out of the box, making sure all the components are there and nothing’s damaged from shipping. I’m looking for the iron itself, the stand, maybe some extra tips if they’re included, and of course, the power cord. My unit looks solid, a pretty standard setup with a nice, clear view of the handle and the tip assembly. I’m just checking the plug type, making sure it matches my outlets. It’s a pragmatic start, setting the stage for what’s next. A quick visual inspection helps avoid any nasty surprises later on.
Setting Up the Soldering Station
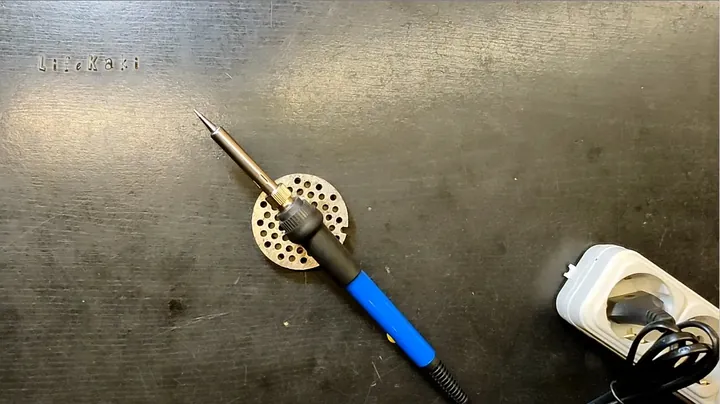
Now, I’m getting the soldering iron ready, placing it on its stand. This stand is crucial; you don’t want a hot iron just rolling around on your workbench, that’s asking for trouble or burns. Making sure it’s stable and won’t easily tip over is key. I always position my stand within easy reach but far enough from anything flammable, like papers or rags. It’s all about creating a safe, efficient workspace before you even plug anything in. A good stand keeps the hot tip elevated, preventing accidental contact and allowing for quick access when you need it. Don’t skimp on a decent stand; it’s a small investment that pays off big in safety.
First Temperature Reading
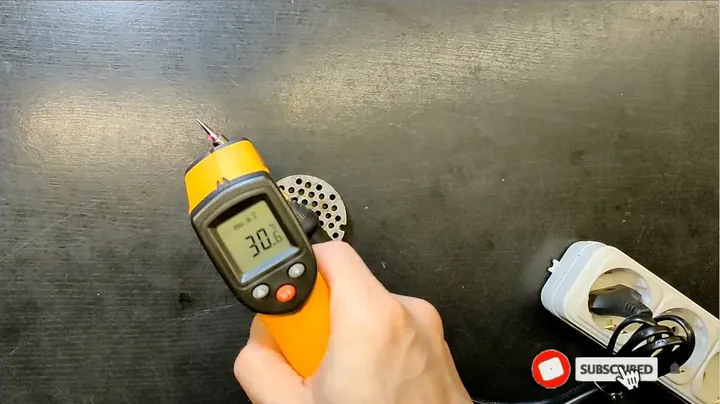
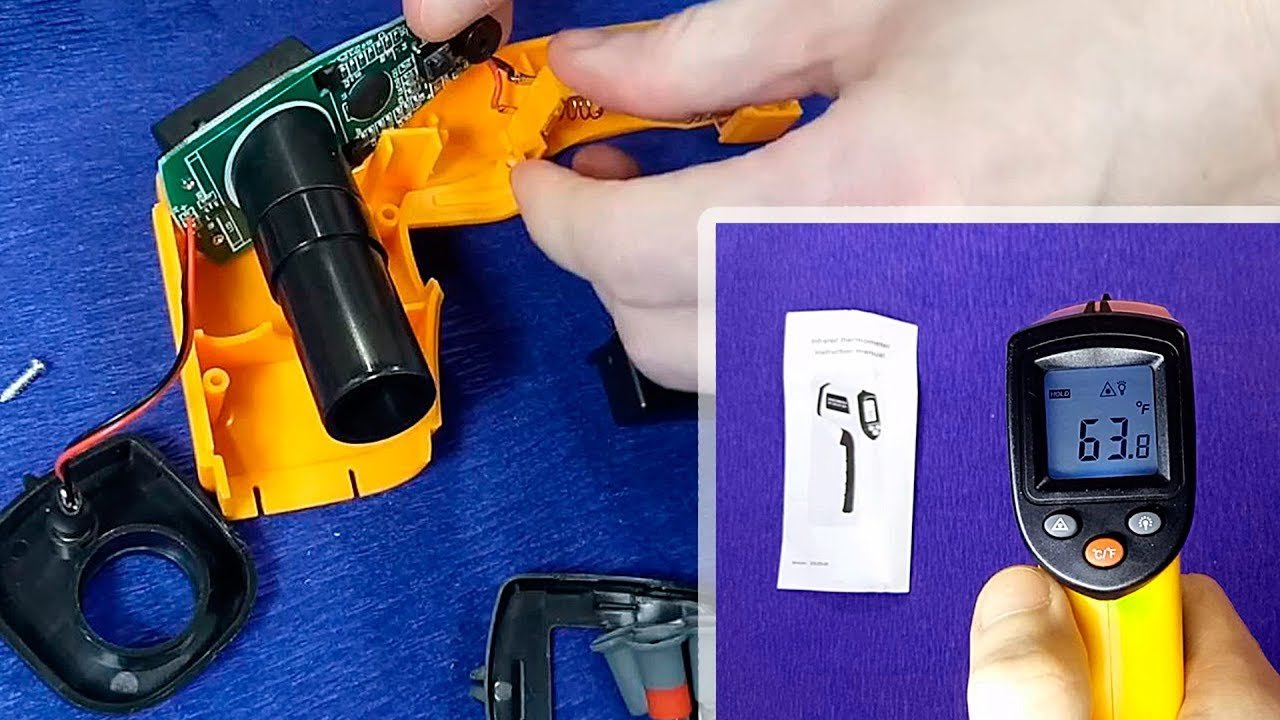
With the iron plugged in and warming up, I’m grabbing my non-contact infrared thermometer to get a baseline temperature reading on the tip. This model boasts adjustable temperature control, so I’m keen to see how quickly it hits temperature and how accurate that initial reading is. I’m aiming to see a steady rise in temperature, indicating the ceramic heater is doing its job efficiently. If it fluctuates wildly or doesn’t heat up at all, you’ve got a problem. I usually let it sit for a minute or two to stabilize before I take that first measurement. A quick check tells me if it’s even worth moving to the next stage of testing. It’s just a quick point-and-shoot, but it gives me vital info.
Testing Heat Transfer on Metal
Next up, I’m pressing the hot soldering iron tip against a small metal piece. This isn’t for soldering yet, but it’s a quick, rough check to see how well it transfers heat. I’m looking for that immediate sizzle and a visible heat mark on the metal. If it just sits there, barely warming the piece, then its heat transfer isn’t great, regardless of what the thermometer says. A good iron should make quick work of heating up a small component. This tells me if the tip material and the ceramic heater are working in concert to deliver the advertised 60W. It’s a basic but effective way to judge its raw heating power. Don’t press too hard, just enough contact.
Continuous Temperature Monitoring
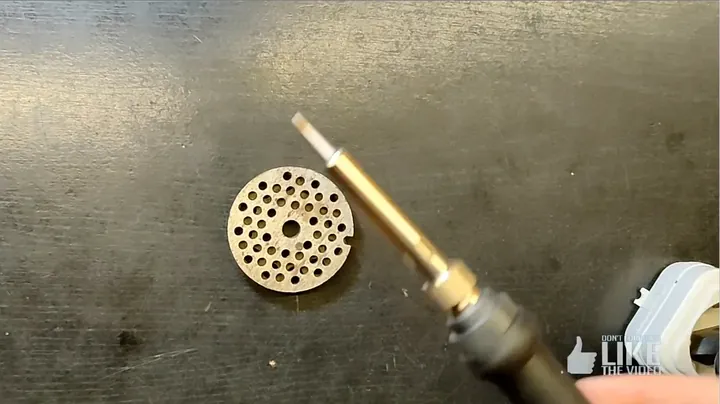
I’m continuing to measure the temperature, this time on a perforated metal piece. This allows for a slightly different thermal load, and I’m watching to see if the temperature holds steady or drops significantly when making contact. The adjustable temperature control is supposed to maintain a consistent heat, so any major fluctuations here would be a red flag. A quick dip in temperature is normal, but it should recover fast. This step helps confirm the effectiveness of the iron’s internal thermostat and the ceramic heating element. It’s essential for consistent solder joints, preventing cold spots or overheating sensitive components. Good recovery is key for continuous work.
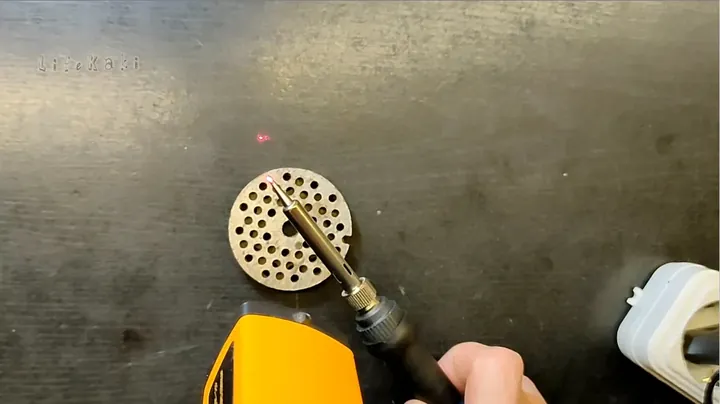
Assessing Temperature Stability
Here, I’m taking a more focused look at the temperature stability. I’m aiming the IR thermometer directly at the tip, trying to get a consistent reading over a short period. A well-regulated iron, especially one with a ceramic heater, should maintain its set temperature with minimal deviation. If you see it bouncing around by more than a few degrees, it’s not going to give you reliable soldering performance. This is where the ‘adjustable’ part really comes into play, ensuring you can trust the temperature setting you’ve chosen. I’m looking for a solid, unwavering number. No wild swings. That’s what you want in a dependable tool.
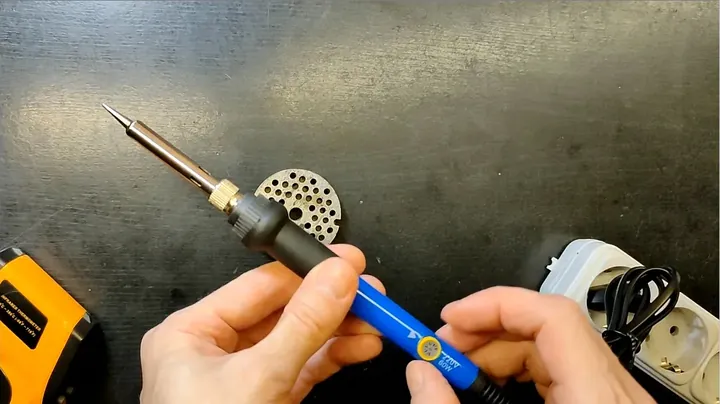
Practical Soldering Performance Test
Now for the actual work: I’m performing some basic soldering on a metal piece. This is where the rubber meets the road. I want to see how quickly the solder melts, how it flows, and if it wets the metal properly. A good iron, even a 60W one, should melt solder almost instantly upon contact. If it takes too long, you’re just heating up the component unnecessarily, risking damage. This step reveals the true working temperature and heat recovery under load. It’s not just about the numbers; it’s about the feel, the way the solder takes. You want a shiny, smooth joint, not a dull, lumpy mess. This is the real test.
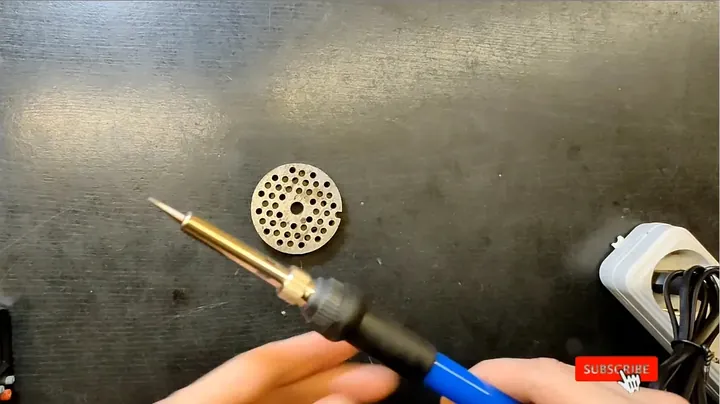
Verifying Tip Temperature Accuracy
I’m re-checking the temperature with the infrared thermometer, specifically after a few soldering cycles. It’s important to verify that the tip temperature remains consistent even after it’s been actively used. Sometimes, irons can show good initial heat but struggle with recovery or maintaining temperature during prolonged use. The ceramic heater should help with this, providing stable heat delivery. If the temperature has dropped significantly and isn’t recovering quickly, it’s a sign of a weaker heating element or poor temperature control. I’m looking for reliability here. A quick shot with the IR gun confirms its consistency. No surprises, please.
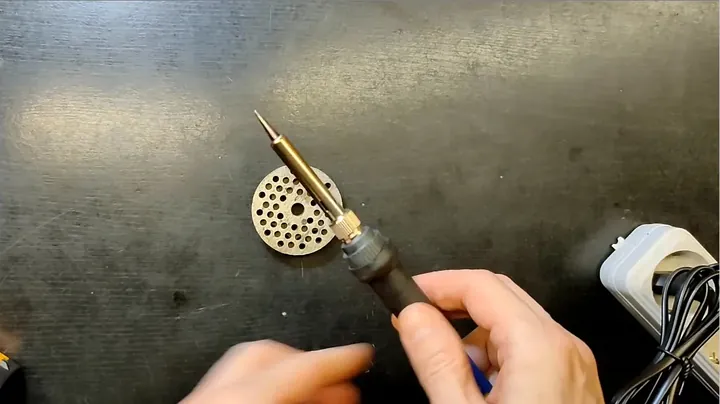
Examining Solder Joint Quality and Recovery
After a few more passes, I’m closely examining the solder joints I’ve made and also paying attention to the iron’s heat recovery. Good joints should be smooth, shiny, and have a nice concave fillet, indicating proper wetting. If the iron’s struggling, you’ll see cold joints, dull finishes, or solder that beads up. The ceramic heater should mean fast heat recovery, so the tip doesn’t cool down too much between joints. This is critical for efficiency and preventing rework. You want to be able to move from one joint to the next without waiting. It’s all about consistent heat and clean work. That’s the benchmark.
Assessing Solder Melting Speed
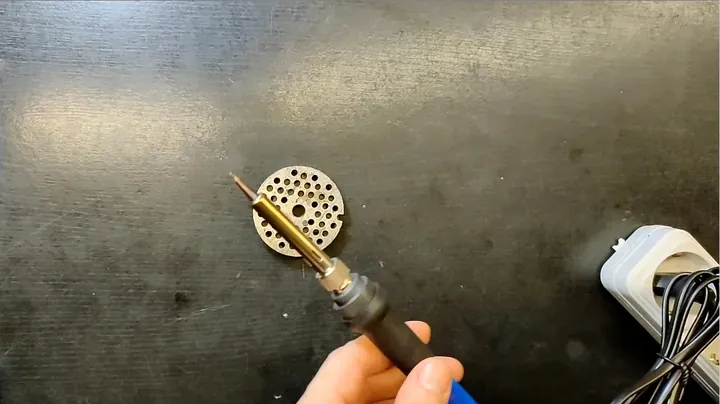
I’m performing another quick test, this time focusing solely on the solder melting speed. I’m touching the solder wire directly to the hot tip and watching how quickly it liquefies. A well-performing 60W iron should melt solder almost instantaneously on contact. If it hesitates, or if the solder just slowly melts and clumps, then the iron isn’t transferring heat as effectively as it should. This quick visual confirms the tip’s ability to maintain high enough temperatures for rapid solder flow. You don’t want to wait around for your solder to melt. Speed matters for efficient work. It’s a simple, undeniable indicator of performance.
Solder Flow and Wetting on Plate
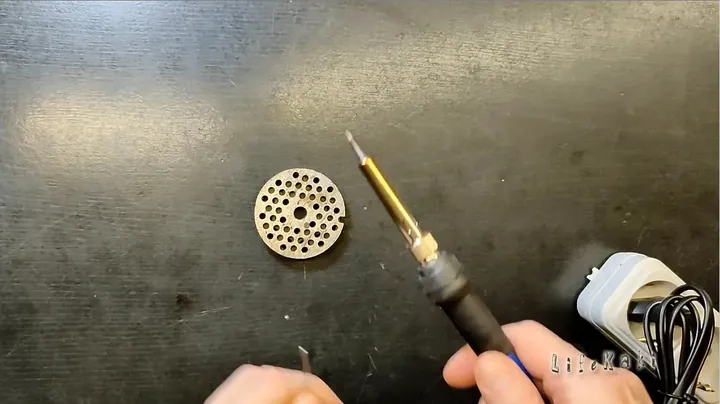
Next, I’m applying solder wire to a metal plate, observing its flow and wetting characteristics. This tells me a lot about the iron’s ability to properly heat a larger surface area and how the solder behaves. Good wetting means the solder spreads out thinly and adheres well to the base metal, creating a strong electrical and mechanical bond. If it balls up or pulls away, it’s a sign that either the temperature is off, or the surface isn’t clean, or the iron isn’t delivering consistent heat. The ceramic heater should provide enough thermal mass to heat the plate evenly, ensuring good flow. It’s all about that perfect, shiny spread. No cold spots.
Tip Cleaning and Maintenance
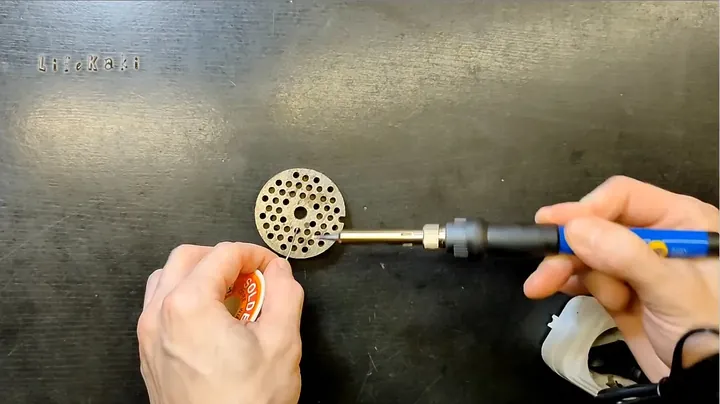
After all those tests, it’s crucial to clean the soldering iron tip. I’m using a damp sponge or a brass wool cleaner to wipe off any excess solder and flux residue. A clean tip is vital for efficient heat transfer and preventing oxidation. A dirty tip won’t melt solder properly, and it’ll make your joints look terrible. You should always tin your tip with a fresh coat of solder after cleaning and before putting the iron away. This protects it from oxidation and ensures it’s ready for the next job. Don’t skip this step; it’ll extend the life of your tip significantly. It’s basic workshop hygiene.
Inspecting Overall Iron Assembly
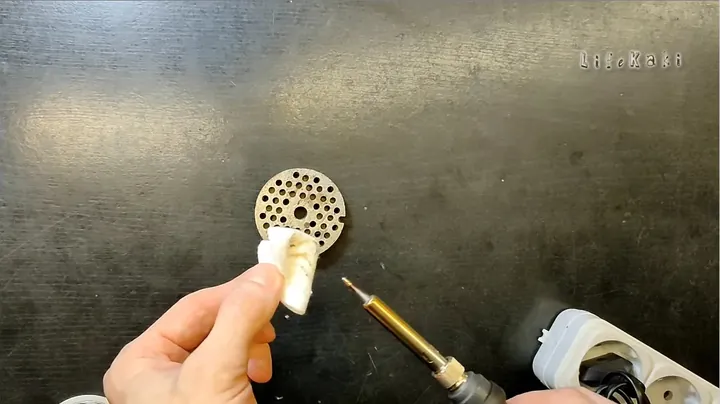
Now, I’m giving the entire soldering iron assembly a thorough once-over. I’m checking the fit and finish of the handle, the connection point for the tip, and the general build quality. You want to feel a solid, ergonomic grip without any wobbles or loose parts. A poorly assembled iron can be uncomfortable to use and might even pose a safety risk. I’m looking for tight seams and secure fastenings, making sure everything feels robust. It’s important that the handle doesn’t get too hot to hold during extended use. This iron seems pretty decent, no obvious flaws sticking out. It’s gotta feel good in the hand.
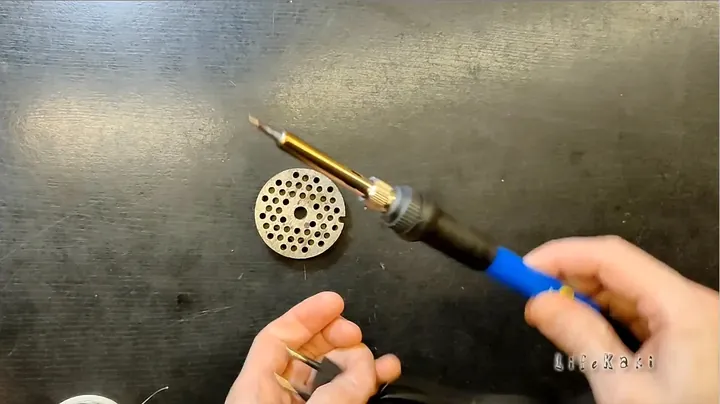
Final Tip Fit and Finish Check
I’m taking a close look at the soldering tip itself, ensuring it’s securely seated and properly aligned within the heating element. A loose or misaligned tip won’t transfer heat efficiently, leading to poor soldering results and potentially damaging the heater. The fit should be snug, with no play. I’m also checking the condition of the tip, looking for any signs of pitting or excessive oxidation, though this is a new unit. A well-designed tip connection is key for consistent performance and easy tip replacement down the line. It’s a small detail, but it makes a big difference. Looks good, locked tight.
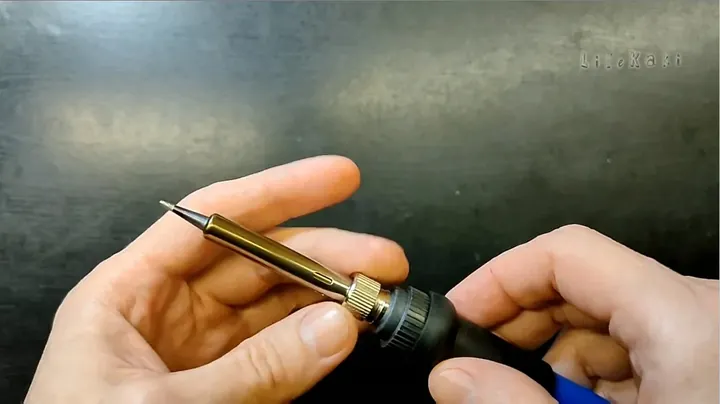
Final Soldering Demonstration and Verdict
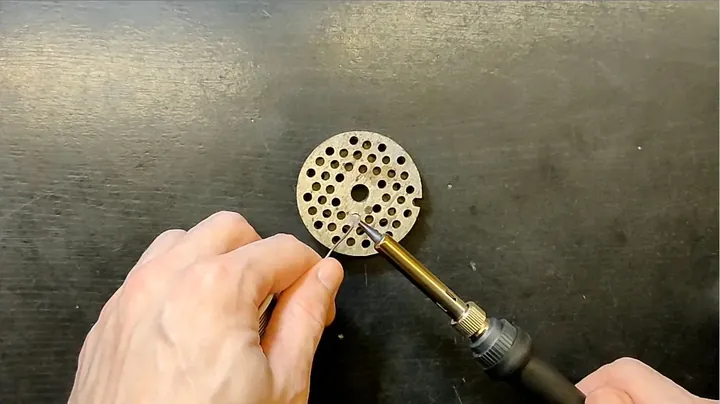
To wrap things up, I’m doing one last soldering pass on a component, just to confirm everything I’ve observed. The iron heats up quickly, maintains a stable temperature thanks to that ceramic heater, and the solder flows nicely, creating clean joints. For a 60W adjustable soldering iron, it handles these tasks with ease. It’s got decent power for general electronics work, and the temperature control is a big plus for working with different types of solder and components. This iron feels like a solid choice for hobbyists and even light professional use. It’s a functional, practical tool that delivers on its promises. it’s a dependable piece of kit for the bench.
⚠️ CAUTION: SAFETY WARNING!
Soldering iron use must be in a well-ventilated area to prevent fume inhalation. The tip reaches extreme temperatures; use a proper stand and avoid skin contact. Always disconnect the iron from power when not in use or during tip changes. Electrical tools present hazards if not handled correctly.
Summary & Tips
Bottom line: This 60W adjustable soldering iron with its ceramic heater punches above its weight for the price. It heats up fast, holds a steady temperature, and makes clean solder joints without a fuss. It’s a solid, practical tool that’ll get most of your electronics jobs done right. Definitely a decent pick for anyone needing reliable heat on the bench.
📋 FAQ
❓ Is a 60W soldering iron powerful enough for most electronics work?
Yes, 60W is a standard power rating suitable for the majority of common electronics repairs and hobby projects. It effectively handles tasks from small circuit boards to moderately sized wire connections. However, it is not recommended for soldering heavy gauge automotive cables.
❓ What’s the main advantage of a ceramic heater in a soldering iron?
The primary benefits of a ceramic heater include significantly faster heat-up times and superior temperature stability. It facilitates quicker heat recovery after each solder joint, leading to more consistent results. This translates to reduced waiting periods and more reliable soldering outcomes.
❓ How often should I clean my soldering iron tip properly?
Tip cleaning should be a continuous process, ideally after nearly every solder joint. A quick wipe on a damp sponge or brass wool is sufficient. Always re-tin the tip with fresh solder before storage. This practice significantly extends tip lifespan and maintains optimal performance.
Disclaimer: I purchased all tools for this guide with my own money to ensure an unbiased review. This post contains affiliate links, meaning I earn a small commission if you make a purchase at no extra cost to you.
🛒 Useful Links & Products
I bought from store
🛒 BUY ON ALIEXPRESS



Leave a Reply