I have this compact 18650 power bank module on today, and I wanted to see if it makes sense to build a pocket-sized emergency supply. I’m taking it apart, installing the cell, and running a full load test right now.
Author: LifeKaki
📋 In This Article
📊 Technical Specifications & Components
| Battery type | 18650 Li-ion |
| Capacity | 3500mAh |
| Output voltage | 4.89V |
| Input port | Micro USB |
| Output port | Standard USB |
📊 Project Overview & Costs (USA Market)
🔧 Difficulty Level: Easy
⏱️ Time Investment: DIY: 2-8 mins | Pro: 2 mins
💡 Verdict:Self-assembly saves roughly in retail costs, which covers the price of the battery.
Tools & Materials Used
• 18650 Power Bank Case
• Rechargeable Battery (LiitoKala 18650 3500mAh)
🔧
DT9205A Digital Multimeter
AliExpress 🛒
🛠️
BUY ON ALIEXPRESS 🛒
Recommended
Tested Component
Step-by-Step Assembly & Testing
USB Module Inspection
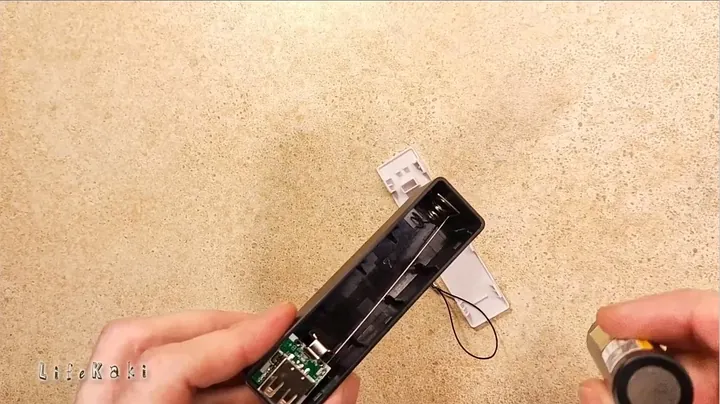
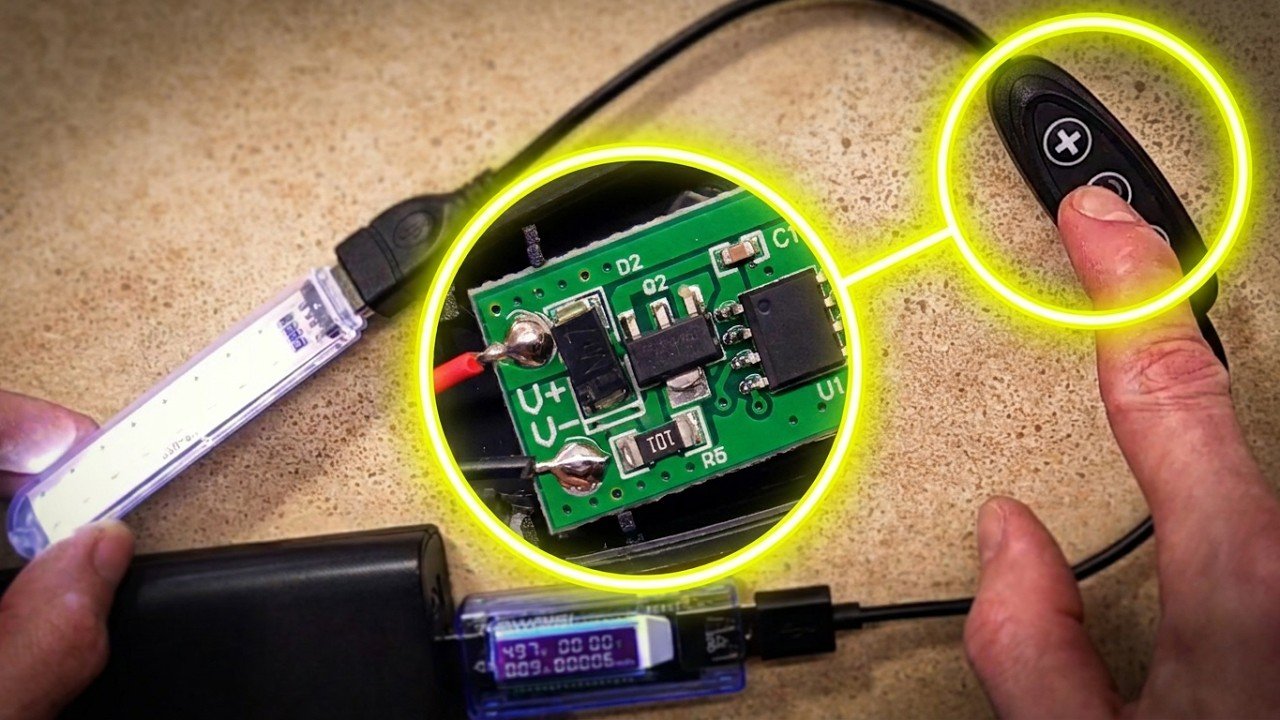
I’m unpacking the kit to examine the layout. This is a functional kit intended to create a portable power bank using a single 18650 cell. The circuit board is simple, with one USB output and one micro USB input. The solder connections look clean, with no bridging. I check the PCB traces before starting to ensure no faults exist. It’s a minimal setup, but it should work for a lightweight backup power supply. I’ll clear the housing and prepare for assembly.
Battery Installation
I am picking up the LiitoKala 18650 cell and aligning it within the housing. Correct polarity is essential, so I verify the positive and negative terminals before finishing the install. I push the battery into the bracket until it snaps into the spring contact. The fit is firm to prevent any movement. I check for damaged battery wrappers, as tears can lead to shorts. Sliding the sled into the shell, I ensure the board is flush and no wiring is pinched. A secure fit ensures long-term reliability.
USB LED Flashlight Test
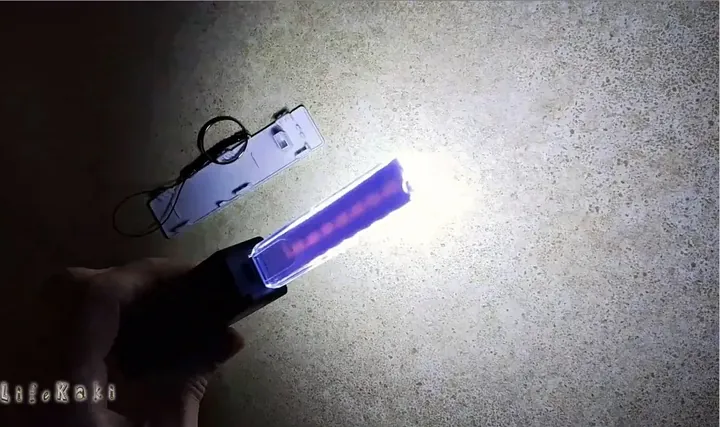
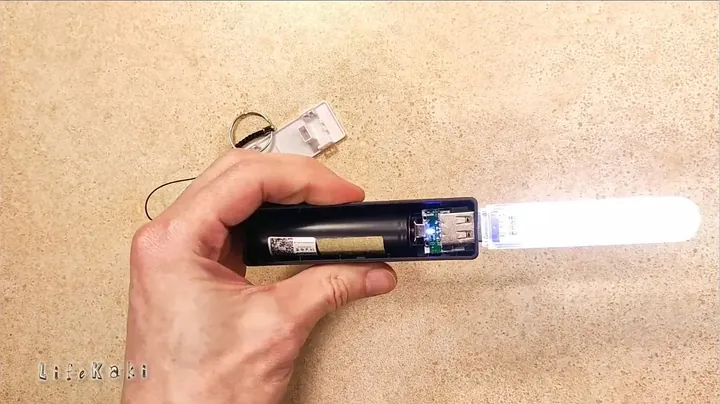
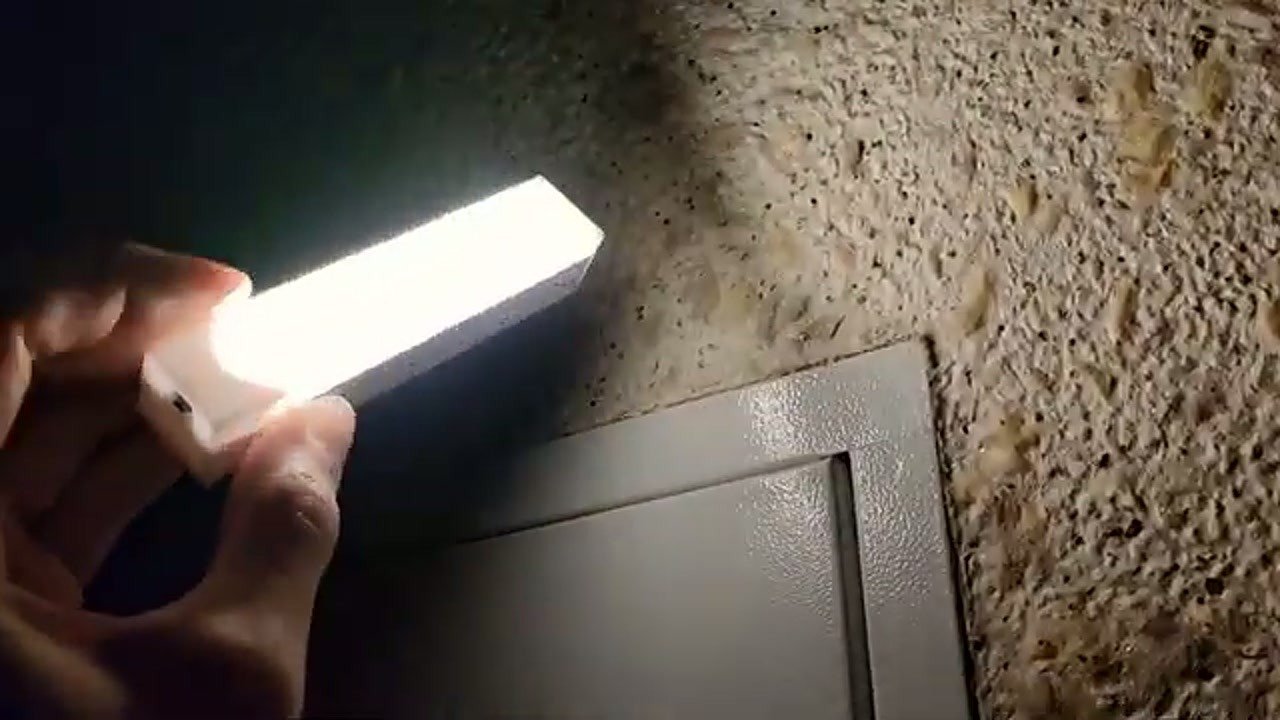
Testing the output confirms the module functions correctly. I connect a small USB light to the port to observe the operation. The lamp illuminates steadily, indicating the boost circuit is active. Any failure here would suggest a polarity error or a poor solder joint. The draw is low, so the battery remains cool. This quick test verifies that the voltage regulator is operational.
Voltage Output Check
I am measuring the output to verify performance. Using a USB tester, I confirm a stable 4.89V, which is ideal for standard charging. The module maintains this voltage without significant sag under load. Checking these values prevents potential damage to connected devices. The readings are within acceptable limits for a daily-use power source.
Final Case Assembly
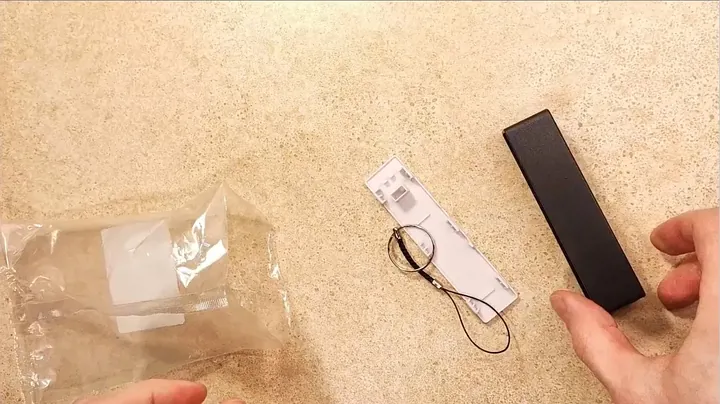
I am finishing the construction by sealing the enclosure. I slide the cover until the tabs lock in place. The housing fits tightly, preventing debris from entering. This creates a durable power source suitable for everyday carry. I perform a final shake test to ensure the battery is secure. The assembly is complete.
Final Review
The unit is complete and functional. Assembly required minimal time. The device is compact and portable for emergency use. The casing is flush, and the USB port is properly aligned. The project is a success.
⚠️ CAUTION: SAFETY WARNING!
Examine 18650 battery wrappers for damage before use. Shorted lithium-ion cells pose fire and burn risks.
Summary & Tips
The device provides reliable power for emergency use. Ensure battery polarity is correct before closing the case.
📋 FAQ
❓ Is the 18650 battery replaceable?
Yes. The cell is held by spring contacts, allowing for simple replacement.
❓ Does this support quick charging?
No. The module is limited to basic 5V output for standard charging.
❓ Is soldering required?
No. This design uses spring contacts for a solderless assembly.
Disclaimer: Tools purchased independently to ensure impartial testing. Affiliate links included.
🛒 Useful Links & Products
Tested Component
🛒 BUY ON ALIEXPRESS





Leave a Reply