Looking for a way to turn trash into functional workshop gear? I’m showing you how to transform standard PET plastic bottles into a surprisingly strong, flexible chain that works for hanging, organizing, or garden tasks.
Author: LifeKaki
⚡ Quick Guide: How to Make a Plastic Bottle Chain
- Cut plastic bottles into uniform strips.
- Prepare the mounting bracket for the winding process.
- Wind the plastic strips to create individual links.
- Connect the links together to form a continuous chain.
- Apply heat to shrink and harden the plastic joints.
- Test the chain for strength and load-bearing capacity.
In This Article
- Tools & Materials — what you need for the build
- Technical Specifications — material properties
- Setting Up the Bracket — preparing the workspace
- Wrapping Plastic Strips — forming the base material
- Creating the Links — shaping the chain components
- Assembling the Chain — connecting individual segments
- Tensioning and Adjusting — ensuring uniform shape
- Heat Shrinking for Strength — curing the plastic links
- Final Testing and Results — verifying the finished product
- Frequently Asked Questions — common project queries
📊 Technical Specifications
| Material | PET (Polyethylene Terephthalate) |
| Heat gun temperature | 200-400°C |
| Chain link thickness | Variable based on strip width |
| Project complexity | Moderate |
Tools & Materials Used
• PET plastic bottles
• Utility knife
• Metal bracket
• Work gloves
• Measuring tape
🛠️
BUY ON ALIEXPRESS 🛒
Recommended
Industrial Heat Gun
Step-by-Step Assembly & Testing
Setting Up the Bracket
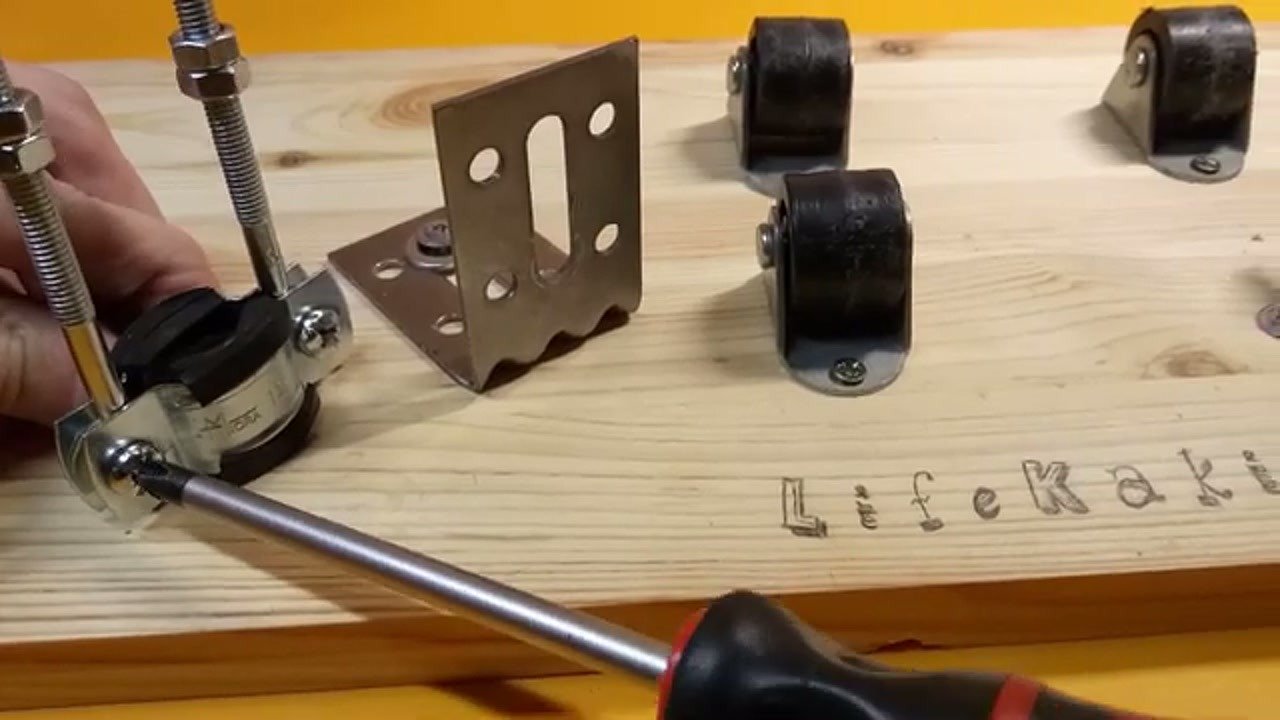
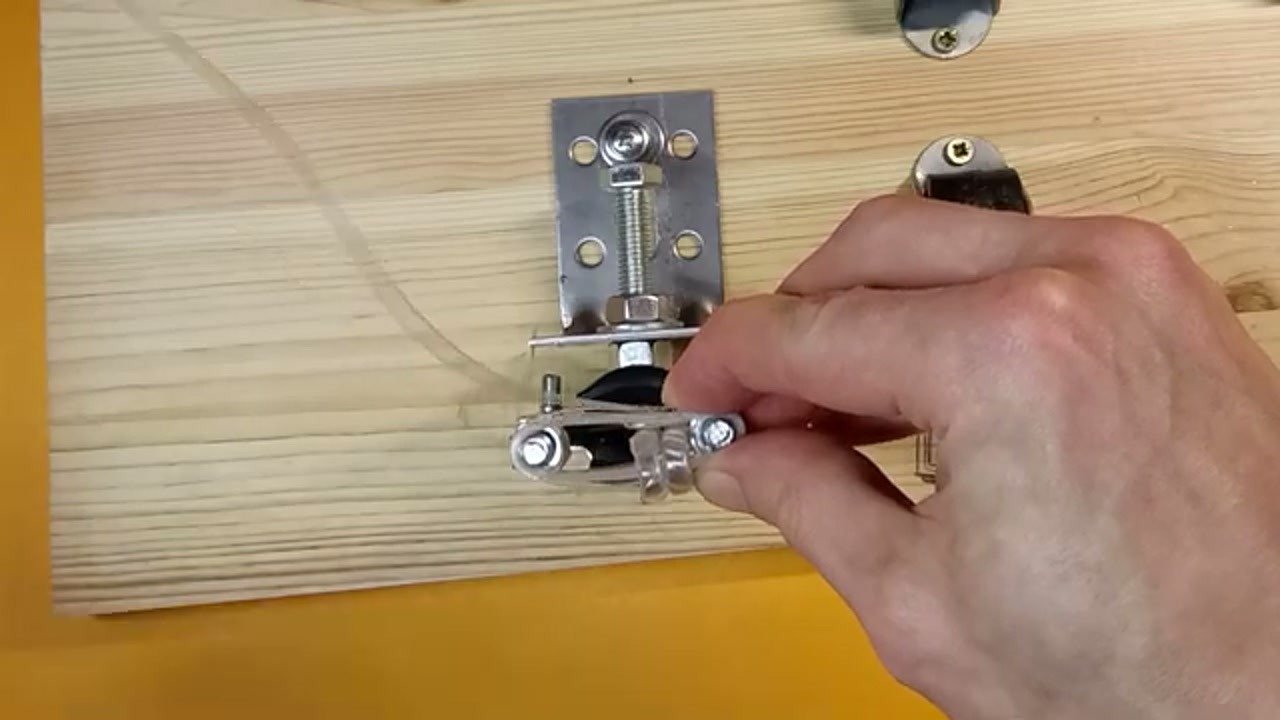
I started by securing a metal bracket to my workbench. This serves as the anchor point for the winding process. It needs to be rock solid to handle the tension. I checked the alignment to ensure the strips would wrap evenly. Everything is ready for the plastic.
Wrapping Plastic Strips
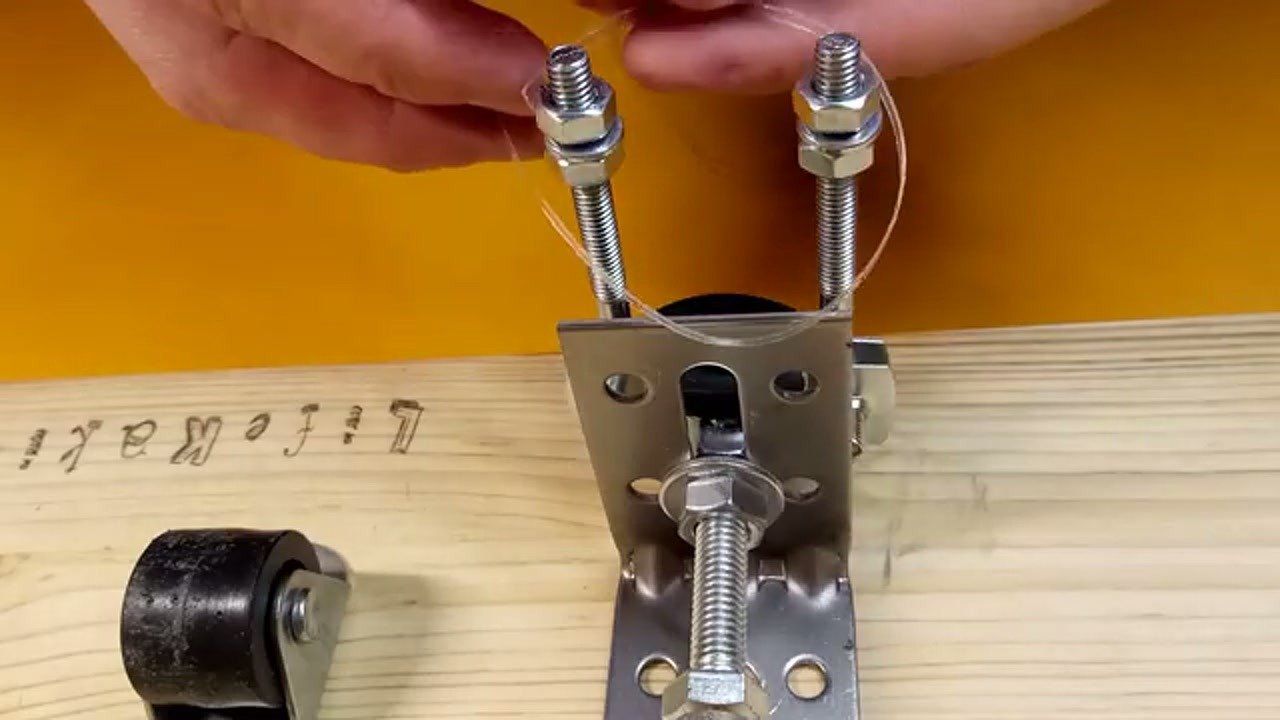
Next, I took the PET strips cut from the bottles and began threading them through the bolt assembly. Keeping the tension consistent is the secret here. If the wrap is too loose, the link will be weak. I maintained a steady pull while rotating the base. The plastic starts to form a tight, dense coil.
Creating the Links
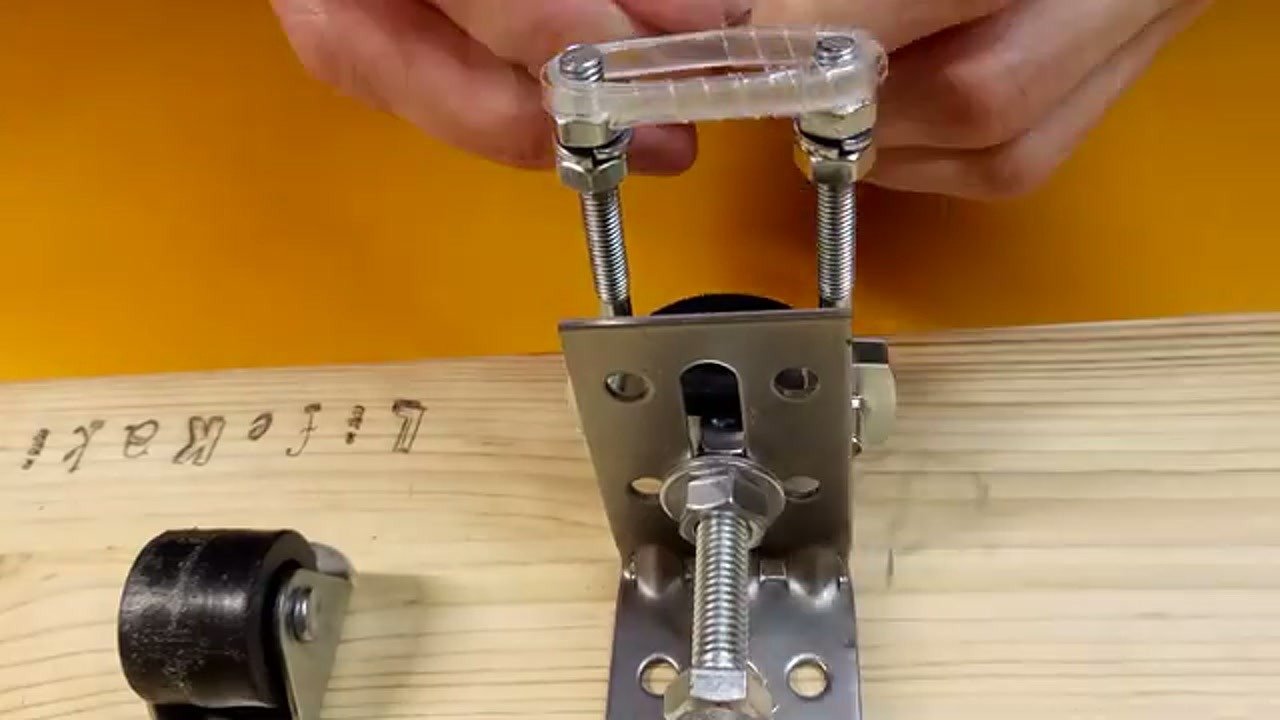
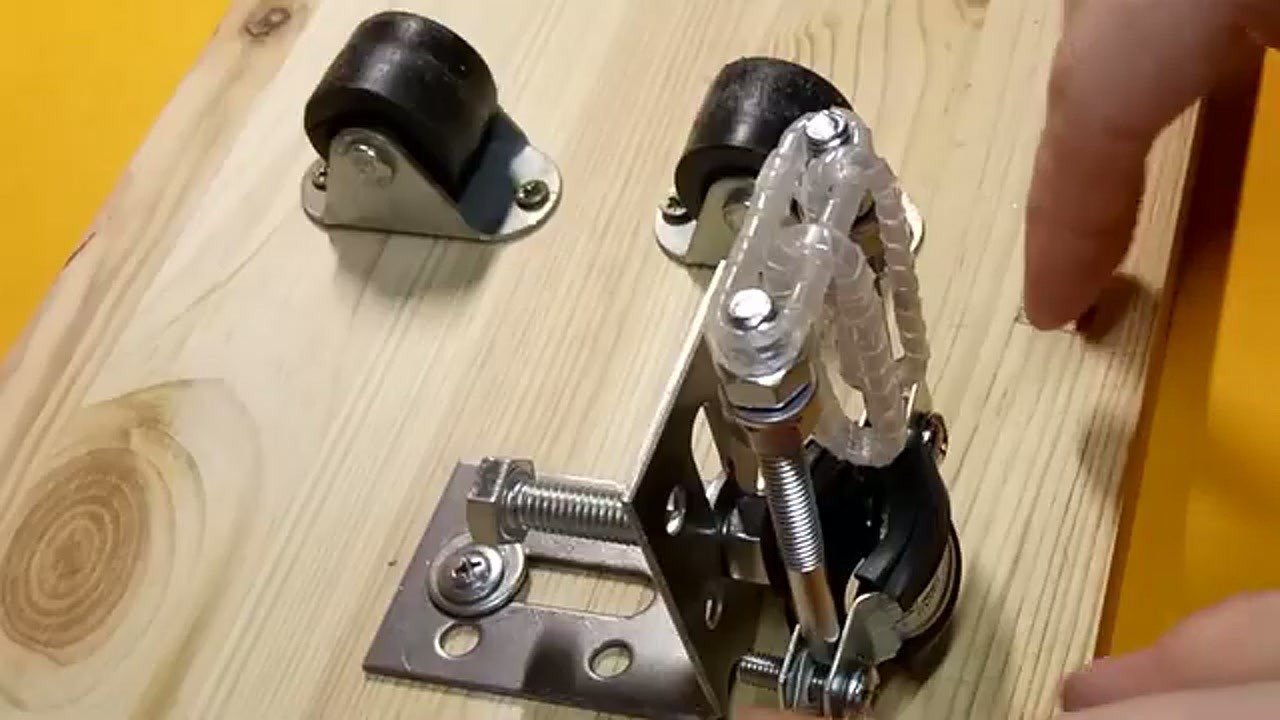
Once the coil reached the desired thickness, I secured the end. I attached the clear plastic tensioner to hold the shape. This part of the process defines the link diameter. I made sure the overlapping ends were flush. The structure is now rigid enough to handle the next phase.
Assembling the Chain
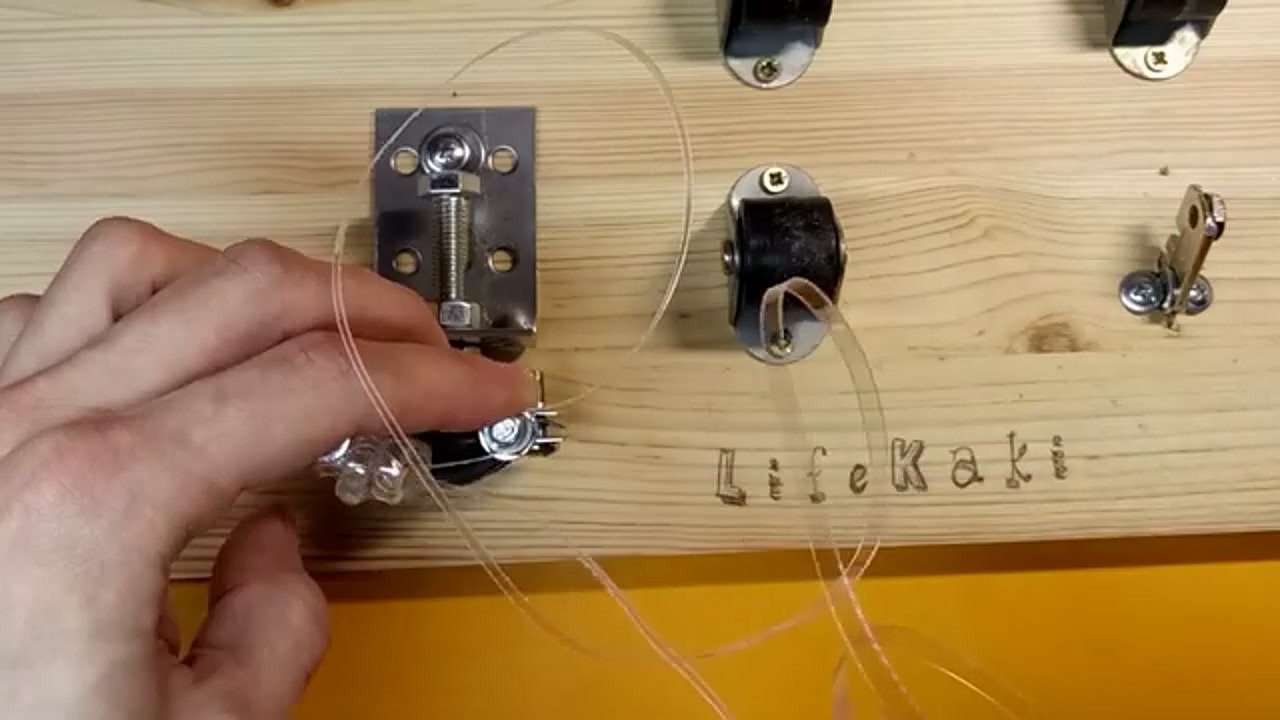
I began connecting the individual links into a continuous chain. I looped one through the other before sealing the joints. This creates a mechanical interlock. The process is repetitive but straightforward. I checked each connection for play or gaps. The chain is starting to take its final form.
Tensioning and Adjusting
Now, I adjusted the tension on the entire chain. I used the tensioning device to ensure every link was uniform. This prevents weak spots in the chain. I pulled the segments tight to remove any slack. Everything looks balanced and ready for the final heat treatment.
Heat Shrinking for Strength
I grabbed my industrial heat gun to fuse the plastic layers. I moved the nozzle slowly over the links to avoid melting through the PET. The heat causes the plastic to shrink and bond together. This step is what gives the chain its real durability. The material turns slightly opaque as it sets.
Final Testing and Results
The chain is finished and cooled down. I gave it a good pull to test the integrity of the fused links. It holds up well under pressure and remains flexible enough for use. This is a solid way to reuse plastic waste for workshop hanging solutions. It works exactly as intended.
⚠️ CAUTION: SAFETY WARNING!
Use caution when operating the heat gun, as the plastic can reach high temperatures and release fumes. Always work in a well-ventilated area and wear heat-resistant gloves to prevent burns.
Summary & Tips
Building a chain from plastic bottles is a practical way to upcycle PET waste into useful workshop gear. By using a heat gun to fuse the links, you get a durable, custom-length connector for various DIY projects. It is a simple, repeatable process that saves money and reduces plastic waste.
📋 FAQ
❓ How strong is the plastic bottle chain?
Answer: It is surprisingly strong for lightweight tasks, but it should not be used for heavy-duty lifting or safety-critical applications.
❓ Can I use any type of plastic bottle?
Answer: PET bottles work best because they shrink and fuse well under heat. Avoid thicker, non-PET plastics as they may not react the same way.
❓ What is the best temperature for the heat gun?
Answer: Start around 200°C and increase slowly. You want the plastic to shrink without turning into a liquid mess.
Disclaimer: I purchased all tools for this guide with my own money to ensure an unbiased review. This post contains affiliate links, meaning I earn a small commission if you make a purchase at no extra cost to you.
🛒 Useful Links & Products
Industrial Heat Gun
🛒 BUY ON ALIEXPRESS






Leave a Reply