Ever wanted to see floating 3D visuals right on your phone without dropping cash on fancy gear? Turns out an old CD case is all you need. I threw together this little pyramid projector in about ten minutes, and honestly, the result blew me away. Here’s exactly how I did it.
Author: LifeKaki
⚡ Quick Guide: Building a Hologram Projector
- Draw or print a trapezoid template — nothing fancy, just accurate.
- Trace it onto the clear plastic from a CD case.
- Cut out four matching pieces with a craft knife.
- Sand the edges so they sit flush — rough edges ruin the effect.
- Glue everything into a pyramid shape.
- Drop it on your phone screen and play a hologram video.
📊 Technical Specifications
| Material | Polycarbonate/Acrylic (CD case) |
| Pyramid shape | Four-sided trapezoid |
| Compatibility | Any smartphone with hologram-ready video |
| Assembly method | Adhesive bonding |
Tools & Materials Used
• CD case plastic
• Paper template
• Marker
• Scissors
• Craft knife
• Smartphone
🔧
• Hot Glue Gun
AliExpress 🛒
🛠️
BUY ON ALIEXPRESS 🛒
Recommended
• Mini Electric Drill
Step-by-Step Assembly & Testing
Template Preparation
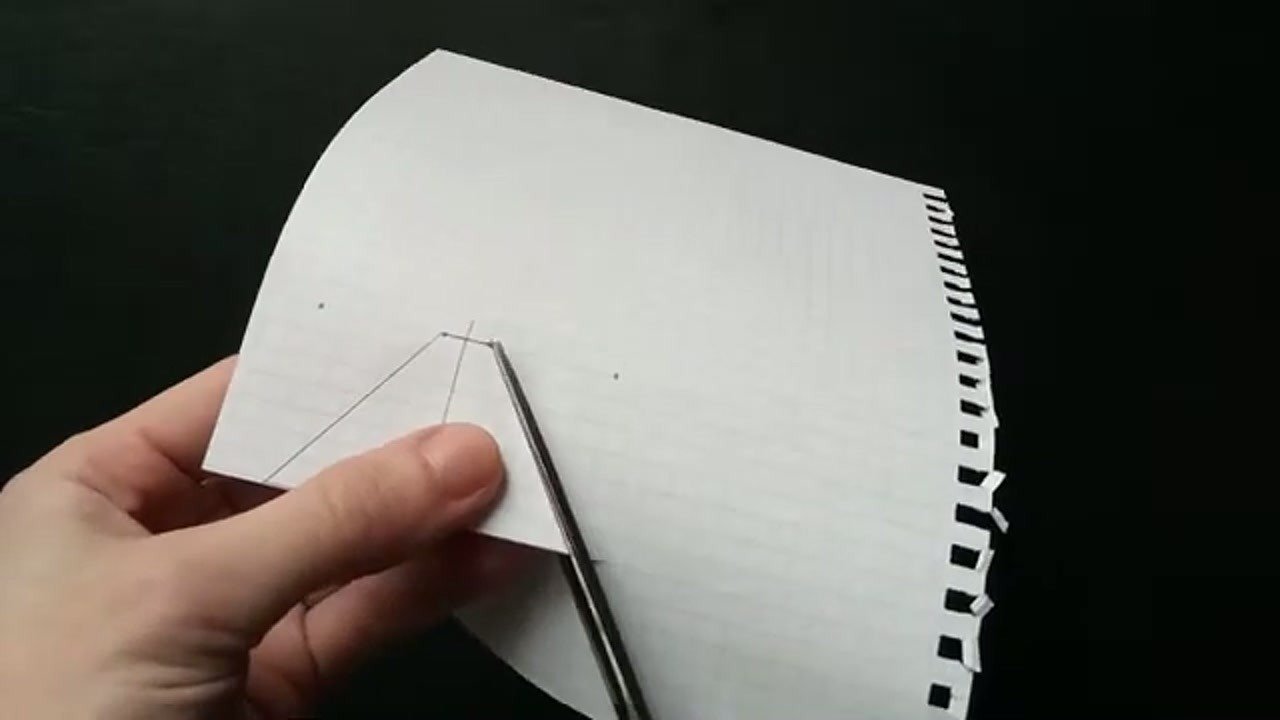
First thing — grab a piece of paper and draw out a trapezoid template. Doesn’t need to be perfect, but the angles matter if you want all four sides to match up. I just used scissors and eyeballed it, but if you’re a perfectionist, print one out. A clean template makes the whole build way easier later on.
Cutting the Plastic
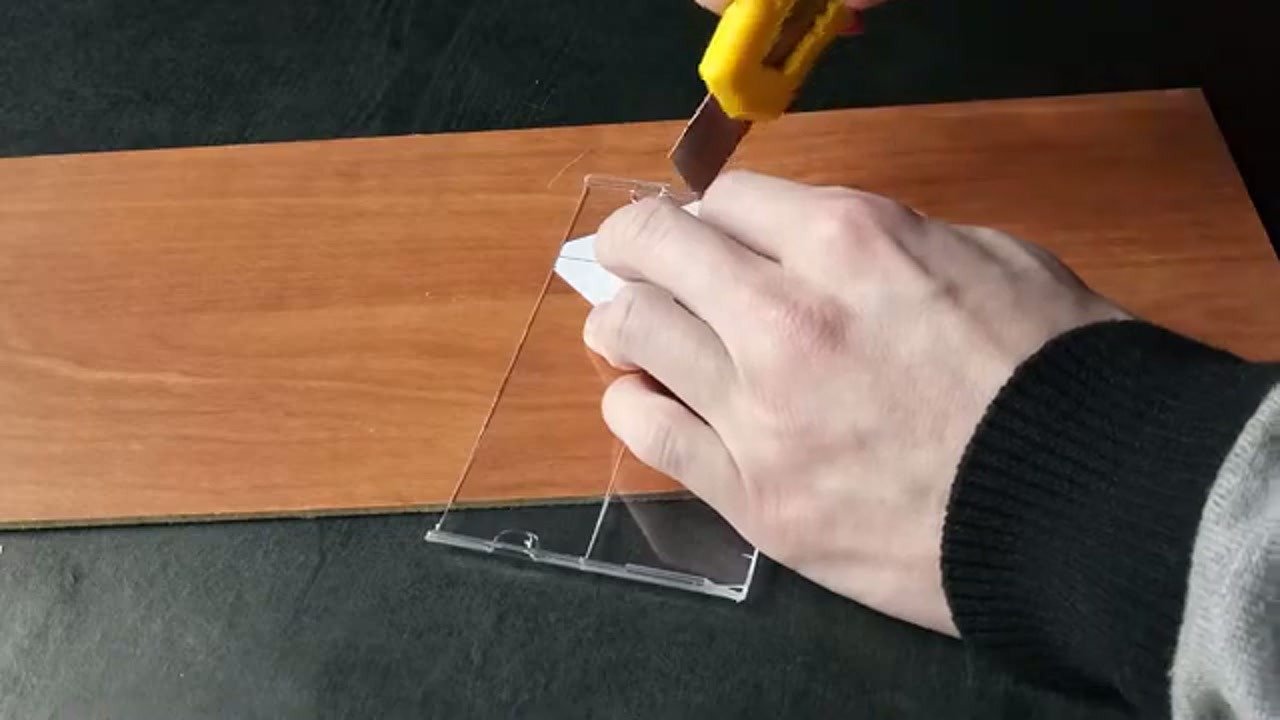
Now the fun part — cutting into that old CD case. Lay your paper template on the clear plastic and trace around it with a marker. Then take a sharp craft knife and score along the lines. Go slow and steady — this stuff cracks if you rush it. Once the score’s deep enough, the pieces snap right out. It’s surprisingly satisfying.
Finishing Edges
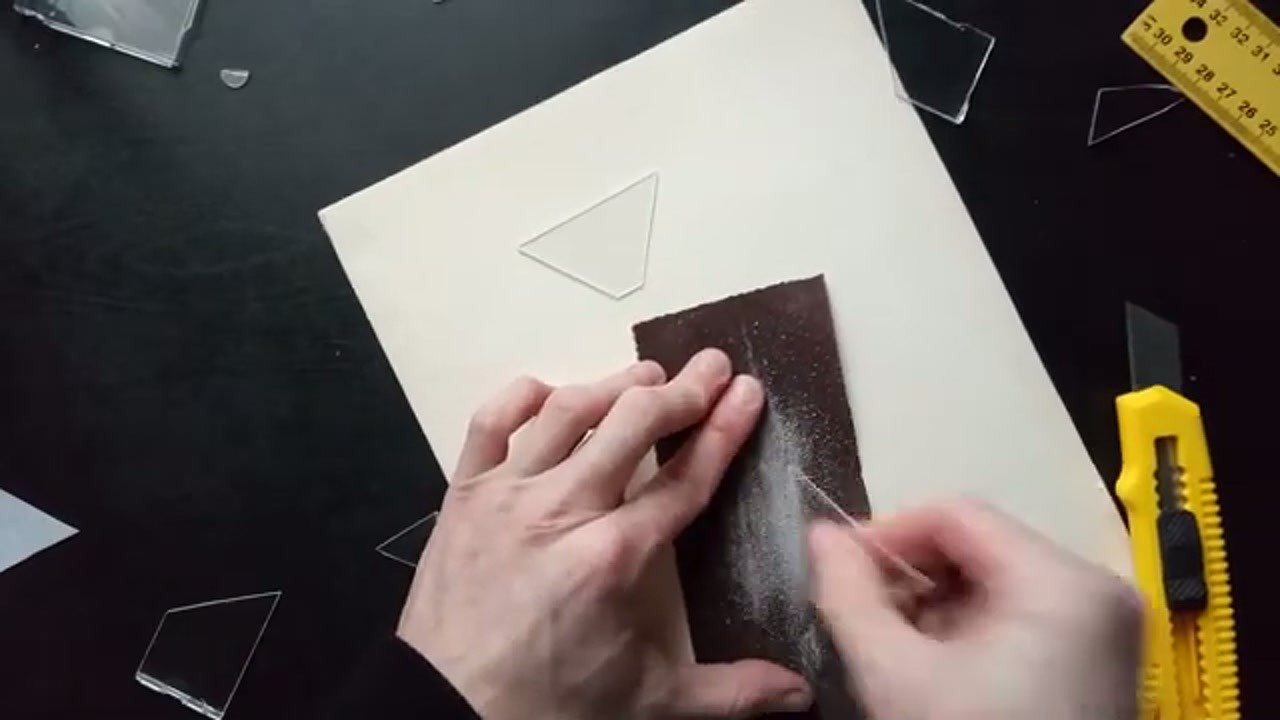
The edges will be rough and maybe a little sharp after cutting. Grab some fine sandpaper and smooth them out. This step actually matters — if the edges aren’t flush, the whole pyramid looks crooked and the projection gets distorted. Plus, you don’t want scratch marks on your phone screen when you’re testing.
Pyramid Assembly
Time to turn four flat pieces into a pyramid. Arrange them in a circle and run a thin bead of hot glue along each seam. Don’t go overboard with the glue — too much and it shows through the clear plastic. Hold everything steady until it sets. When it’s done, you’ve got a clean little pyramid that looks way cooler than it should for CD case plastic.
Initial Projection Test
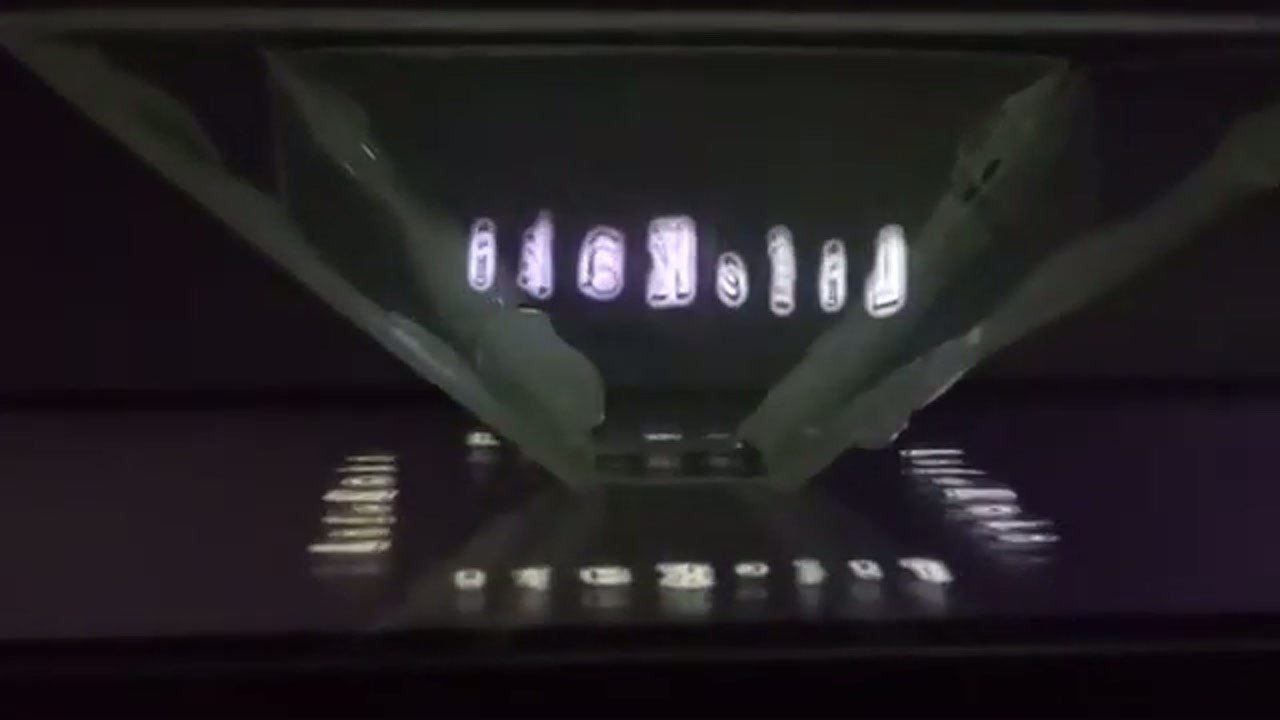
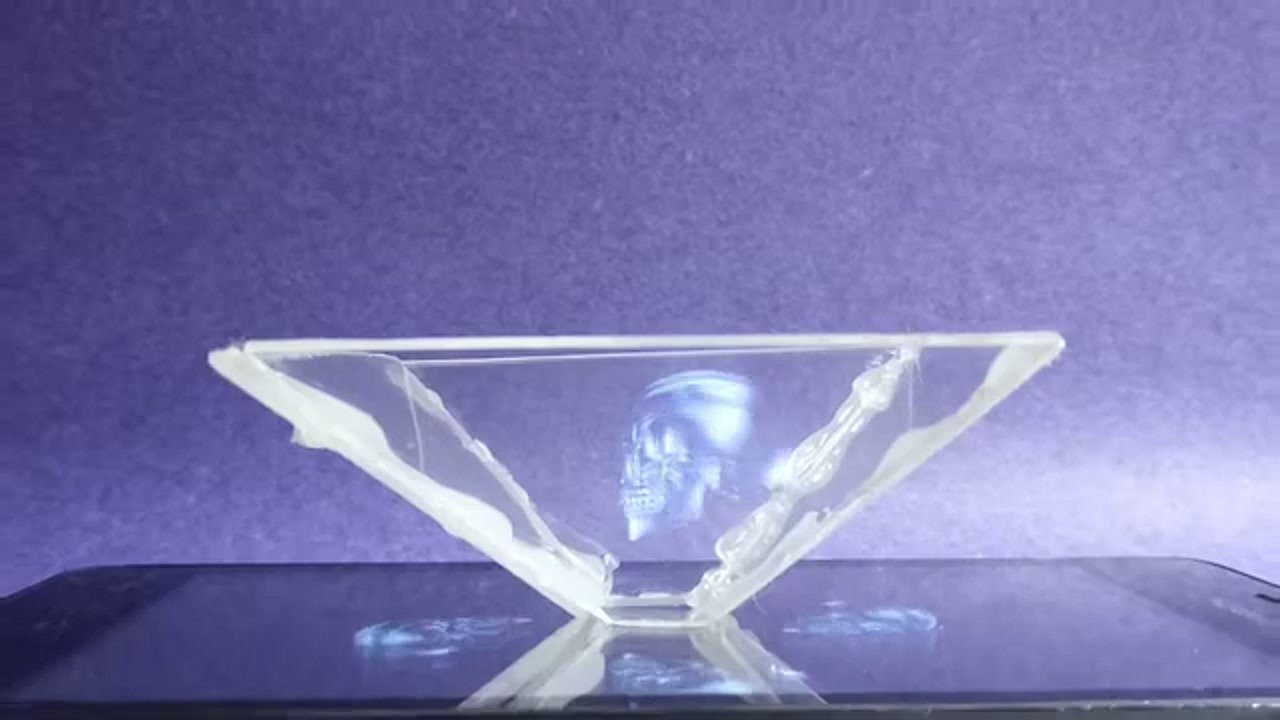
The moment of truth. Place the pyramid in the middle of your phone screen and fire up a hologram video. I started with a 3D skull graphic and honestly, I was grinning like an idiot. The image floats inside the pyramid like it’s actually there. Crank up the screen brightness if it looks dim.
Dark Environment Test
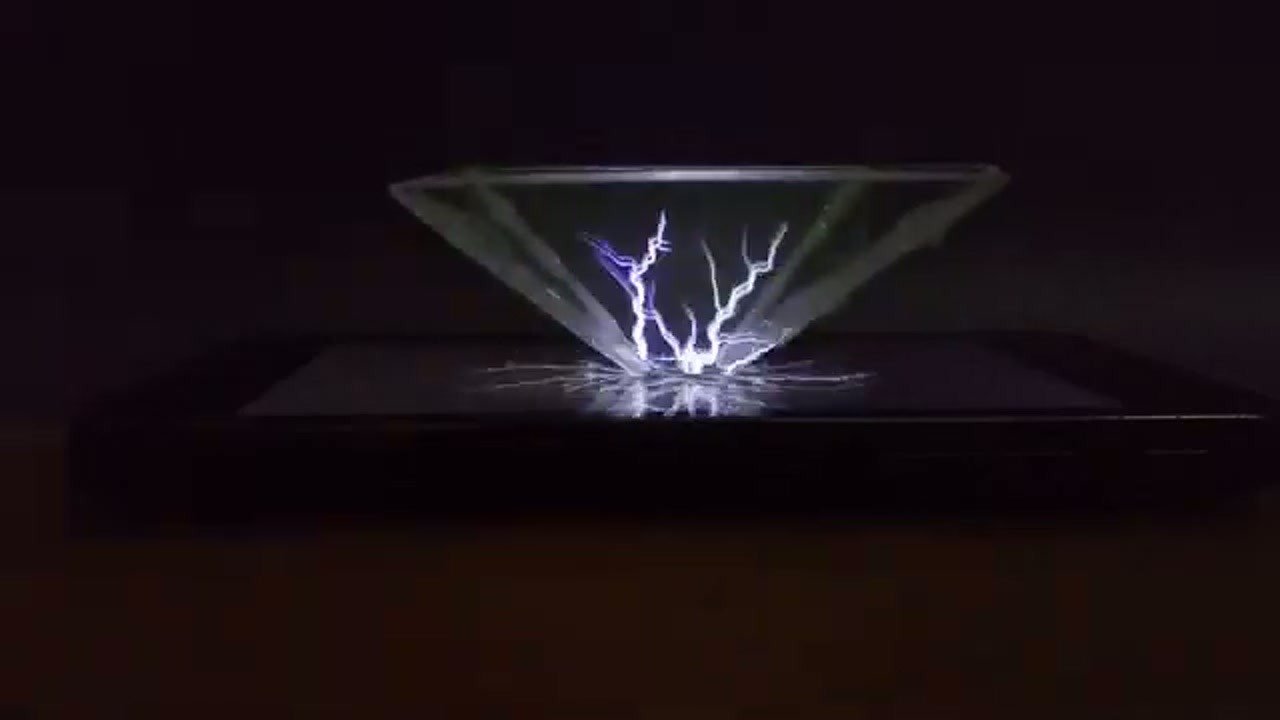
Killed the lights and ran a lightning effect video. Total game changer. The dark background makes the hologram pop like crazy — way more dramatic than the bright room test. If you really want to show this thing off, this is how you do it. The light rays bouncing off the plastic look genuinely awesome.
Visual Effect Demonstration
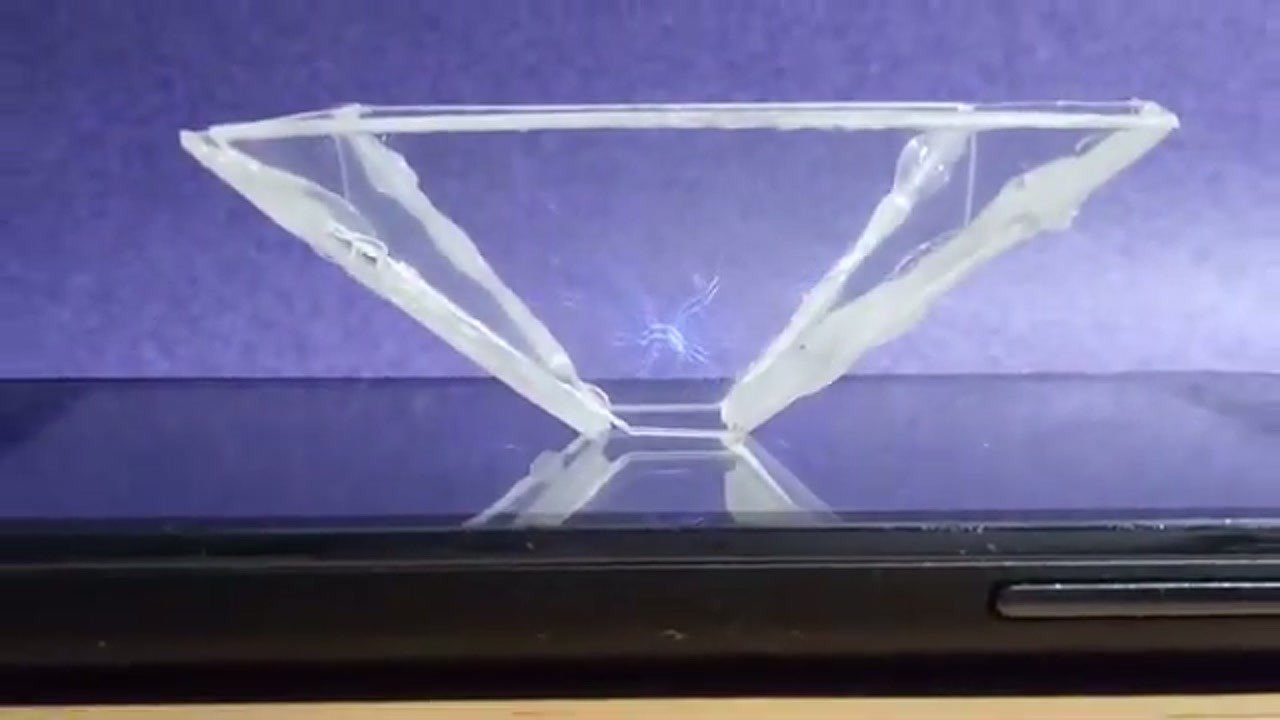
Watching the lightning move around inside the pyramid is genuinely cool. All four sides work together to give you that 360-degree view. The quality really comes down to how clean your plastic is — scratches and fingerprints will mess up the image fast. Keep it polished.
Jellyfish Animation Test
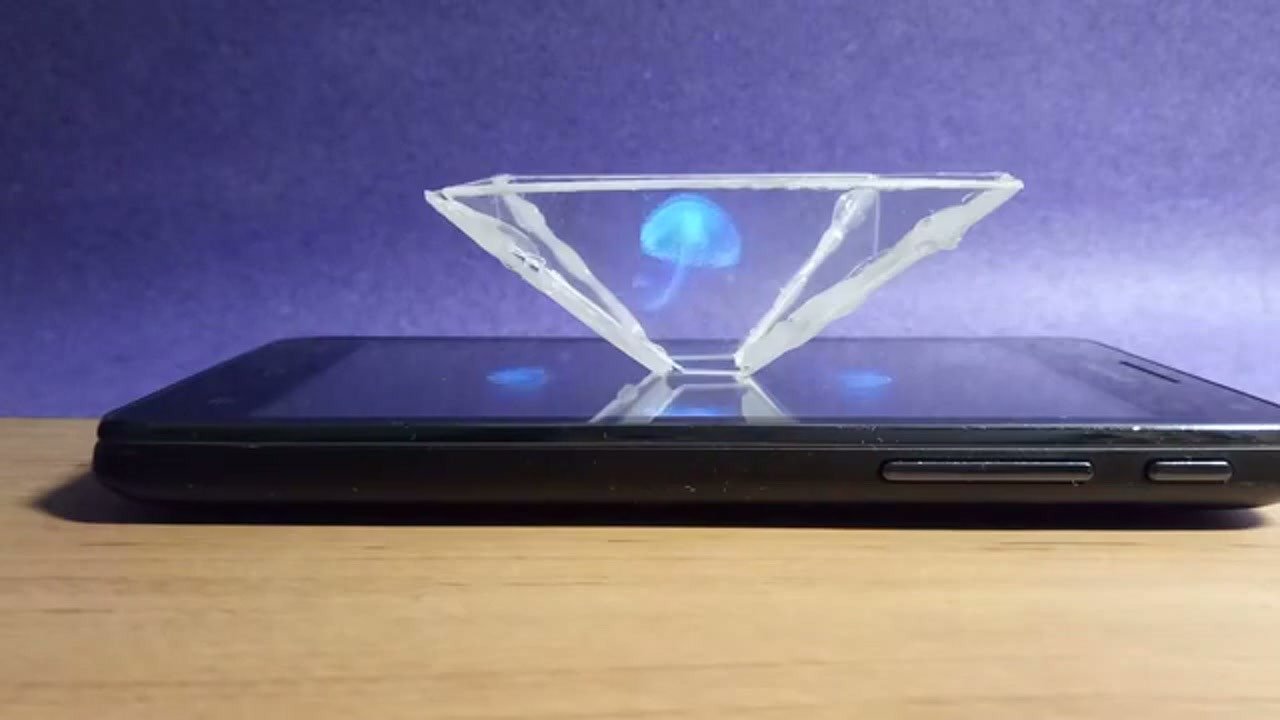
Threw on a jellyfish animation to see how the projector handles fluid motion. It’s honestly mesmerizing. The jellyfish looks like it’s swimming around inside the pyramid with real depth. This test proves the thing can handle complex moving objects, not just static images.
Text Projection Test
Even plain text like ‘SUBSCRIBE’ shows up sharp and readable. That’s how I know the angles are cut right — if they were off even a little, the letters would look doubled or warped. Nice little validation that the template did its job.
Final Result
And that’s it. The projector’s done and works with any hologram-compatible video you throw at it. Ten minutes of cutting and gluing turned an old CD case into a legit 3D display. Hard to beat that for a free project.
⚠️ CAUTION: SAFETY WARNING!
Watch your fingers when scoring the plastic with a craft knife. Always cut away from your body and keep the work surface stable so the blade doesn’t slip.
Summary & Tips
This DIY hologram projector is one of those projects that feels like magic for about zero dollars. You get to play with light reflection and optics, and you end up with something genuinely cool to show friends. Keep your plastic clean and scratch-free for the best results. If you’ve got an old CD case lying around, give this a shot — you won’t regret it.
📋 FAQ
❓ Can I use any smartphone for this hologram projector?
Answer: Pretty much. As long as you’re playing videos made specifically for hologram pyramids, any phone will do the job.
❓ Why is my hologram image blurry?
Answer: Nine times out of ten it’s scratches or fingerprints on the plastic. Keep the CD case plastic clean and polished for a sharp projection.
❓ Does the size of the pyramid matter?
Answer: It should match your screen size. Bigger pyramid for tablets, smaller one for regular phones. Just scale the template accordingly.
Disclaimer: I purchased all tools for this guide with my own money to ensure an unbiased review. This post contains affiliate links, meaning I earn a small commission if you make a purchase at no extra cost to you.
🛒 Useful Links & Products
Hot Glue Gun






Leave a Reply