Struggling with poor kitchen workspace visibility? You don’t need expensive hardware to fix it. This guide shows how to repurpose a common PET plastic bottle into a durable, low-profile mount for LED light fixtures. It is a practical, cost-effective solution for workshop or kitchen upgrades that keeps your lighting secure and functional. Follow this step-by-step process to achieve a clean, professional result using minimal materials.
Video Author: LifeKaki
⚡ Quick Guide: How to Make It in 7 Steps
- Assess the mounting area and determine the required dimensions.
- Cut a precise strip from the PET plastic bottle.
- Prepare the plastic material for structural forming.
- Measure and mark the holes for the mounting bracket.
- Punch the holes using an awl for clean edges.
- Attach the custom bracket to the LED light fixture.
- Install the fixture and test the illumination stability.
📋 In This Article
- Tools & Materials — what you will need for this project
- Technical Specifications — material and fixture parameters
- Assessing Mounting Requirements — preparing the workspace and bottle
- Cutting Plastic Components — creating the base material
- Fabricating the Bracket — shaping and punching holes
- Final Installation and Testing — mounting the light and verifying stability
- Frequently Asked Questions (FAQ) — answers to common DIY questions
📊 Technical Specifications & Components
| Material | Clear PET plastic |
| Fixture type | Lightweight LED strip |
| Installation time | Under 5 minutes |
| Mounting method | Mechanical fastener |
Tools & Materials Used
🛠️
BUY ON ALIEXPRESS 🛒
Recommended Tool
Power Electric Mini Drill
Step-by-Step Assembly & Testing
Assessing Mounting Requirements
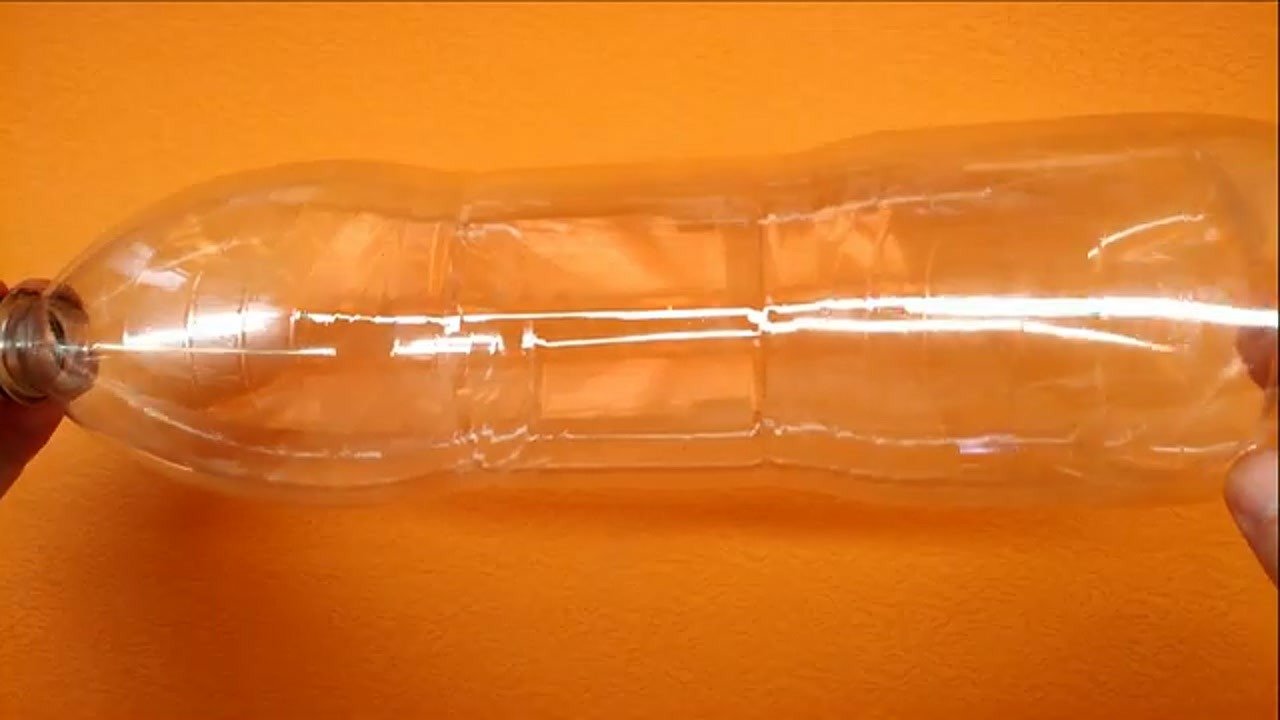
Start by evaluating the under-cabinet space to ensure the light fixture fits correctly. Hold the clear plastic bottle horizontally against the mounting surface to gauge the necessary curvature for the bracket. This initial inspection prevents alignment issues later in the process. Ensure the surface is clean and free of debris for a secure fit. Proper planning at this stage saves time during the actual installation.
Cutting Plastic Components
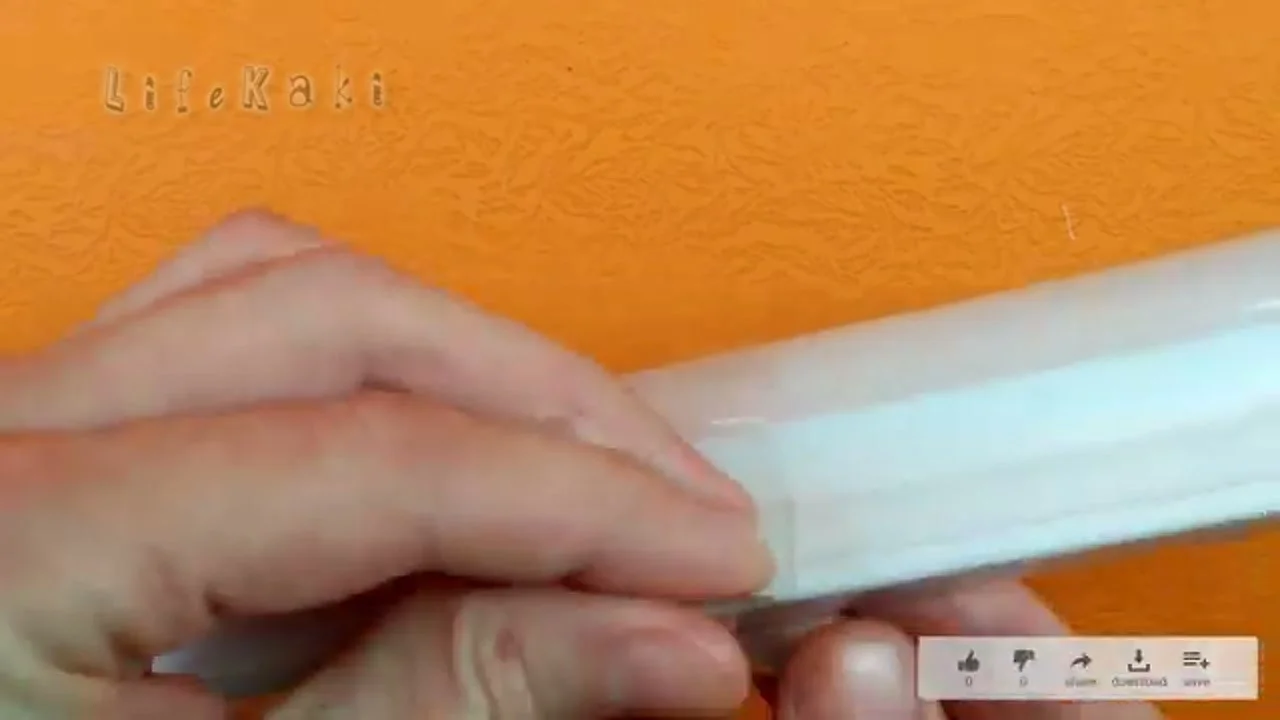
Carefully cut a long, thin strip from the main body of the PET bottle. Use a sharp utility knife to maintain clean, straight edges for structural integrity. The width of the strip should match the mounting requirements of your specific LED fixture. Avoid jagged cuts, as these create stress points that could lead to cracking under tension. This strip will serve as the primary material for the custom bracket.
Preparing Plastic Components
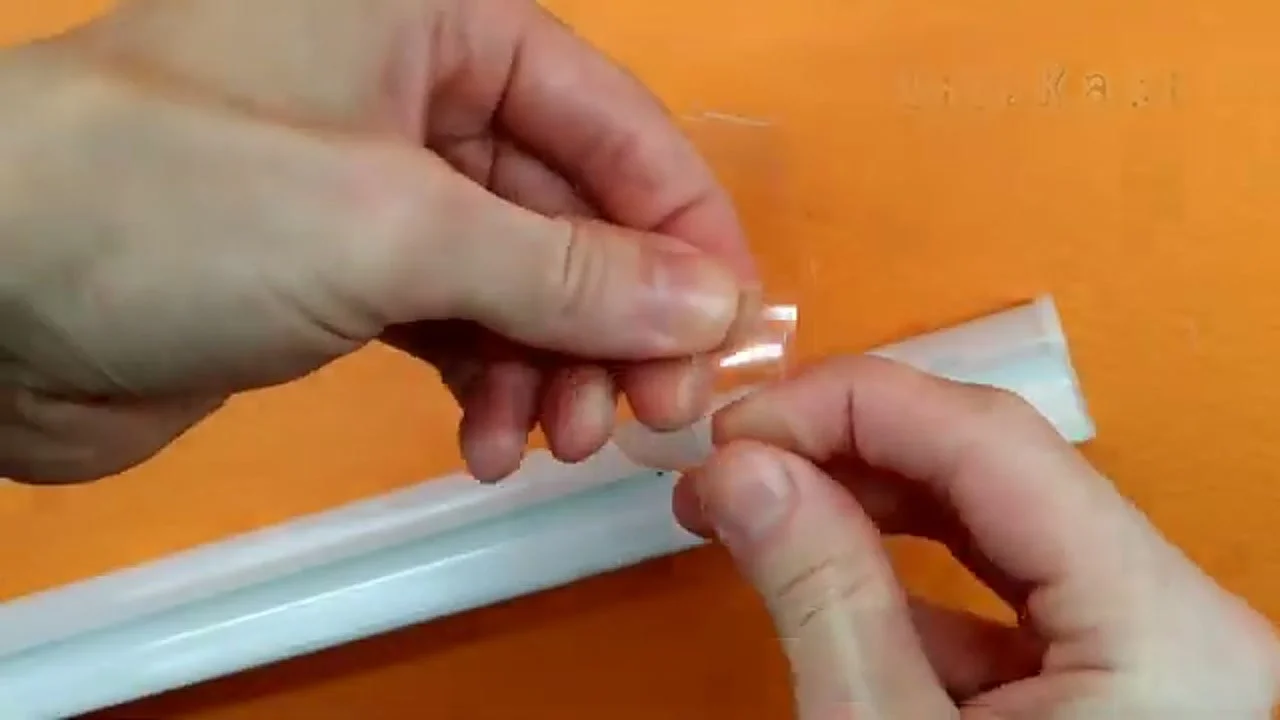
Unroll the cut plastic strip to flatten it slightly, making it easier to work with. This material offers excellent durability and flexibility, making it perfect for custom mounting solutions. Ensure the strip is free of any adhesive residue from the bottle label. The goal is to create a uniform piece that will hold its shape once installed. This preparation ensures the bracket remains rigid enough to support the light fixture.
Measuring and Aligning
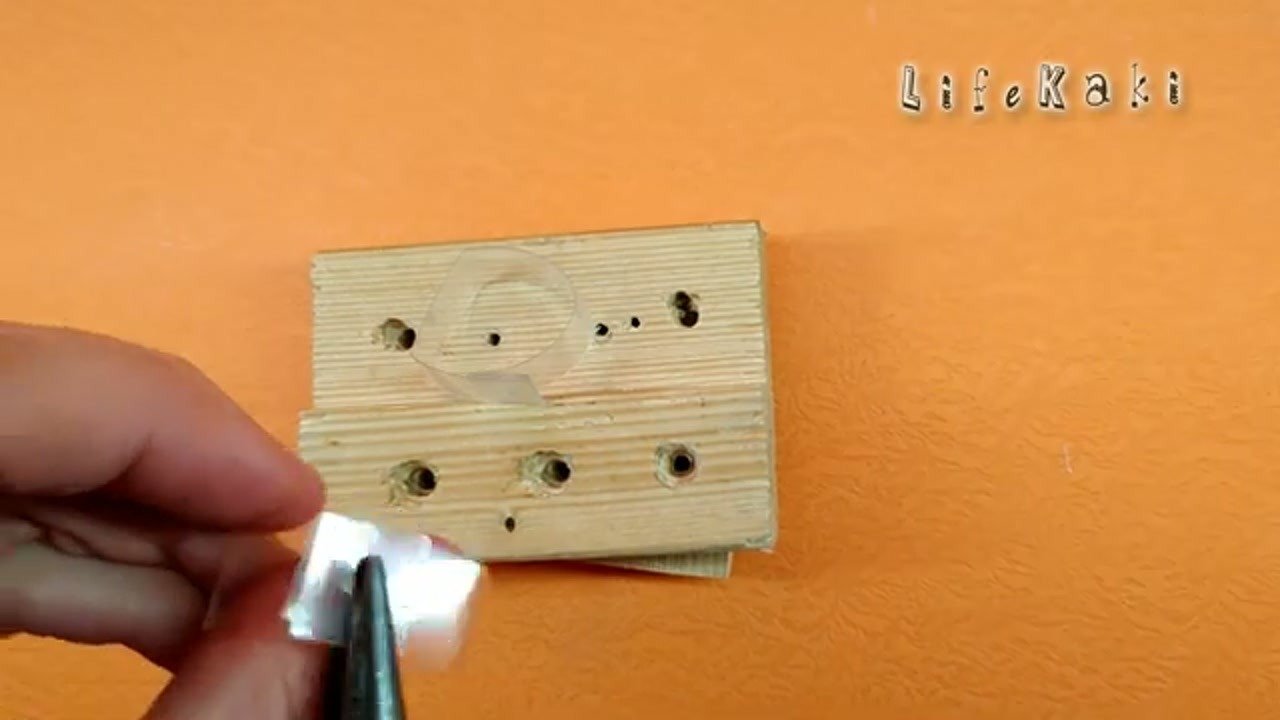
Place the small plastic piece over a wooden block to provide a stable surface for drilling. Carefully measure and mark the locations for the mounting holes to ensure perfect alignment with the light fixture. Precision at this step is vital for a level installation. Using a wooden block underneath prevents the plastic from deforming while you work. This setup ensures that the holes are perfectly centered and spaced.
Fabricating the Custom Bracket
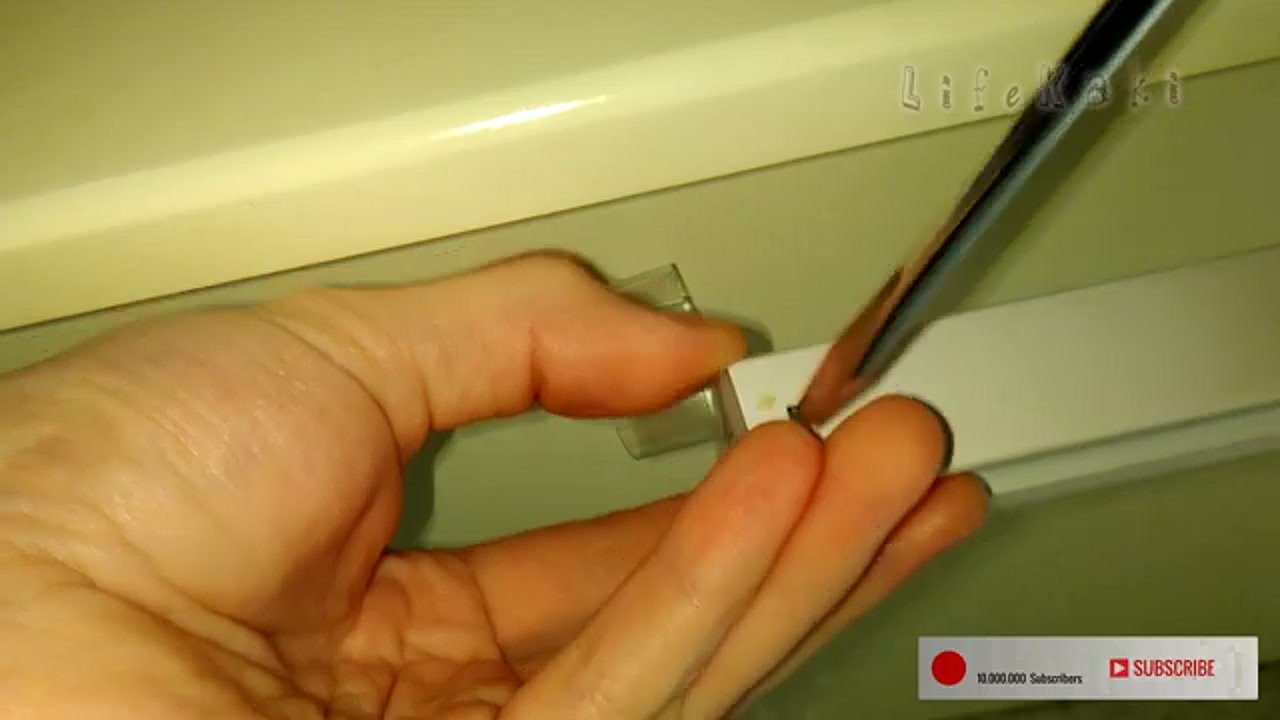
Use an awl to punch holes through the marked points on the plastic bracket. Apply steady, controlled pressure to create clean holes without tearing the surrounding material. Once the holes are ready, use a screwdriver to attach the bracket directly to the light fixture housing. This mechanical connection provides a much stronger hold than adhesive alone. The bracket is now ready for final mounting.
Installing the Light Fixture
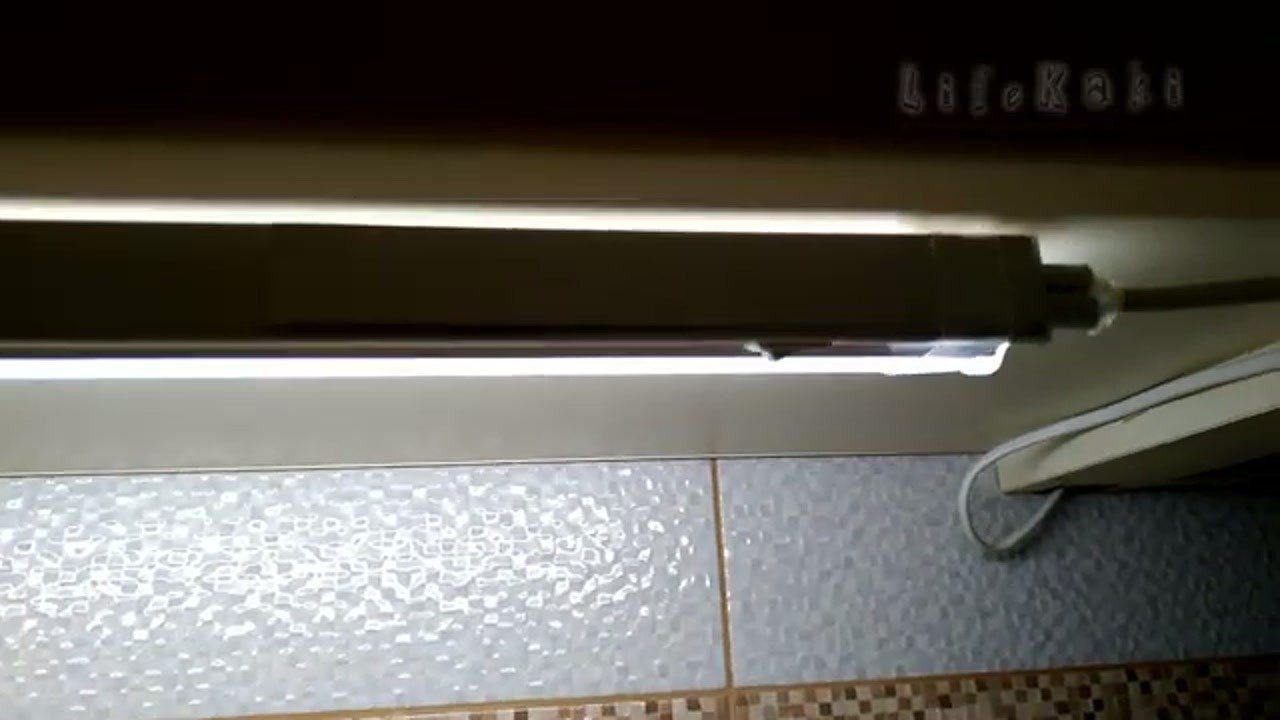
Position the LED strip light under the cabinet and secure it using the newly fabricated plastic brackets. Ensure the fixture is level and firmly attached to the cabinet base. The low-profile design of the PET plastic mount keeps the light tucked away, maintaining a clean aesthetic. Check that the wiring is tucked neatly out of sight. The fixture should feel stable and secure to the touch.
Testing and Evaluation
Activate the light switch to verify that the fixture is functioning correctly. Observe the light distribution to ensure it adequately illuminates the kitchen counter workspace. Check the stability of the mount by gently nudging the fixture; it should not wobble or sag. This final test confirms that the DIY bracket is durable enough for daily use. The installation is now complete and ready for regular service.
⚠️ CAUTION: SAFETY WARNING!
Use caution when handling sharp utility knives and awls during the cutting and punching phases. Always work on a stable surface to avoid injury.
Summary & Tips
Repurposing plastic bottles into functional mounts is a practical and clean way to upgrade your kitchen lighting. By following these steps, you create a durable, custom solution that costs next to nothing. This method proves that you don’t need expensive hardware to improve your workspace visibility. The result is a stable, professional-looking installation that utilizes household waste effectively.
📋 FAQ
❓ Is this mount durable enough for daily use?
Answer: Yes, when properly bonded and fastened, the PET plastic structure provides sufficient rigidity and durability for lightweight LED fixtures.
❓ Can this be used with heavier light bars?
Answer: This method is specifically intended for lightweight LED strips. For heavier fixtures, you should use additional mechanical fasteners or metal brackets.
❓ Does the plastic bracket heat up from the LED light?
Answer: Standard LED strips generate minimal heat, so the PET plastic bracket will remain cool and stable during normal operation.
Disclaimer: I purchased all tools for this guide with my own money to ensure an unbiased review. This post contains affiliate links, meaning I earn a small commission if you make a purchase at no extra cost to you.
🛒 Useful Links & Products
Power Electric Mini Drill
🛒 BUY ON ALIEXPRESSSee Also
💡 Important Structural Tip:
If your LED light fixture is heavier than a standard light strip, simply increasing the number of plastic mounts will not be enough. PET plastic is inherently flexible and will gradually deform under constant weight. For heavier light bars, always upgrade to metal brackets or mechanical fasteners to prevent the fixture from falling.






Leave a Reply