If you are running out of HDMI ports on your monitor or TV, a 3-in-1 switch is a common solution. We take a close look at the WEIXINBUY 4K HDMI switcher to see if it holds up under real-world conditions. This guide covers technical specs, signal stability, and a full internal teardown to inspect the build quality before you integrate it into your home theater setup.
Author: LifeKaki
⚡ Quick Guide: Testing and Inspecting the HDMI Switcher
- Unpack the device and verify all included accessories.
- Install the remote control battery for signal testing.
- Connect your display and source devices to verify 4K 30Hz output.
- Check for signal stability and potential latency issues.
- Carefully pry open the plastic housing to access the internal PCB.
- Inspect the circuit board components and soldering quality.
- Reassemble the unit and perform a final functional check.
In This Article
- Tools & Materials — what you will need for this project
- Technical Specifications — device parameters
- Unboxing and Inspection — checking the package contents
- Remote Setup — preparing the remote control
- Signal Connectivity — connecting source devices
- Performance Testing — evaluating 4K 30Hz output
- Housing Disassembly — opening the plastic casing
- Internal Teardown — inspecting the PCB
- Component Analysis — checking layout and date codes
- Final Reassembly — verifying final functionality
- Frequently Asked Questions (FAQ) — answers to popular questions
📊 Technical Specifications & Components
| HDMI Version | 1.4b |
| Resolution Support | Up to 4K x 2K at 30Hz |
| Max Bandwidth | 300Mhz |
| Transmission Rate | 10.2Gbps |
| Dimensions | 8.2 x 5.8 x 1.8 cm |
| Operating Temperature | -10°C to +55°C |
Tools & Materials Used
• Plastic pry tool
• Multimeter (optional for signal check)
• HDMI cables
🔧
Screwdriver Set For Gadgets
AliExpress 🛒
🛠️
BUY ON ALIEXPRESS 🛒
Recommended Tool
WEIXINBUY 3-in-1 HDMI Switch
Step-by-Step Assembly & Testing
Unboxing and Inspection
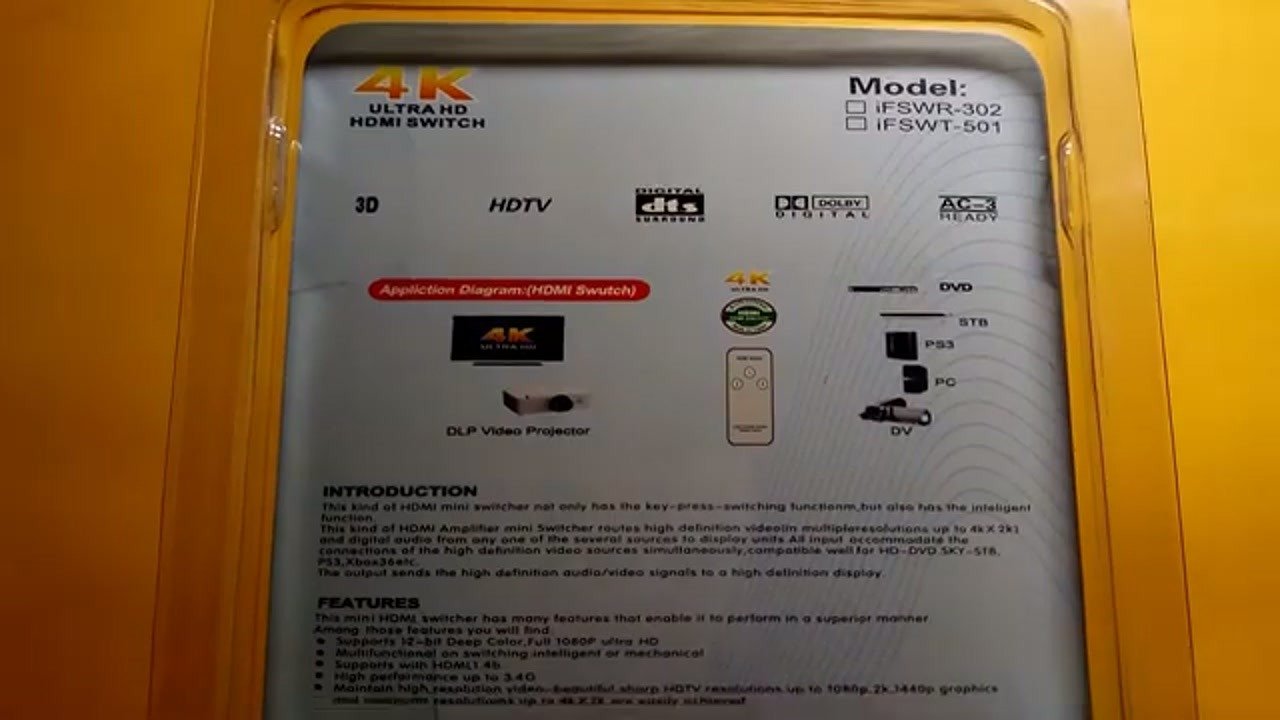
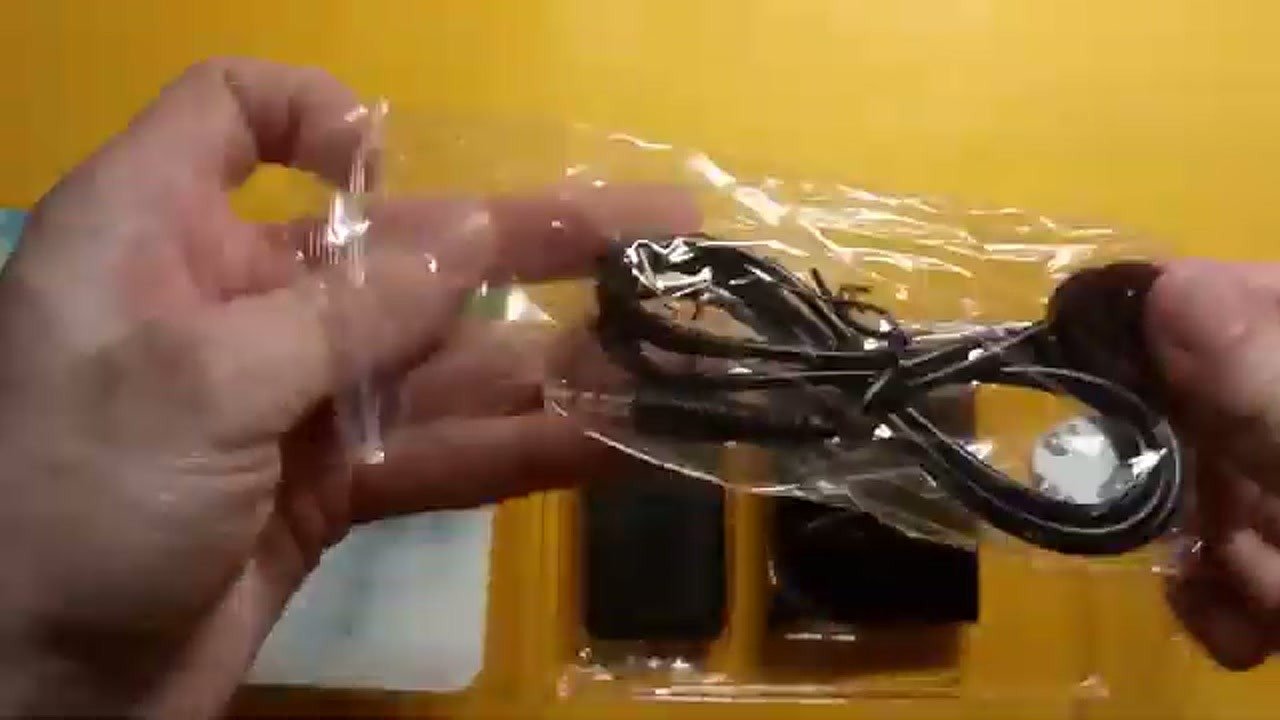
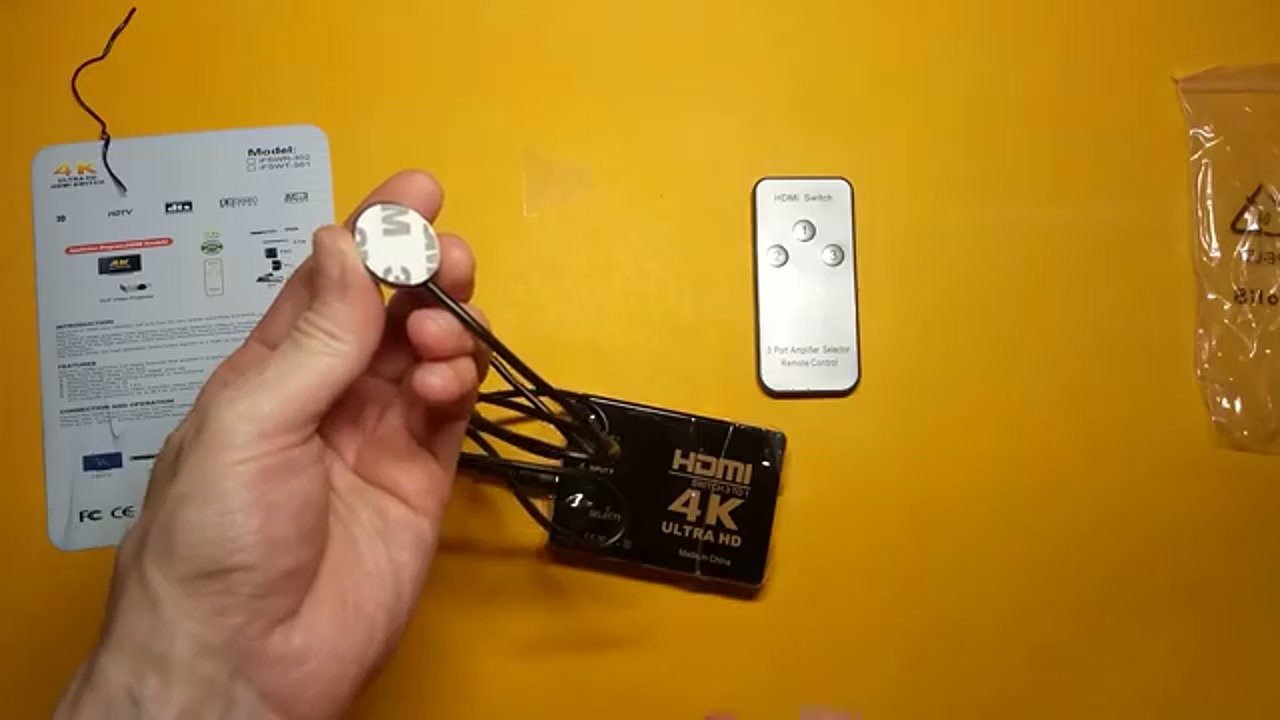
The package arrives with the core HDMI switch unit and a remote control. I check the exterior for any physical defects or manufacturing flaws in the plastic molding. The device feels lightweight, which is standard for this price point. I verify that all ports are clean and free of debris. This initial inspection ensures the unit is ready for testing.
Remote Setup
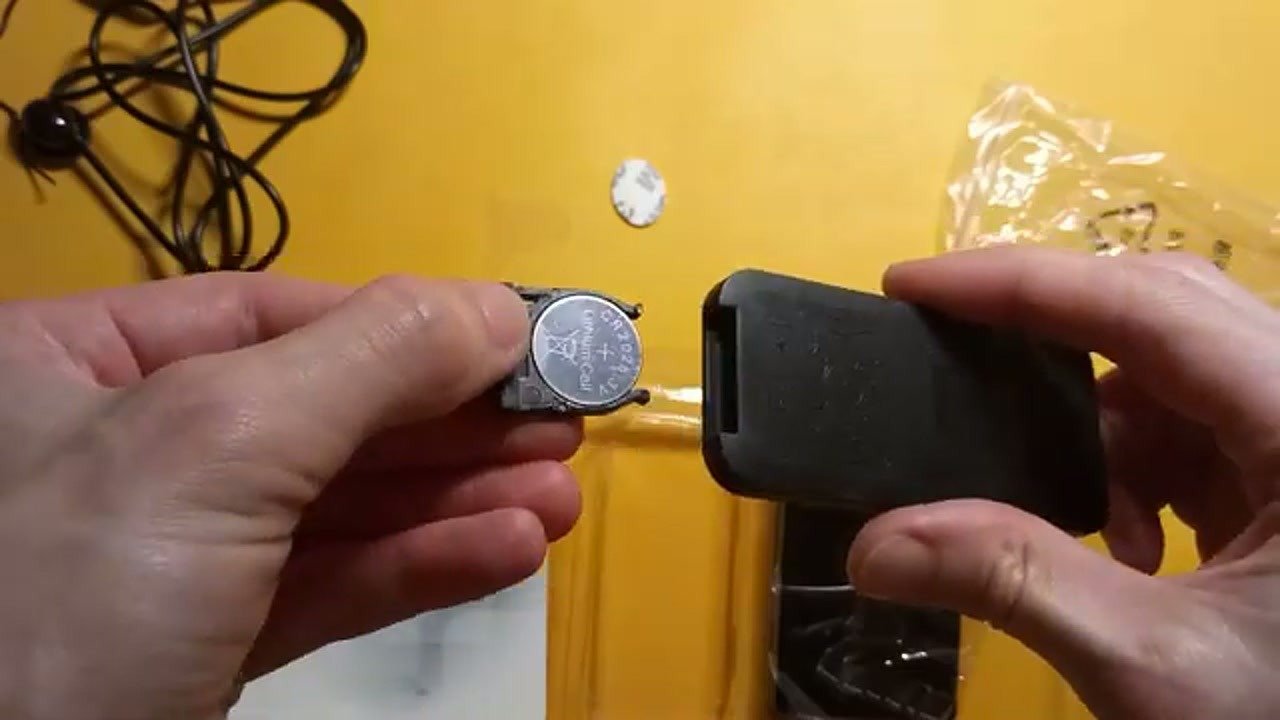
To enable remote operation, I insert the required battery into the remote control compartment. The battery contacts are properly aligned to ensure consistent power delivery. I test the button response to confirm the IR signal is being transmitted. A responsive remote is essential for switching between inputs without manual interaction. Everything seems functional at this stage.
Signal Connectivity
I connect the HDMI switch to the display and multiple source devices. The ports provide a snug fit for standard HDMI cables, preventing loose connections that could cause signal dropouts. I observe the status LEDs to confirm which input is currently active. The switching mechanism responds immediately to the remote input. This setup confirms the basic port functionality.
Performance Testing
Testing the 4K output at 30Hz reveals a stable image without flickering or color distortion. I cycle through all three inputs to ensure the switch handles the signal transition smoothly. The 10.2Gbps bandwidth is sufficient for standard media players and older consoles. I note that the device does not require an external power supply for short cables, but a 5V/1A adapter is recommended for longer runs.
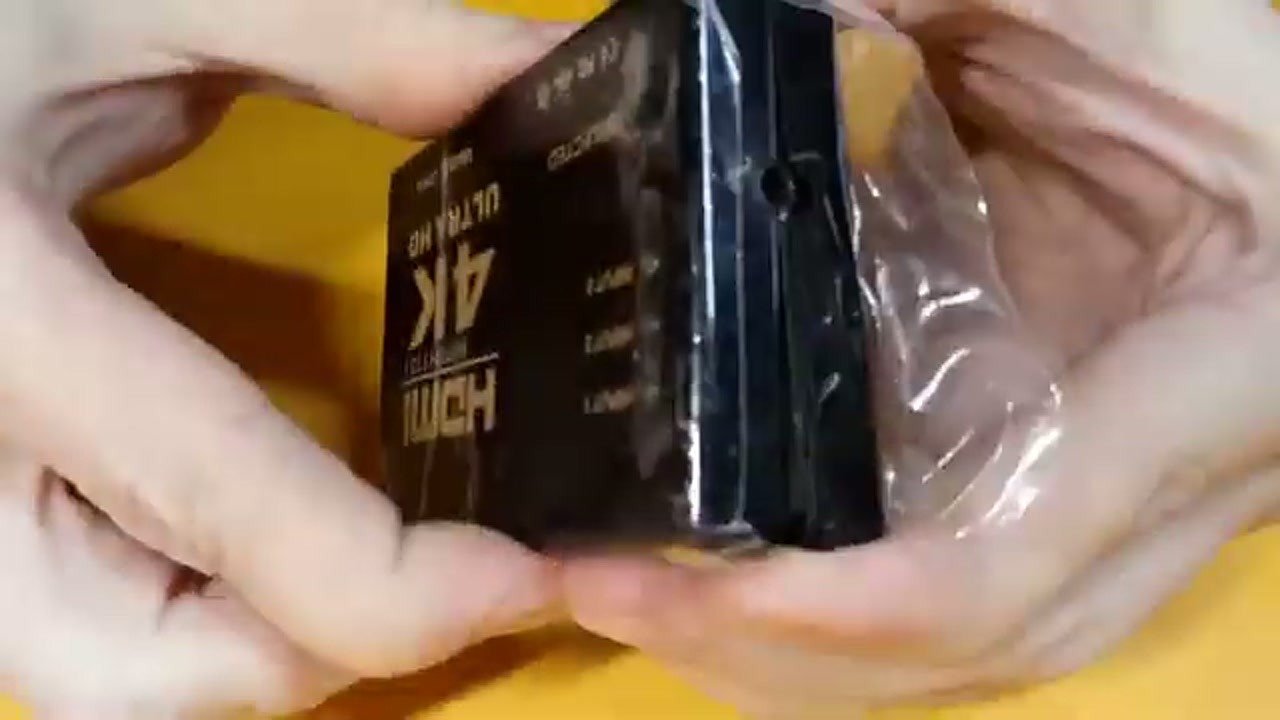
Housing Disassembly
To inspect the internal build quality, I prepare to open the plastic housing. I use a precision tool to gently pry the seams apart without damaging the clips. The casing is held together by simple plastic tabs rather than screws. This makes the unit easy to open but requires care to avoid snapping the locking mechanism. Once the shell is removed, the internal board is exposed.
Internal Teardown
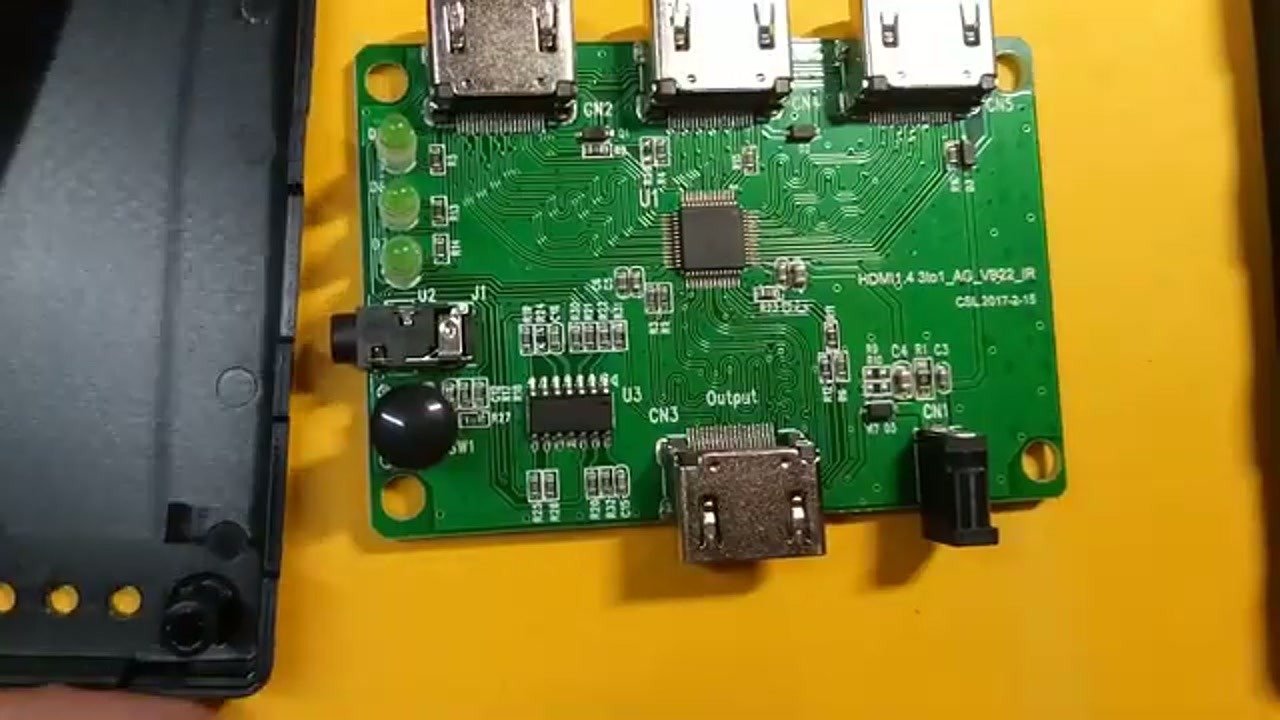
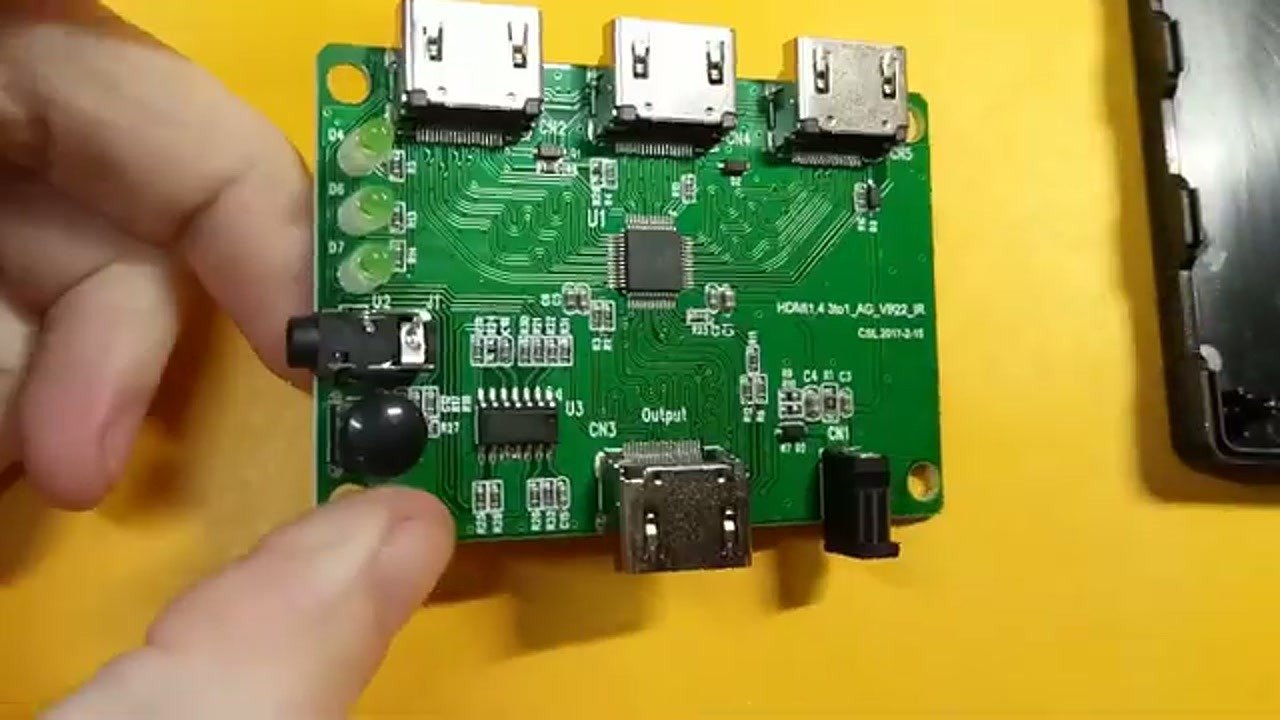
With the housing removed, I examine the PCB for any signs of poor soldering or cold joints. The board layout is compact, utilizing a standard chipset for HDMI signal routing. I inspect the capacitors and resistors for any visible damage or overheating marks. The build quality is consistent with entry-level consumer electronics. Everything appears to be securely mounted.
Component Analysis
I analyze the component layout and check for any readable date codes on the chips. The traces on the PCB are clean, showing no excessive flux residue. The soldering points for the HDMI ports are reinforced to handle frequent cable insertion. This level of construction is sufficient for a stationary home theater setup. I confirm that the main controller chip is properly seated.
Final Reassembly
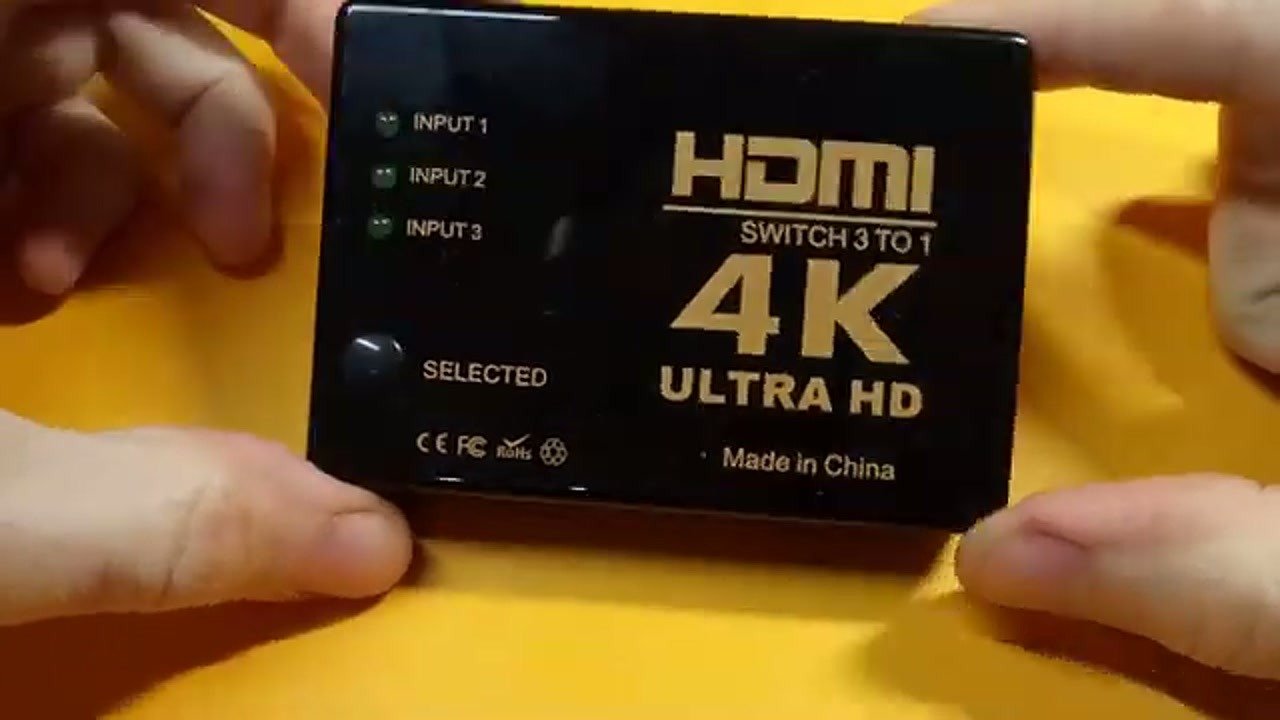
After the inspection, I snap the plastic housing back together, ensuring all tabs are fully engaged. I perform a final power-on test to verify that the device still functions correctly after the teardown. The switch cycles through inputs perfectly, and the LEDs indicate the correct status. The unit is now ready for permanent installation in the workspace. The test confirms the device is reliable for its intended use.
⚠️ CAUTION: SAFETY WARNING!
Always disconnect the device from power and HDMI sources before opening the housing to avoid short circuits. Use caution when prying plastic clips to prevent injury from sharp edges.
Summary & Tips
The WEIXINBUY 3-in-1 HDMI switch is a practical, budget-friendly solution for managing multiple devices on a single 4K display. Our teardown confirms that the internal build quality is adequate for standard home use, provided you stay within the 4K 30Hz limit. If you need a simple, reliable way to expand your connectivity, this switch performs exactly as advertised.
📋 FAQ
❓ Does this switch support 4K at 60Hz?
Answer: No, this model is limited to 4K at 30Hz, making it better suited for media players and older game consoles.
❓ Is an external power adapter included?
Answer: No, the power adapter is not included in the package. You should use a 5V/1A supply if you experience signal instability with longer cables.
❓ Can I use this for high-end gaming consoles?
Answer: While it works with consoles, the 30Hz refresh rate limit may be noticeable for high-frame-rate gaming. It is best for standard media consumption.
Disclaimer: I purchased all tools for this guide with my own money to ensure an unbiased review. This post contains affiliate links, meaning I earn a small commission if you make a purchase at no extra cost to you.
🛒 Useful Links & Products
WEIXINBUY 3-in-1 HDMI Switch
🛒 BUY ON ALIEXPRESSScrewdriver Set For Gadgets
🛒 BUY ON ALIEXPRESS





Leave a Reply