Turning waste glass into functional items like lamps or containers is a practical way to reduce household clutter. This guide covers building a reliable, repeatable glass bottle cutter using simple workshop materials. We focus on achieving a clean, consistent score line that allows for precise separation of glass. Follow these steps to build your own tool and start your upcycling journey today.
Author: LifeKaki
⚡ Quick Guide: How to Make a Glass Bottle Cutter in 10 Steps
- Measure and mark the wooden base for component placement.
- Drill pilot holes to ensure accurate screw alignment.
- Install the rollers to facilitate smooth bottle rotation.
- Create a large hole for the adjustable cutting head.
- Attach the cutting mechanism to the wooden frame.
- Score the glass bottle using a single, consistent motion.
- Apply controlled tapping to propagate the crack along the score.
- Separate the glass pieces carefully after the break.
- Sand the sharp edges to ensure safety and finish.
- Test the finished tool with a real-world glass project.
In This Article
- Tools & Materials — Essential items for the build
- Technical Specifications — Key dimensions and components
- Marking and Drilling — Preparing the base
- Installing Rollers — Setting up rotation
- Mounting the Cutter — Final assembly
- Scoring and Cutting — The cutting technique
- Sanding and Finishing — Safety and final result
- Frequently Asked Questions — Common queries
📊 Technical Specifications & Components
| Base material | Wood |
| Cutting method | Diamond tip scoring |
| Rotation system | Ball-bearing rollers |
| Adjustability | Sliding stop for different bottle sizes |
| Safety | Requires edge sanding post-cut |
Tools & Materials Used
• Metal ruler
• Wood screws
• Sandpaper (various grits)
• Wooden board (base)
• Screwdriver set
🔧
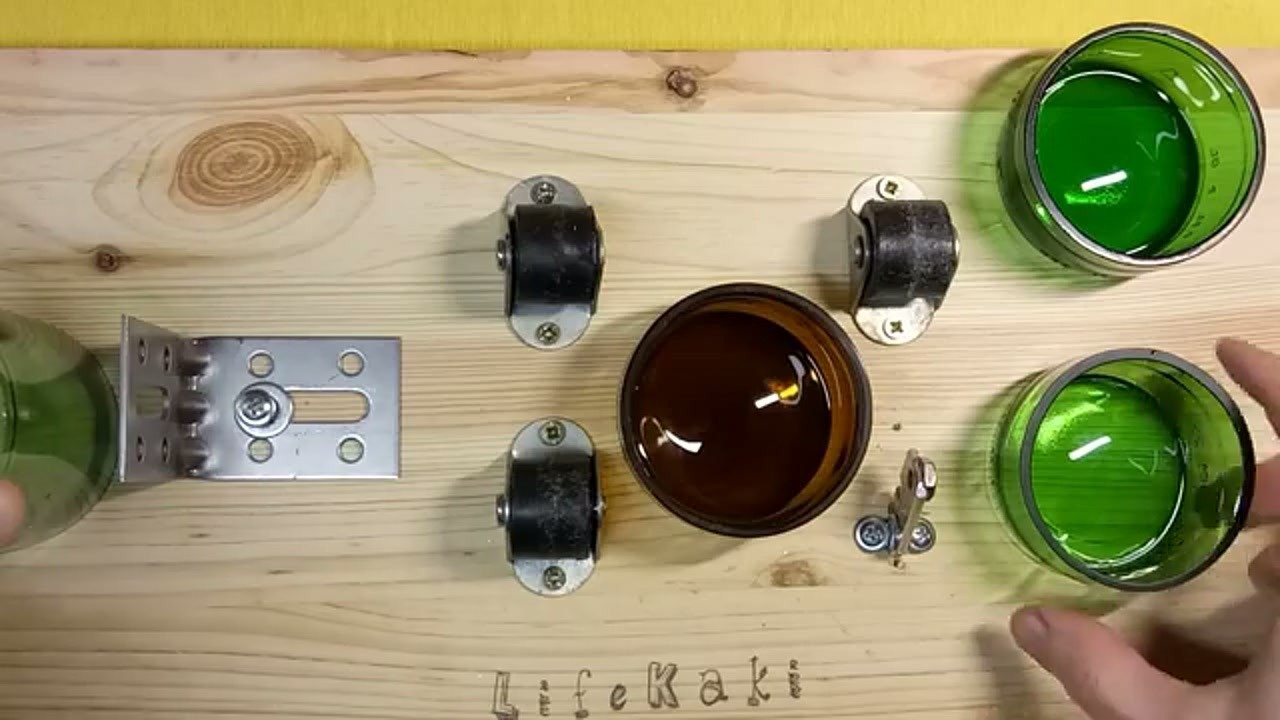
Small rollers (wheel supports)
AliExpress 🛒
🔧
Power Electric Mini Drill
AliExpress 🛒
🛠️
BUY ON ALIEXPRESS 🛒
Recommended Tool
Pencil-style cutter
Step-by-Step Assembly & Testing
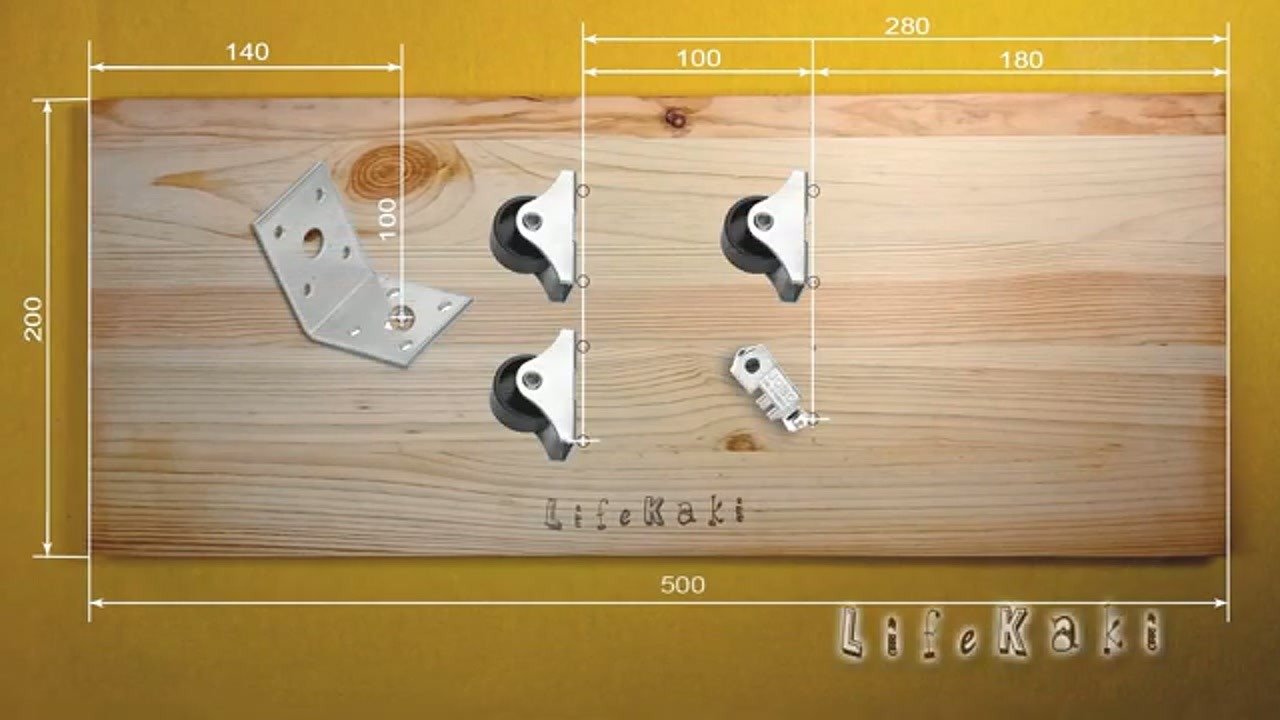
Marking base dimensions
Start by laying out the dimensions on a sturdy wooden board. Precision at this stage prevents wobbling during the cutting process. Use a metal ruler to mark the exact center lines for the rollers and the cutter mount. Ensure the base is wide enough to support the bottle length. Double-check all measurements before moving to the drilling phase.
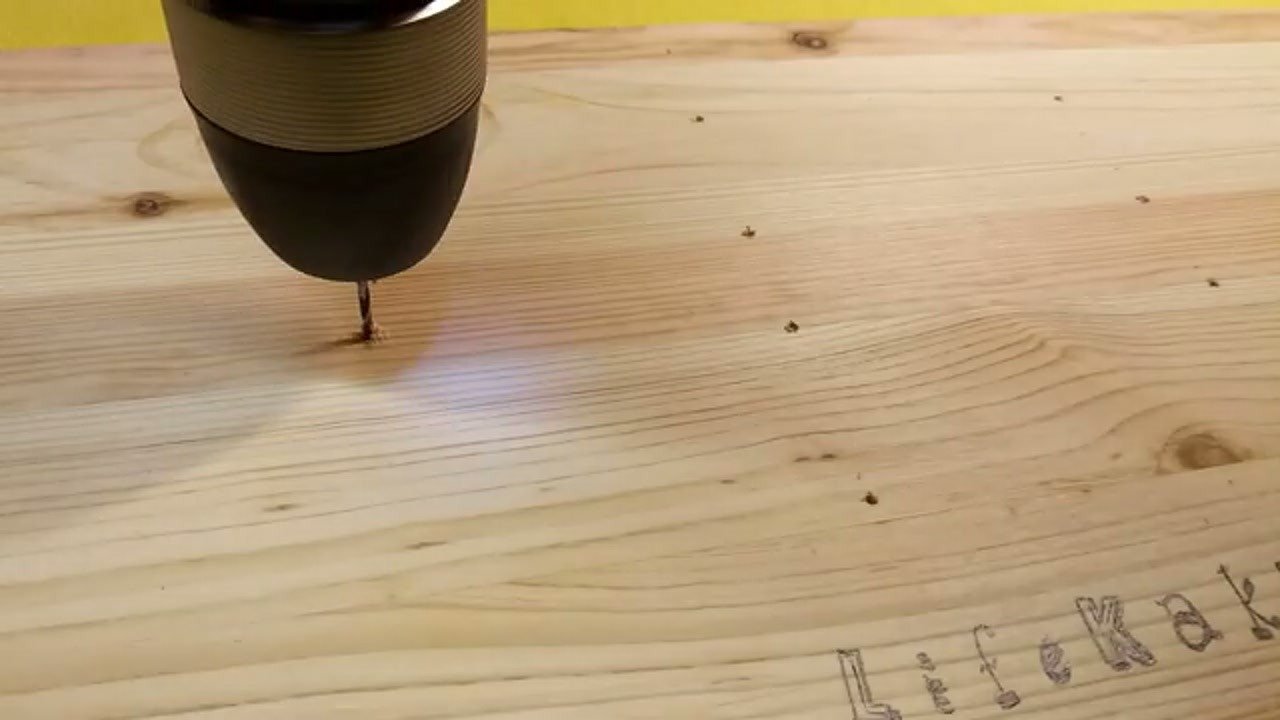
Drilling pilot holes
Use a power drill to create pilot holes at the marked locations. This prevents the wood from splitting when you drive in the screws. Keep the drill bit perpendicular to the surface for a clean entry. Clear away any sawdust to ensure the components sit flush against the board. Proper preparation here ensures the rollers align perfectly.
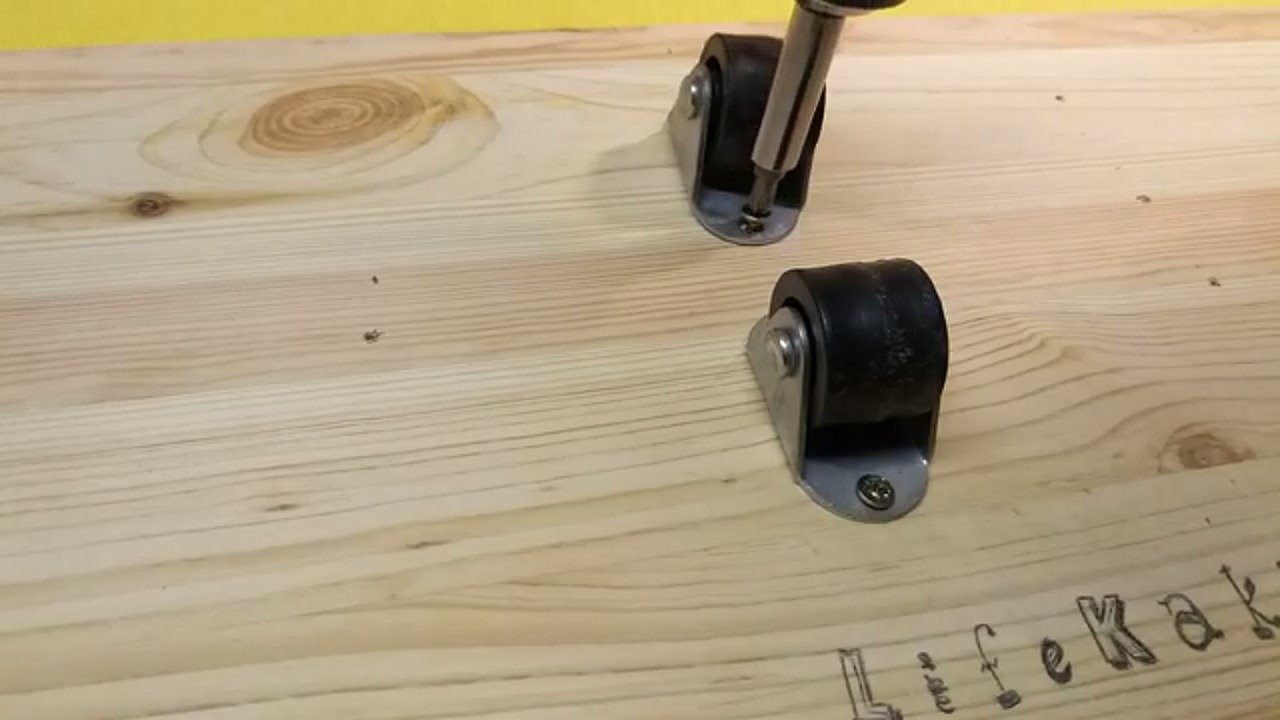
Installing rollers
Mount the small rollers onto the base using the pre-drilled holes. These rollers are essential for allowing the bottle to rotate smoothly with minimal friction. Tighten the screws firmly but avoid over-tightening, which could crack the wood. Ensure all rollers are at the same height to keep the bottle level. Test the rotation by hand to verify there is no binding.
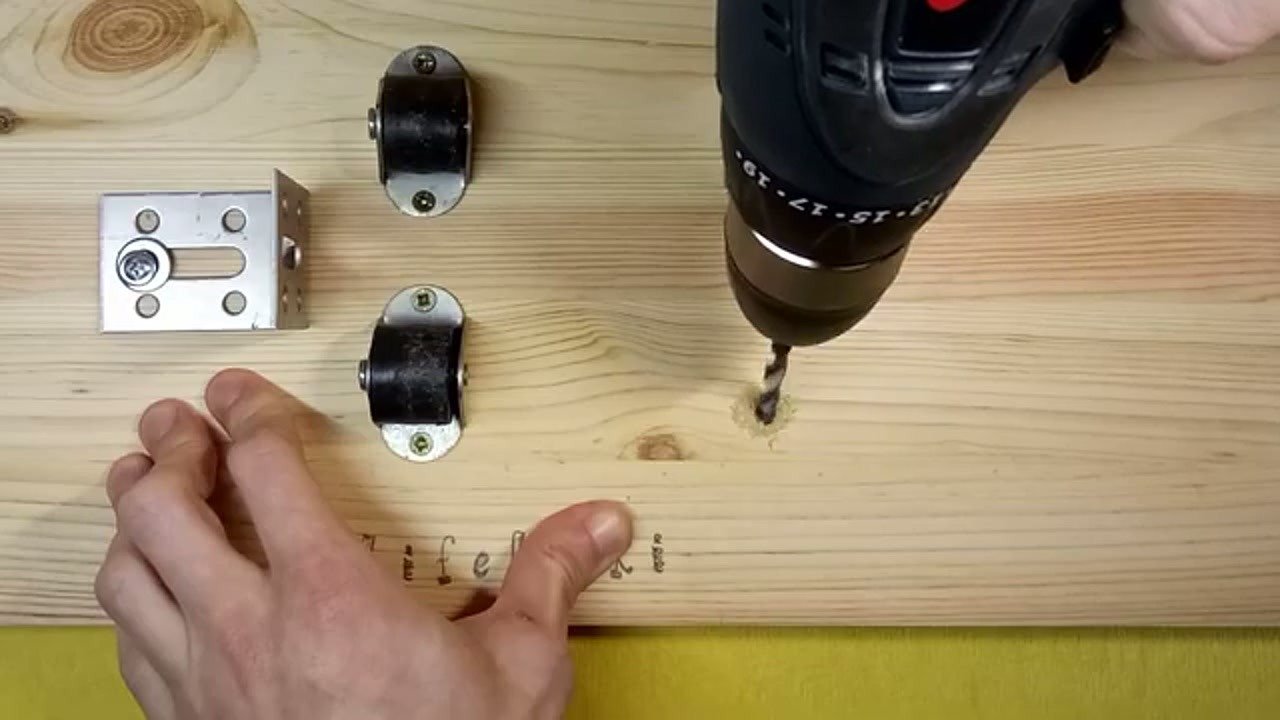
Aligning the glass cutter
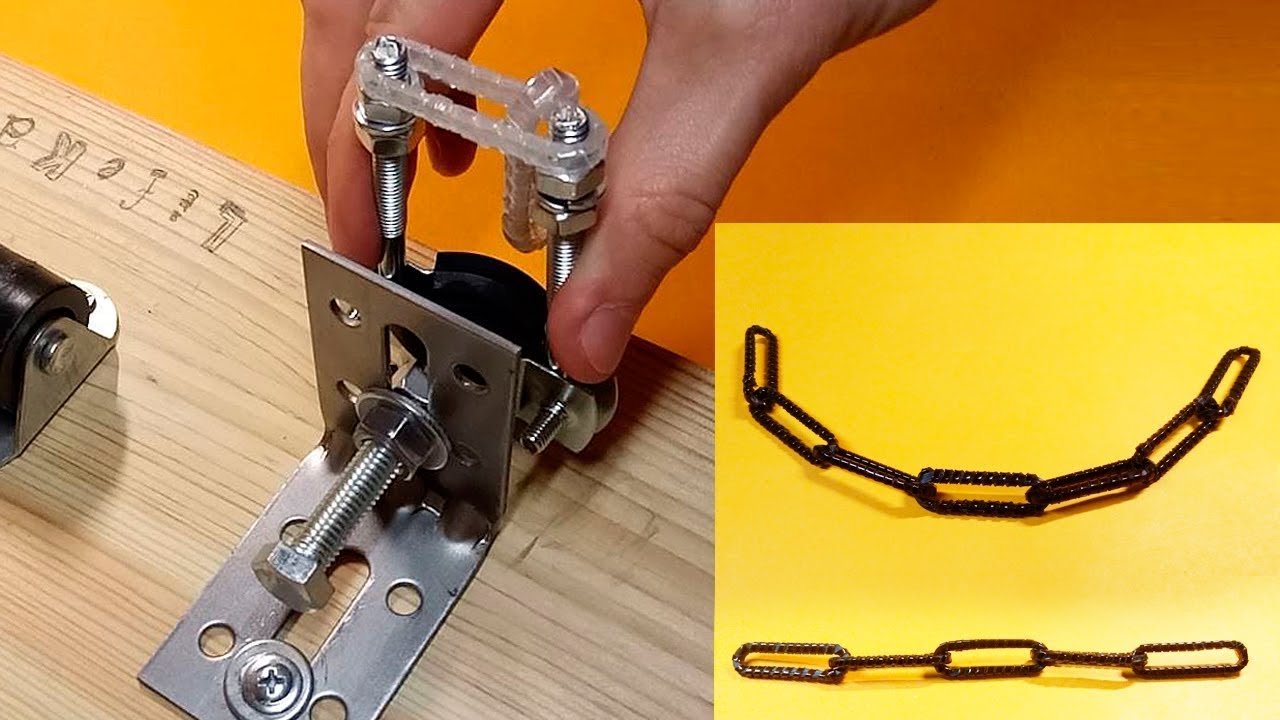
Drill a larger hole to accommodate the adjustable cutting head mechanism. This allows for fine-tuning the position of the diamond tip relative to the bottle. Proper alignment is the most important factor for a clean score line. Secure the mount so it remains rigid during operation. A stable cutter prevents the diamond tip from skipping or jumping.
Final assembly
Attach the cutting head to the base, ensuring it is square with the rollers. Check that the diamond tip makes firm contact with the glass surface when a bottle is placed. The assembly should feel solid and free of excessive play. Adjust the stop to the desired cutting height. Everything is now ready for the first test run.
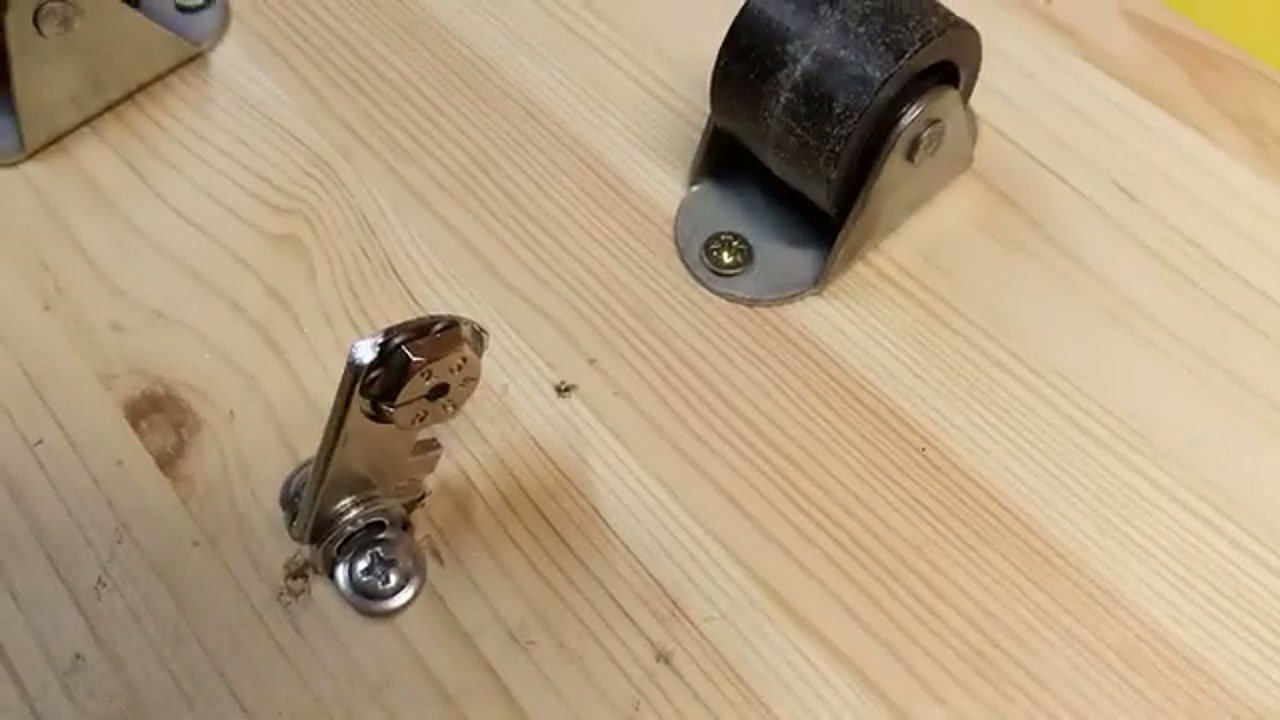
Scoring the bottle
Place the bottle on the rollers and press it firmly against the cutter. Rotate the bottle in one continuous, smooth motion to create a single, unbroken score line. Do not go over the same spot twice, as this will chip the glass. Maintain consistent pressure throughout the entire circumference. A faint, crisp white line indicates a successful score.
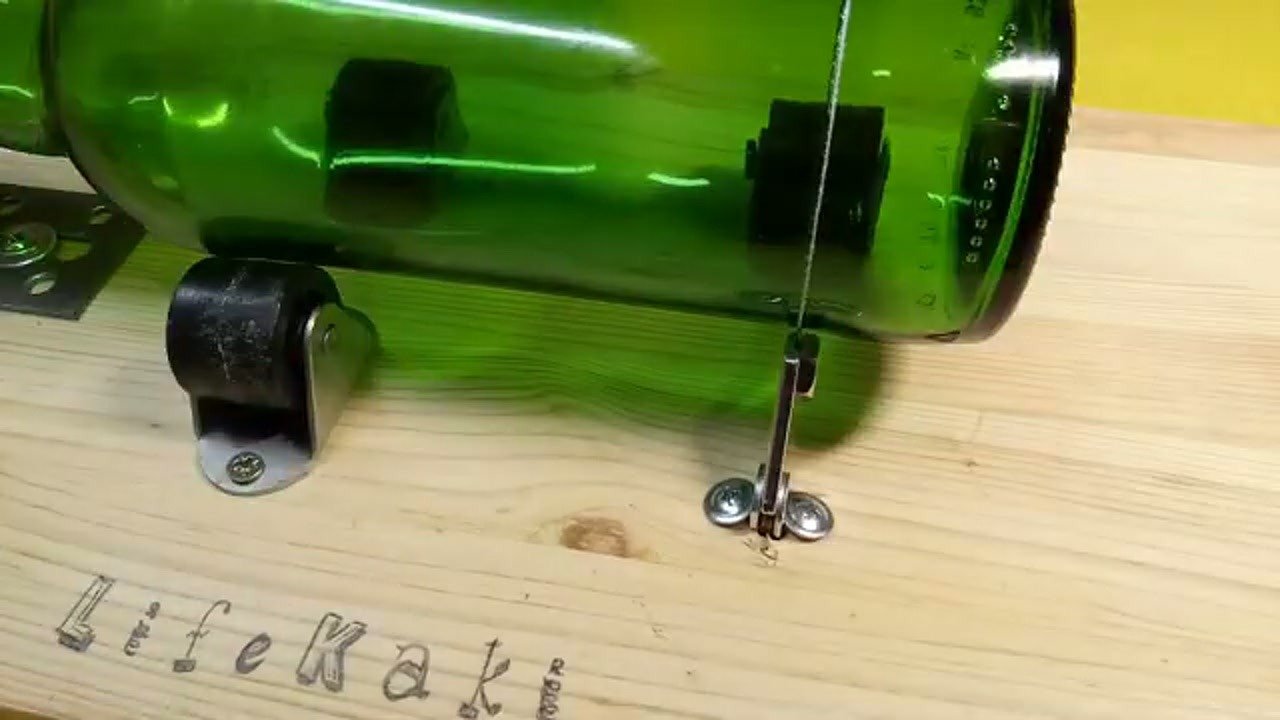
Controlled tapping
Use the tapping method to propagate the crack along the score line. Gently tap the inside of the bottle near the score using a light tool. You will hear a distinct change in sound as the crack travels around the circumference. Be patient and work slowly to avoid jagged breaks. This step requires a steady hand and careful observation.
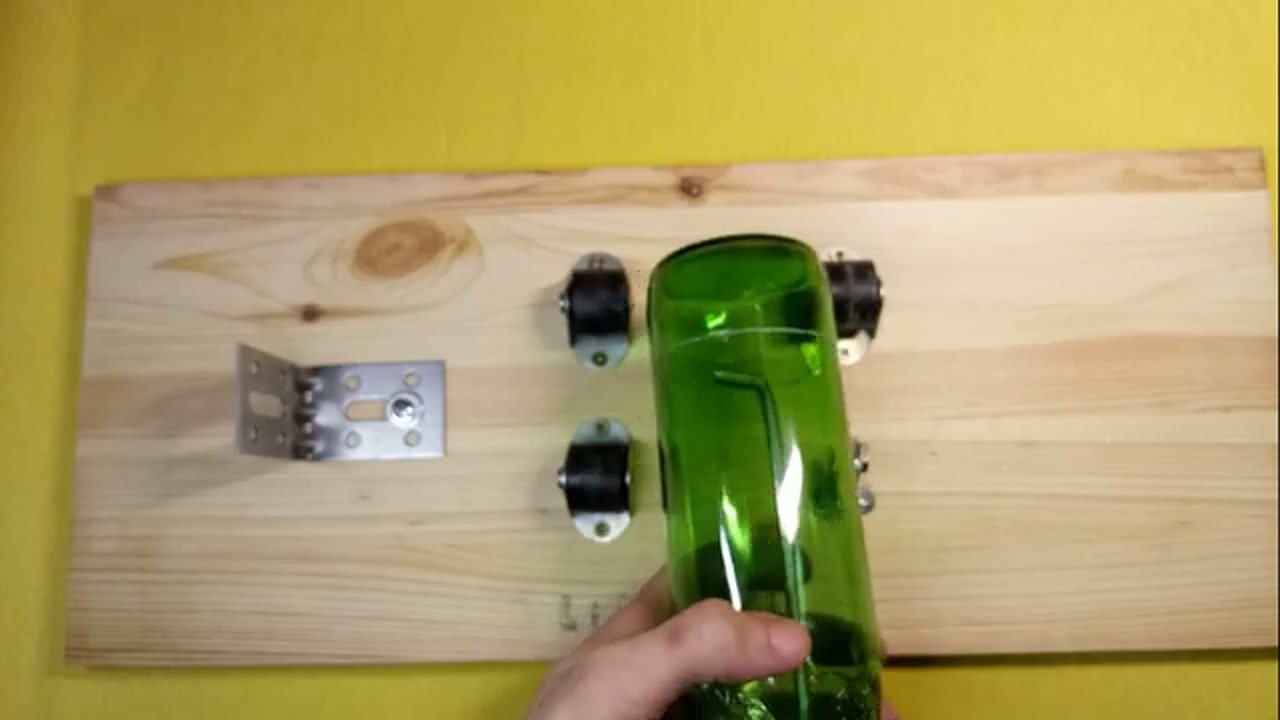
Inspecting and sanding
Once separated, the edges will be sharp and potentially uneven. Use abrasive sandpaper to smooth the cut surface thoroughly. Start with a coarser grit to remove large chips, then finish with a finer grit for a smooth touch. Never handle the raw cut edge without protection. Proper sanding turns a dangerous shard into a functional, safe object.
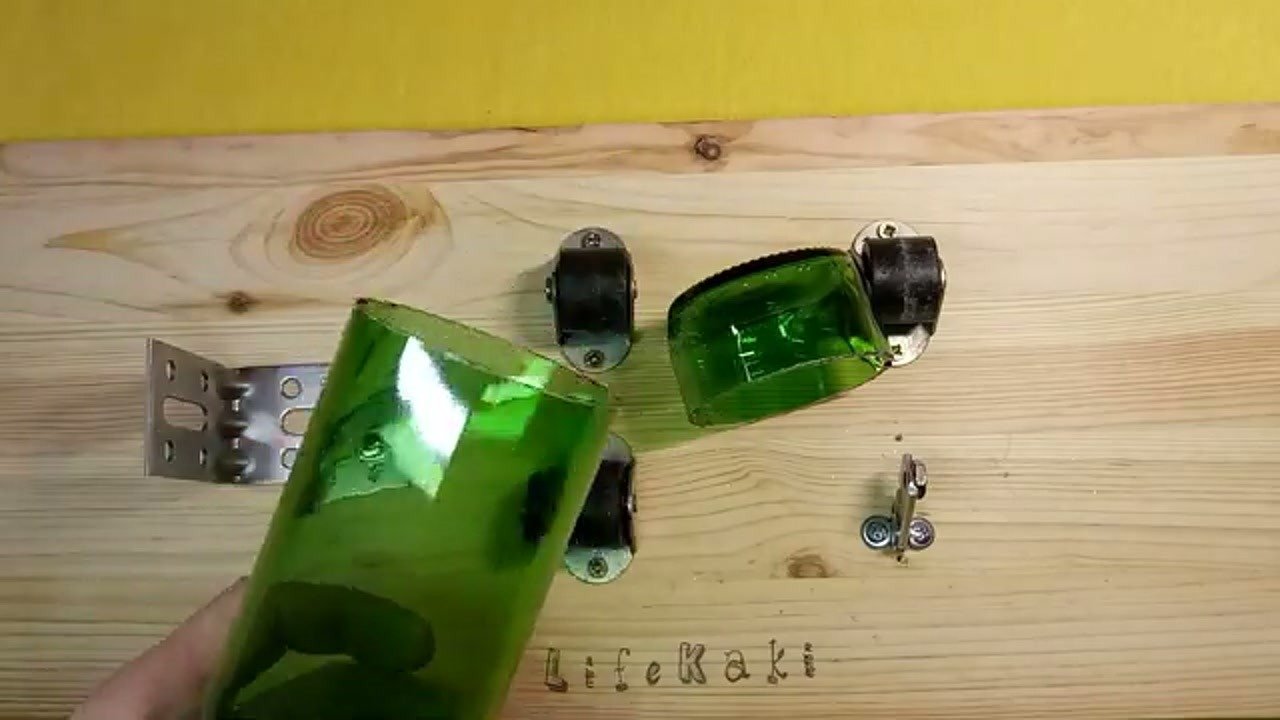
Final result and use cases
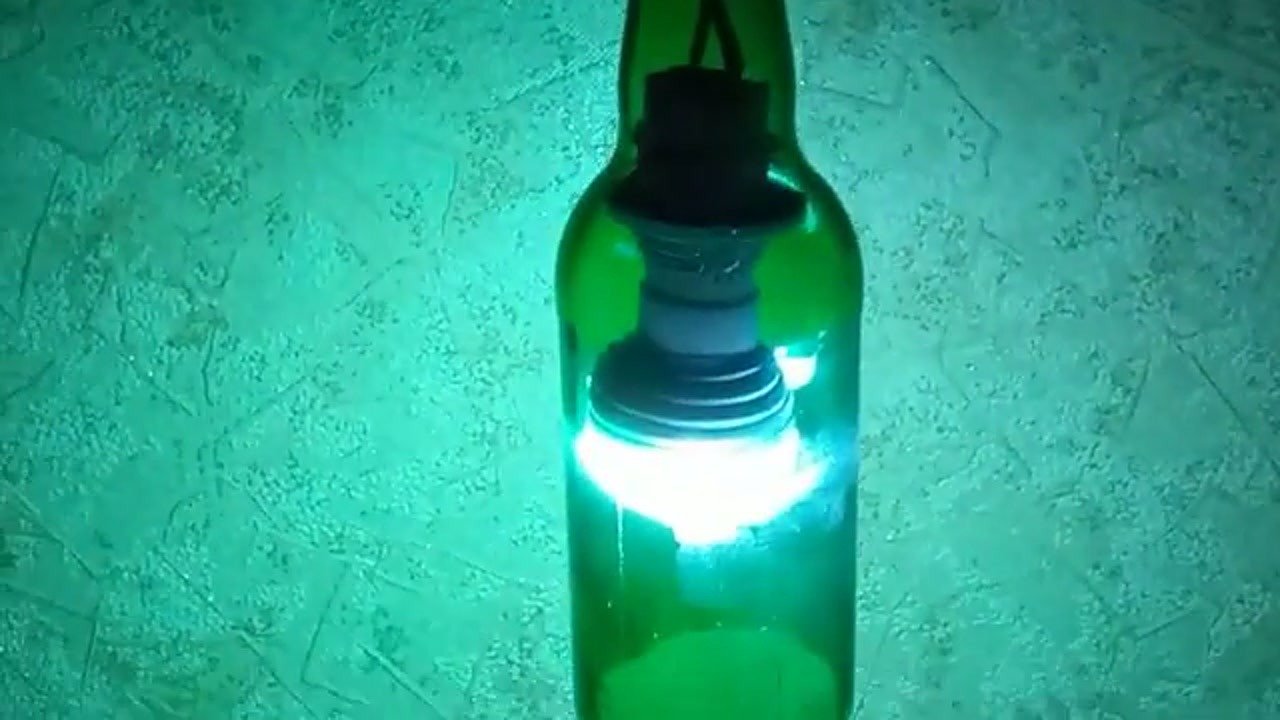
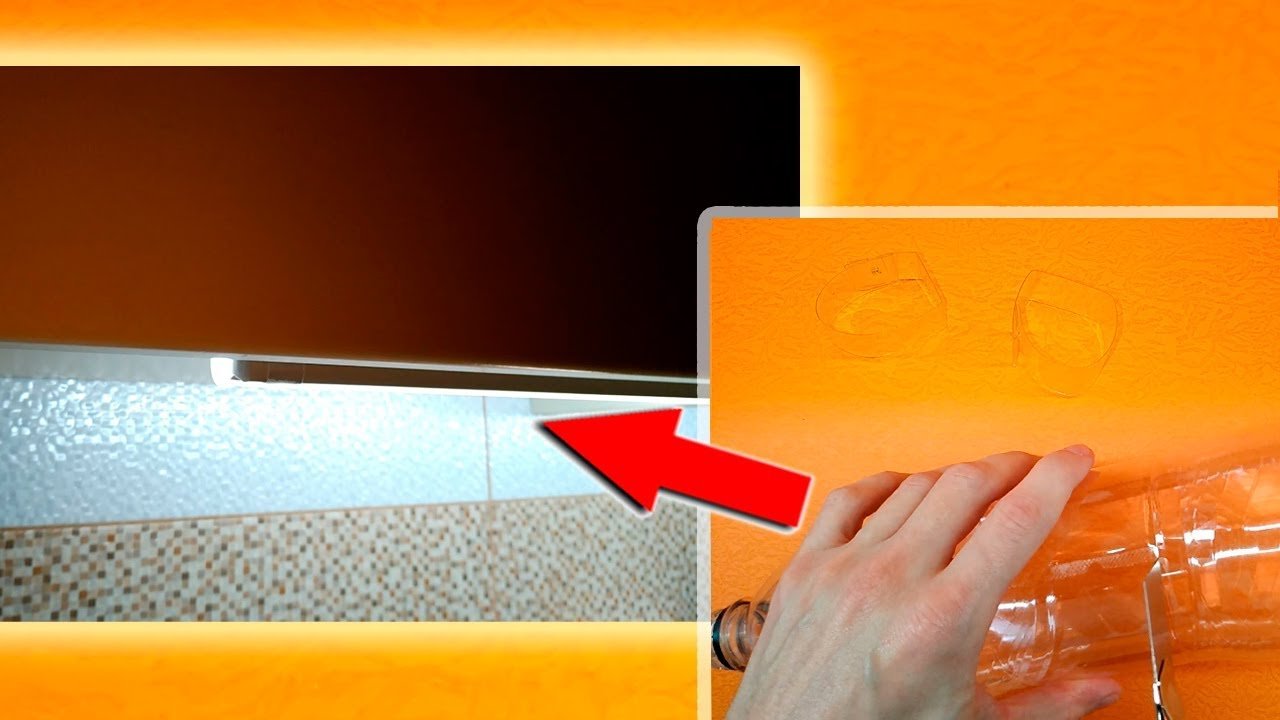
The finished bottle can now serve as a decorative lamp, a storage container, or a unique workshop organizer. The clean edge shows that the tool is effective for repeatable upcycling. Experiment with different bottle types and thicknesses to expand your project range. This simple build proves that professional results are possible with basic workshop tools.
Testing summary
Reviewing the final cut confirms the tool’s durability and precision. The alignment held steady throughout the test, producing a clean separation. The rollers provided enough support to prevent wobbling, which is critical for consistent results. This DIY cutter is a cost-effective solution for anyone interested in glass upcycling. It is ready for long-term use in your workshop.
⚠️ CAUTION: SAFETY WARNING!
Always wear safety glasses and gloves when cutting glass. The edges of cut bottles are extremely sharp and can cause deep lacerations. Work in a well-ventilated area to avoid inhaling glass dust during the sanding process.
Summary & Tips
Building your own glass bottle cutter is a rewarding project that turns waste into functional home decor. By ensuring the rollers are perfectly aligned and using a consistent scoring technique, you can achieve professional results every time. Remember that safety is paramount when working with glass, so always sand your edges thoroughly. This DIY tool is a durable, repeatable solution for all your upcycling needs.
📋 FAQ
❓ Why does my glass crack unevenly?
Answer: Uneven cracks are usually caused by inconsistent pressure during scoring or going over the score line multiple times. Ensure the bottle rotates smoothly and use a single, continuous motion.
❓ Can I cut any type of glass bottle?
Answer: Most standard soda-lime glass bottles work well. Extremely thick or tempered glass is difficult to cut with a manual tool and may shatter unpredictably.
❓ How do I make the edges smooth?
Answer: Use wet-dry sandpaper starting from 80-grit to remove chips, moving up to 400-grit for a smooth finish. Always sand under water to keep glass dust contained.
Disclaimer: I purchased all tools for this guide with my own money to ensure an unbiased review. This post contains affiliate links, meaning I earn a small commission if you make a purchase at no extra cost to you.
🛒 Useful Links & Products
Pencil-style cutter (Useful tool)
🛒 BUY ON ALIEXPRESSSmall rollers (wheel supports)
🛒 BUY ON ALIEXPRESSPower Electric Mini Drill
🛒 BUY ON ALIEXPRESS





Leave a Reply