My OneOdio Studio Pro headphones have been a workhorse for a couple of years, but the ear pads finally gave up, peeling and losing their comfort. I’m tackling a OneOdio Studio Pro earpad replacement today, and it’s a straightforward fix that can bring your old cans back to life. You don’t need a ton of specialized gear for this; just some patience and the right replacement parts. We’re going to swap out those worn-out cushions, boost the comfort, and get these headphones looking and feeling fresh again.
Author: LifeKaki
⚡ Quick Guide: How to Make It in 5-10 Steps
- Unbox your new replacement ear pads and inspect them for quality.
- Compare the new ear pads with your old, worn-out ones to note the differences.
- Gently pull off the first old ear cushion, working around its edge.
- Carefully align and stretch the new ear pad over the headphone cup, securing it in the groove.
- Remove the second old ear pad, making sure not to damage the headphone housing.
- Install the second new ear pad, ensuring an even and secure fit all around.
- Perform a final check on both installed ear pads for comfort and proper seating.
- Enjoy your ‘new’ headphones with improved comfort and noise isolation.
📋 In This Article
- Technical Specifications
- Tools & Materials — what you need
- Unboxing Replacement Ear Pads
- Old vs. New Earpad Comparison
- Removing the First Old Ear Cushion
- Installing the First Replacement Earpad
- Removing the Second Earpad
- Installing the Second Replacement Earpad
- Final Result and Comfort Check
- Conclusion and Benefits
📊 Technical Specifications & Components
| Earpad Diameter | 95mm (replacement) |
| Headphone Model | OneOdio Studio Pro |
📊 Project Overview & Costs (USA Market)
🔧 Difficulty Level: Easy
⏱️ Time Investment: DIY: 20-30 mins | Pro: 10-15 mins
💡 Verdict: Swapping these pads yourself saves you a good in labor, easily covering the cost of new earpads and maybe a decent coffee.
Tools & Materials Used
• Replacement Earpads for OneOdio Studio Pro 95mm
• OneOdio Studio Pro Headphones
🔧
OneOdio Studio Pro Headphones
AliExpress 🛒
🔧
Makita D-65713 Utility Knife Snap-Off Easy
AliExpress 🛒
🛠️
BUY ON ALIEXPRESS 🛒
Recommended
1 Pair Replacement Earpads for OneOdio Studio Pro 95mm
Step-by-Step Assembly & Testing
Unboxing Replacement Ear Pads
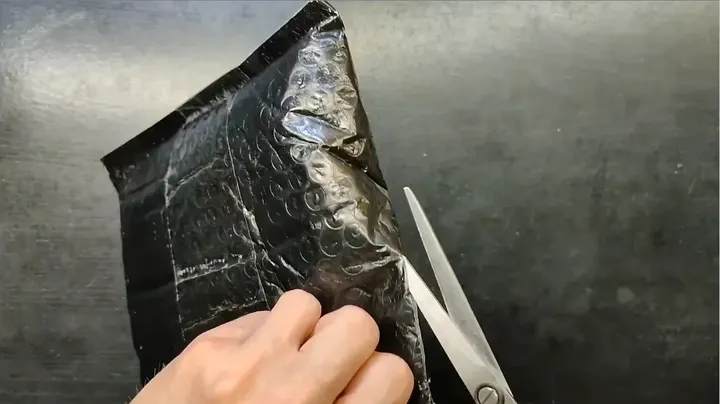
First things first, I’m cracking open the package for these new replacement ear pads. It’s always a good idea to inspect everything right out of the box, just checking for any manufacturing flaws or damage from shipping. I’m using a utility knife to carefully slice open the plastic, making sure not to nick the pads themselves. You want to be gentle here, ’cause those new pads are delicate. I’m looking for consistent stitching and a smooth, unblemished surface on both pads. A quick visual confirms these look good to go. You never know what you’re gonna get with online orders, so this initial check is crucial. Making sure they’re the right size and material before you even think about tearing into your headphones is a smart move. These look like a solid match for the OneOdio Studio Pro model, ready for the swap. No surprises, which is always a win in my book.
Old vs. New Earpad Comparison
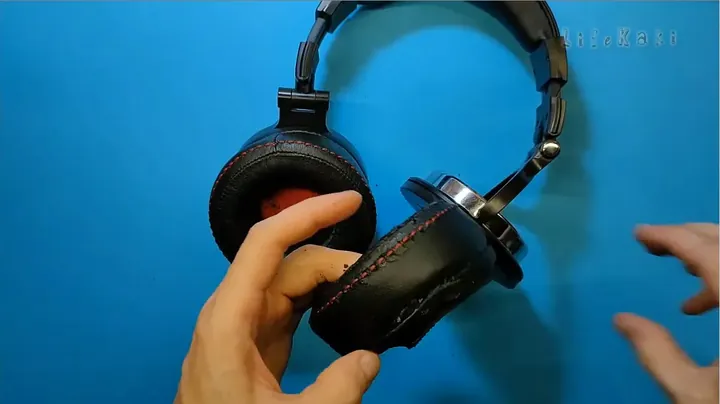
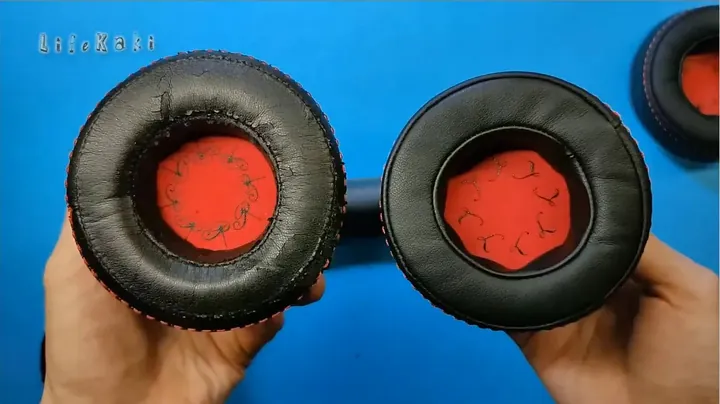
Now, let’s stack up the old, worn-out earpad against one of the fresh replacements. It’s night and day, really. My old pads, after two years of daily grind, are totally flattened, the synthetic leather’s cracking, and the foam inside has lost all its bounce. You can see the material’s flaked off in places; it’s just not comfortable anymore. The new pad, on the other hand, has that plush, full shape, and the material feels supple and smooth. This isn’t just about looks; that lost volume in the old pads directly impacts sound isolation and overall comfort. The new ones should create a much better seal around my ears, which means better bass response and less sound leakage. Plus, that fresh foam will feel much better during long listening sessions. It’s pretty clear why this replacement is necessary.
Removing the First Old Ear Cushion
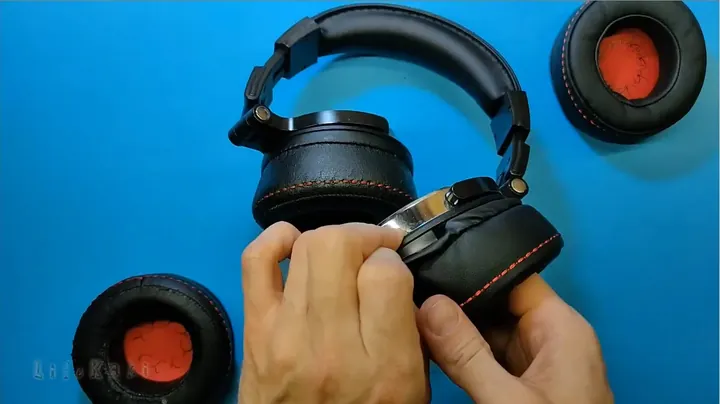
Time to yank off that first old ear cushion. This isn’t usually too tricky, but you gotta be careful not to damage the headphone’s plastic housing or speaker grill. I find it easiest to grab the edge of the old pad and gently pull it away from the headphone cup, working my way around the circumference. You’ll feel it detach from the retaining lip or groove. Sometimes they’re just tucked in, other times there’s a bit of adhesive, but mostly it’s just friction fit. Don’t just rip it off; a steady, even pull prevents bending any delicate plastic. If you’re too aggressive, you could snap a small tab or stretch the housing. I’m taking my time, easing it off section by section until it pops free. Once it’s off, I’ll give the speaker area a quick wipe to clear any dust or debris before installing the new one. Clean slate for a fresh start.
Installing the First Replacement Earpad
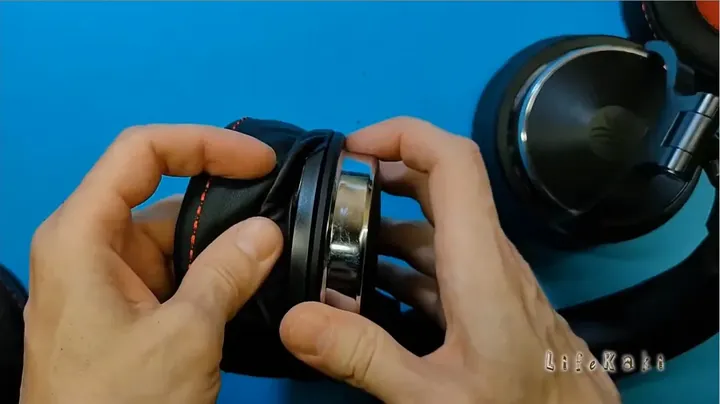
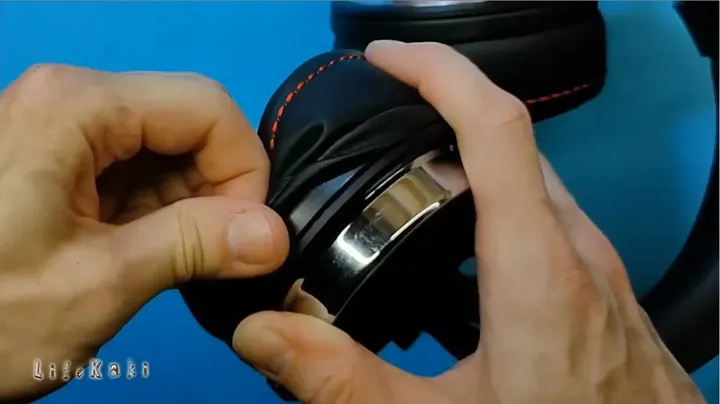
Installing the new ear pad takes a bit of finesse. The goal is to get the flexible skirt of the ear pad seated perfectly into the narrow groove around the headphone cup. I usually start by hooking one edge of the new pad into the groove at the top or bottom of the headphone. Then, I work my way around, gently stretching the material and tucking it into the channel with my thumbs. It’s a bit like putting a tire on a rim. You’ll want to apply even pressure, slowly rotating the headphone and guiding the material into place. If it feels too tight, don’t force it; you might need to adjust your starting point. A common mistake is trying to jam it all in at once, which can tear the new pad or leave it uneven. Once it’s mostly in, I’ll run my finger around the entire edge, pressing firmly to ensure it’s fully seated and won’t pop out. This takes a minute.
Removing the Second Earpad
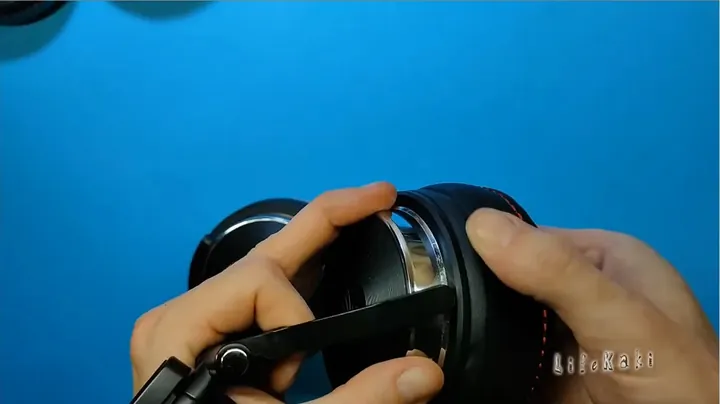
With the first earpad done, I’m moving on to the second one. The process is identical: grab the edge of the worn pad and carefully peel it away from the headphone cup. I’m trying to maintain consistent pressure as I work around the perimeter. You want to avoid any sudden jerks that could stress the plastic. Sometimes, these pads have been on for so long that the material might be brittle, making it a bit more challenging to remove without leaving small bits behind. If that happens, a soft brush or a microfiber cloth can help clean up any residue. Again, the key is patience and a gentle touch. Pulling too hard could potentially damage the internal wiring or the thin plastic frame that holds the earpad in place. It’s off, and now I’m ready for the new one.
Installing the Second Replacement Earpad
Now for the second replacement ear pad. Just like the first, I’m starting at one point, usually the top, and carefully stretching the skirt of the new pad over the headphone cup’s retaining lip. This can be a bit fiddly, especially if the new pads are a snug fit, which is what you want for good noise isolation. I’m using my thumbs to coax the fabric into the groove, working slowly around the entire perimeter. You’ll feel a slight ‘snap’ or ‘pop’ as the lip of the pad seats properly into the channel. It’s crucial that the entire edge is tucked in evenly; any part that’s not fully seated will feel uncomfortable and compromise the sound. I’m double-checking the alignment as I go, making sure the pad isn’t twisted or bunched up. Once it’s all in, I’ll give it a good push all around to confirm it’s secure. That’s it.
Final Result and Comfort Check
Both new ear pads are now installed, and these headphones look and feel completely revitalized. It’s a massive improvement over the old, cracked, and flattened pads. I’m giving them a good once-over, checking that both pads are securely seated, with no gaps or loose edges. Then, it’s the ultimate test: putting them on. The immediate difference in comfort is striking; they feel plush and soft against my ears, with a much better seal. This improved seal isn’t just about comfort; it’s going to make a noticeable difference in passive noise isolation and the overall sound profile, especially the bass. They look factory fresh. This simple repair really does give these headphones a second lease on life.
Conclusion and Benefits
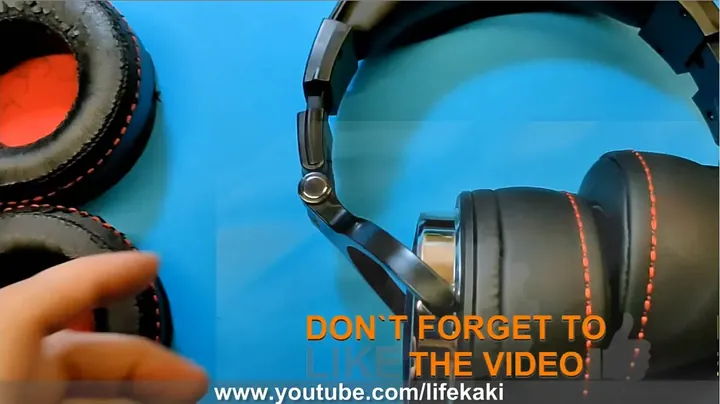
Bottom line: replacing those worn-out ear pads on my OneOdio Studio Pro headphones was a solid win. It’s a quick, low-cost fix that makes a huge difference in comfort, sound isolation, and the overall look of the headphones. You don’t need to toss perfectly good headphones just because the ear pads are trashed. This DIY repair extends their lifespan, saves you cash, and keeps more electronics out of the landfill. If your pads are peeling or flattened, don’t hesitate. Grab some replacements and get to work. Your ears, and your wallet, will thank you for it.
Summary & Tips
Bottom line: this earpad swap is a no-brainer for anyone with worn-out OneOdio Studio Pro headphones. It’s cheap, easy, and brings back that factory-fresh comfort and sound quality without having to buy a whole new set of cans. Seriously, don’t overthink it.
📋 FAQ
❓ How often should I replace my headphone ear pads?
Honestly, it depends on how much you use ’em. For daily drivers, I’d say every 1-2 years is pretty standard. If they’re cracking, peeling, or just feel flat, it’s time for a swap.
❓ Can I wash my old headphone ear pads?
Nope, not really recommended for most synthetic leather or velour pads. They tend to degrade faster or get damaged. Better to just replace them once they’re worn out.
❓ Will new ear pads change the sound quality of my headphones?
Yeah, they definitely can. Fresh, plush pads create a better seal around your ears, which usually means improved bass response and better passive noise isolation. It’s a good thing, usually.
Disclaimer: I purchased all tools for this guide with my own money to ensure an unbiased review. This post contains affiliate links, meaning I earn a small commission if you make a purchase at no extra cost to you.
🛒 Useful Links & Products
1 Pair Replacement Earpads for OneOdio Studio Pro 95mm
🛒 BUY ON ALIEXPRESSOneOdio Studio Pro Headphones
🛒 BUY ON ALIEXPRESS





Leave a Reply