Tired of using extra rinsing cups that clutter your bathroom sink? This practical DIY project transforms a standard toothbrush into a functional water fountain. By adding a simple tubule straw, you create a direct water stream for efficient rinsing. This modification is a clean, repeatable upgrade for your daily oral hygiene routine.
Author: LifeKaki
⚡ Quick Guide: How to Make It in 6 Steps
- Select a standard toothbrush and a flexible tubule straw.
- Apply hot melt adhesive to the back of the toothbrush head.
- Secure the straw along the handle to create a water channel.
- Trim excess glue to ensure a clean and functional finish.
- Connect the straw to the faucet for a steady water stream.
- Test the fountain to ensure proper flow for rinsing.
In This Article
- Tools & Materials — Required components for the build
- Technical Specifications — Project parameters
- Preparing the Toothbrush and Straw — Initial setup of components
- Applying Adhesive — Fixing the channel in place
- Cleaning the Assembly — Refining the build for hygiene
- Connecting to Faucet — Integrating the water source
- Testing the Fountain — Verifying the rinsing flow
- Final Result — Completed bathroom upgrade
- Frequently Asked Questions (FAQ) — Common queries answered
📊 Technical Specifications & Components
| Modification type | Passive water channel |
| Adhesive type | Hot melt glue |
| Compatibility | Standard bathroom faucets |
| Estimated assembly time | 5 minutes |
Tools & Materials Used
• Standard Toothbrush
• Tubule Straw
• Utility Knife
• Cleaning Cloth
🛠️
BUY ON ALIEXPRESS 🛒
Recommended Tool
Hot Melt Glue Gun
Step-by-Step Assembly & Testing
Preparing the Toothbrush and Straw
Start by selecting a standard toothbrush with a flat handle to provide a stable base for the straw. Take a flexible tubule straw and measure its length against the toothbrush handle. Ensure the straw reaches from the base of the handle to just above the bristles. Cut the straw to the required length with a sharp utility knife. This preparation ensures the water channel is positioned correctly for optimal flow.
Applying Adhesive
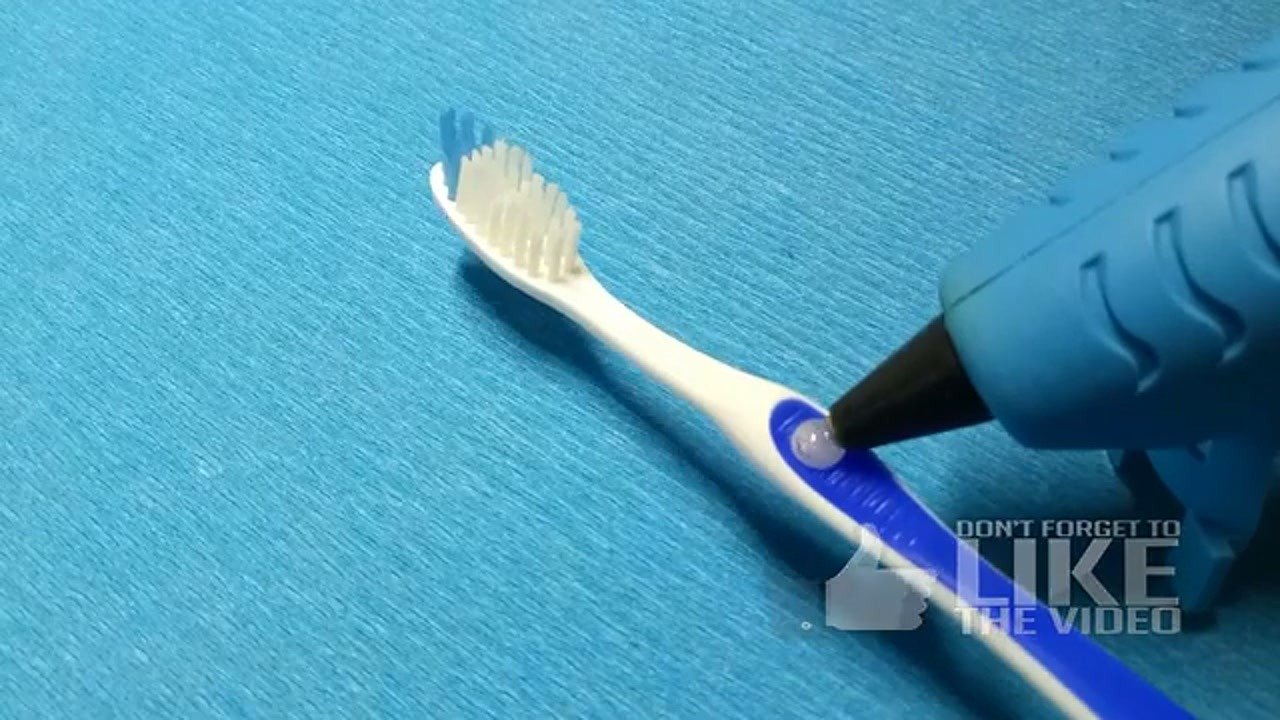
Heat up the Hot Melt Glue Gun until it reaches the proper operating temperature. Apply a thin, consistent bead of adhesive along the back of the toothbrush handle. Carefully press the prepared straw into the glue while it is still tacky. Maintain steady pressure for a few seconds to ensure a durable bond between the plastic surfaces. Avoid using excessive glue to keep the profile minimal.
Cleaning the Assembly
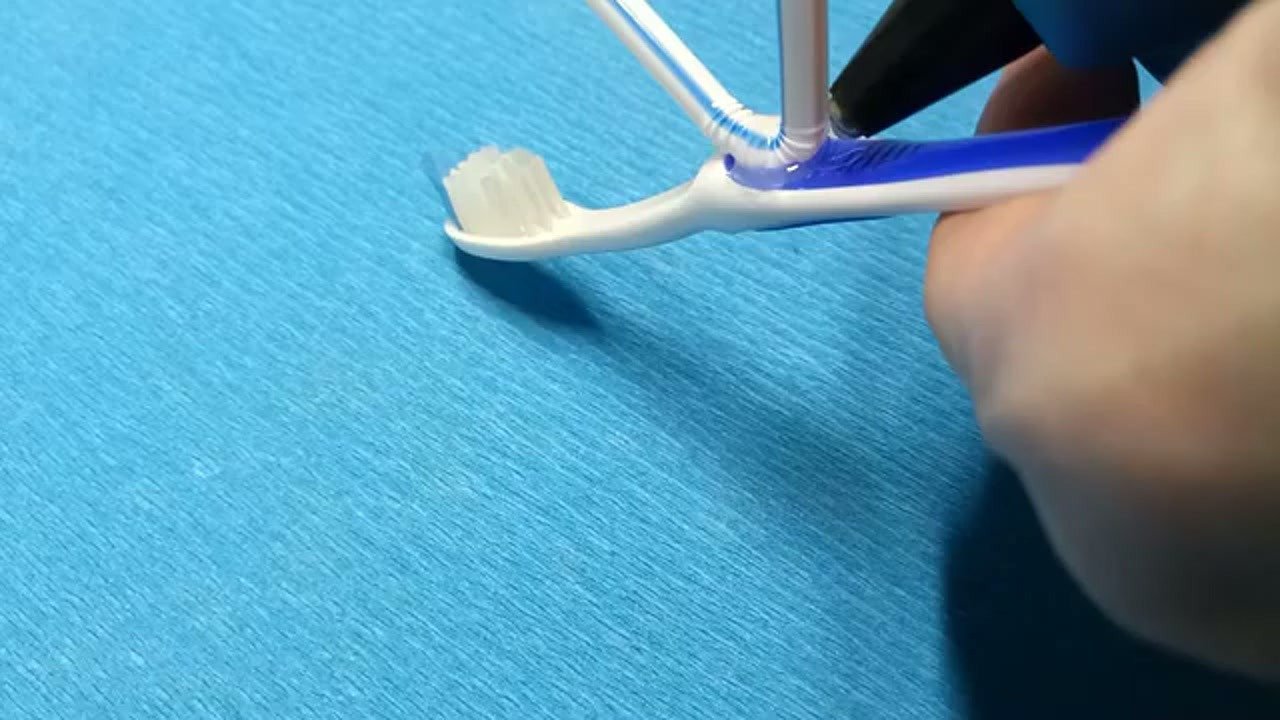
Once the adhesive has cooled and hardened, inspect the attachment for any stray glue strands. Use a utility knife to carefully trim away excess material around the straw. A clean finish is essential to prevent debris buildup and ensure the device remains hygienic. Wipe the entire assembly with a damp cloth to remove any residue. This step guarantees a professional and functional result.
Connecting to Faucet
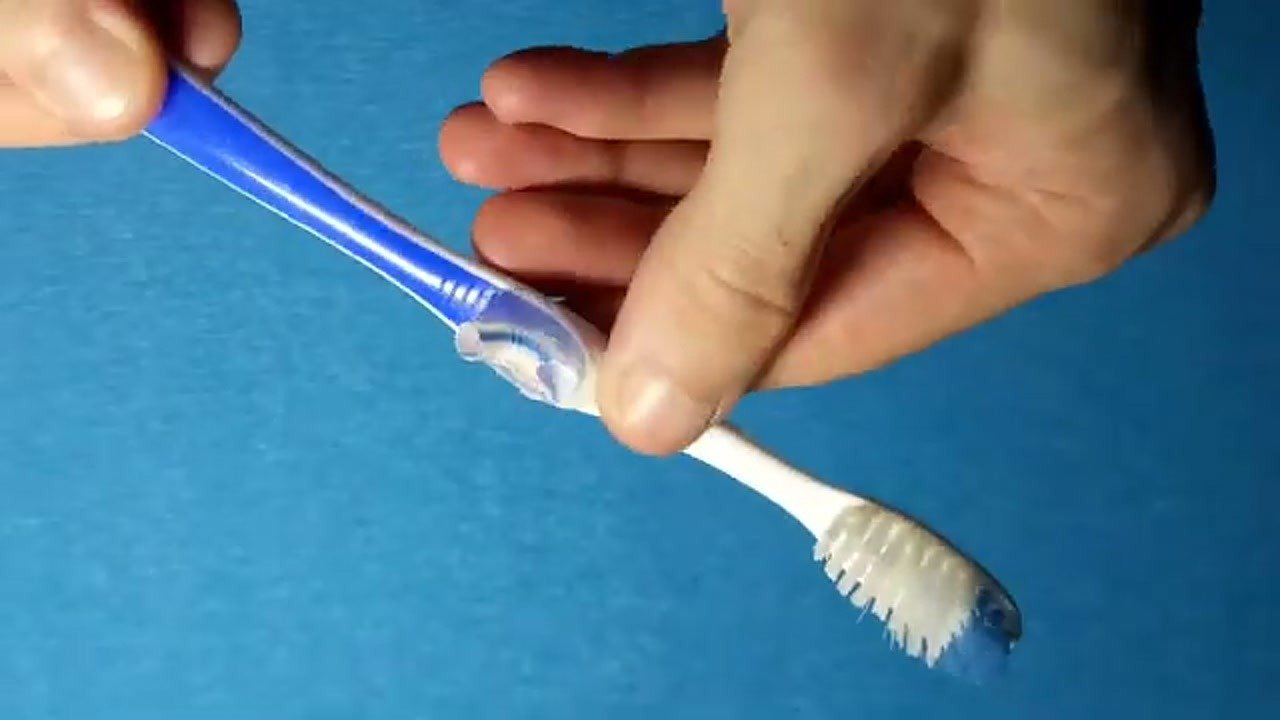
Position the base of the straw against the faucet outlet. Ensure the connection is snug enough to create a seal but allows for easy removal when not in use. The water pressure will naturally force the stream through the straw when the faucet is turned on. Verify that the straw is not kinked or obstructed by the faucet hardware. This setup creates a direct, controlled water path.
Testing the Fountain
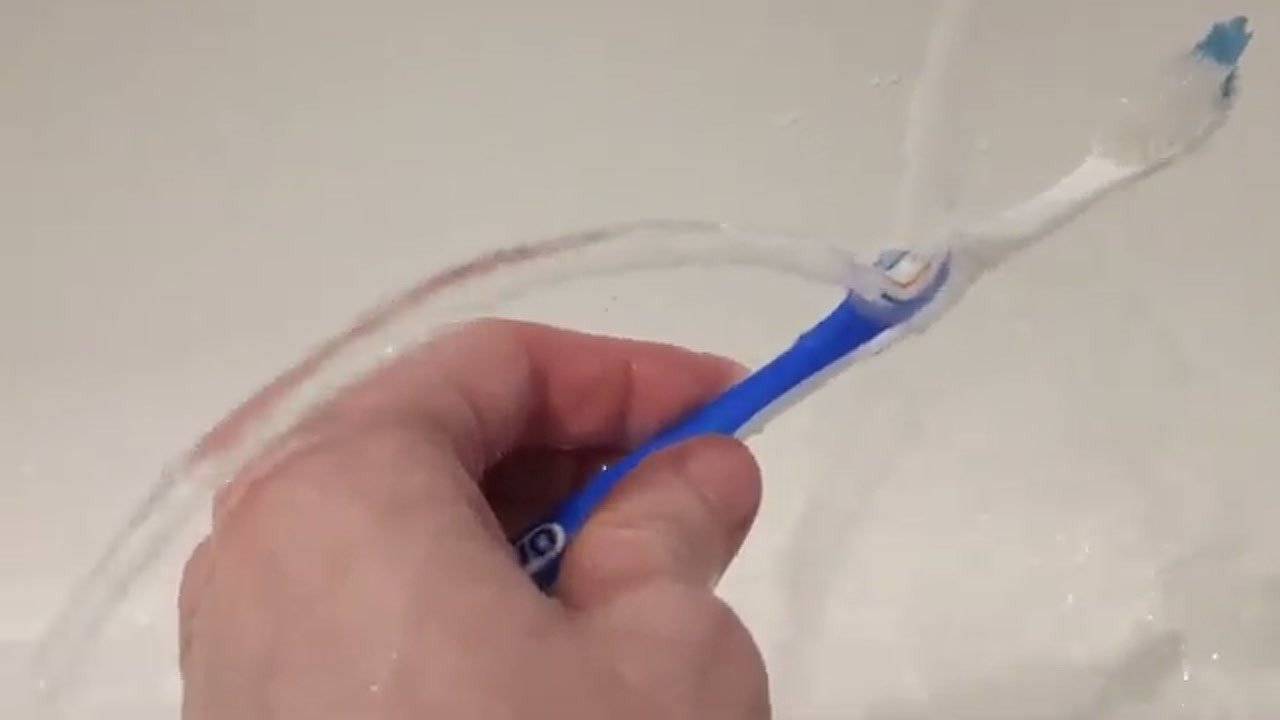
Turn on the faucet slowly to test the water flow through the integrated channel. Observe the stream to ensure it is consistent and directed toward the bristles. If the pressure is too high, adjust the faucet handle to find the ideal flow rate. The water should exit the straw smoothly without splashing uncontrollably. This test confirms the modification is working as intended.
Final Result
The finished toothbrush fountain is now ready for daily use. This modification eliminates the need for extra cups and keeps the sink area clean. The structure is durable enough for regular rinsing if handled with care. You have successfully upgraded a simple tool into a more efficient hygiene device. The result is a practical, space-saving solution for any bathroom.
⚠️ CAUTION: SAFETY WARNING!
Be careful when using the hot melt glue gun, as the nozzle and molten glue can cause burns. Use a sharp utility knife with caution to avoid cuts during the trimming process.
Summary & Tips
This DIY toothbrush fountain is a highly functional and simple bathroom upgrade. By repurposing a straw and using a hot melt glue gun, you create a direct rinsing stream that reduces clutter. This project is a practical example of how minor modifications can improve everyday hygiene routines. Always ensure the assembly is kept clean for long-term use.
📋 FAQ
❓ Is this modification hygienic for daily use?
Answer: The design allows for a direct water flow, which is often more hygienic than shared rinsing cups. Regular cleaning of the toothbrush and the straw attachment is recommended to prevent buildup.
❓ How durable is this toothbrush modification?
Answer: When properly assembled with high-quality hot melt adhesive, the attachment is durable enough for regular use. However, handle the toothbrush with care to avoid dislodging the straw.
❓ Does this affect the water pressure from the faucet?
Answer: The modification uses only a small portion of the faucet’s flow, which should not significantly impact the overall water pressure for other tasks.
Disclaimer: I purchased all tools for this guide with my own money to ensure an unbiased review. This post contains affiliate links, meaning I earn a small commission if you make a purchase at no extra cost to you.
🛒 Useful Links & Products
Hot Melt Glue Gun
🛒 BUY ON ALIEXPRESS





Leave a Reply