Stuck, rusted fasteners are a common headache in mechanical repairs. When you lack the right wrench or find yourself in a tight space, you need a reliable, repeatable solution. This guide demonstrates how to use a spare bolt and two nuts to create an improvised, adjustable tool that provides the necessary leverage to break stubborn bolts loose. This method is a functional, resourceful fix for emergency repairs where standard equipment fails.
Author: LifeKaki
⚡ Quick Guide: Removing Stuck Bolts in 5 Steps
- Identify the stuck bolt and ensure the head is accessible.
- Thread two hex nuts onto a spare bolt to create a locking mechanism.
- Tighten the nuts against each other to lock them firmly in place.
- Apply torque to the assembly to turn the rusted fastener.
- Adjust the grip as needed until the bolt is fully removed.
In This Article
- Tools & Materials — what you will need for this project
- Technical Specifications — fastener and tool requirements
- Identifying the Stuck Fastener — assessing the bolt condition
- Assembling the Improvised Tool — creating the leverage mechanism
- Applying Torque — breaking the rust seal
- Adjusting the Grip — maintaining pressure during removal
- Verifying the Result — final inspection of the repair
- Frequently Asked Questions (FAQ) — answers to common repair questions
📊 Technical Specifications & Components
| Bolt Grade | 5.8 |
| Tool Type | Improvised leverage assembly |
| Application | Light to medium-duty mechanical repair |
| Compatibility | Standard hex-head fasteners |
Tools & Materials Used
• Spare bolt (Grade 5.8)
• 2x Hex nuts
• Penetrating oil (optional)
• Wire brush
🔧
46Pcs Family Tools 1/4 Set Mechanic Tool Kit
AliExpress 🛒
🔧
Torque wrench
AliExpress 🛒
🛠️
BUY ON ALIEXPRESS 🛒
Recommended Tool
My reliable wrench set
Step-by-Step Assembly & Testing
Identifying the Stuck Fastener
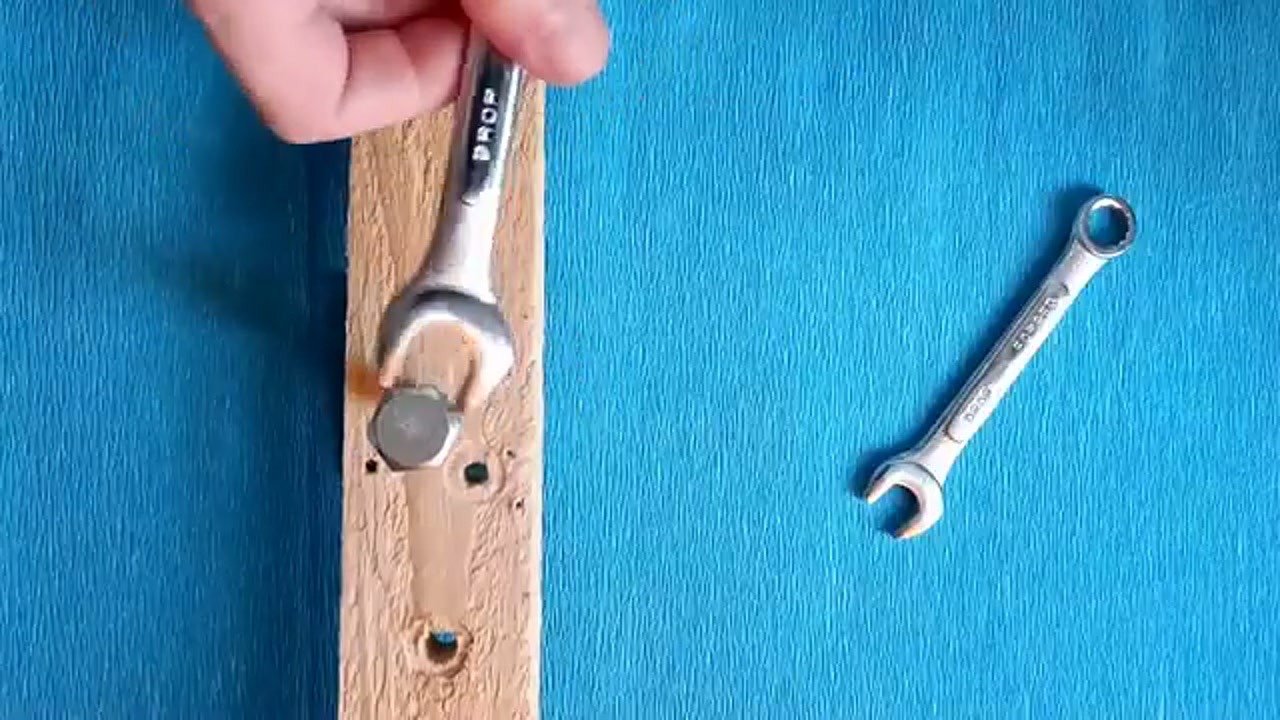
Inspect the bolt head for signs of heavy oxidation or rust buildup. A seized fastener often requires more than simple manual force to break the initial friction seal. Check the surrounding area for clearance to ensure the improvised tool will have enough room to rotate. If the bolt head is rounded, clean the edges with a wire brush to improve grip. This initial assessment prevents further damage to the fastener head during the removal process.
Assembling the Improvised Tool
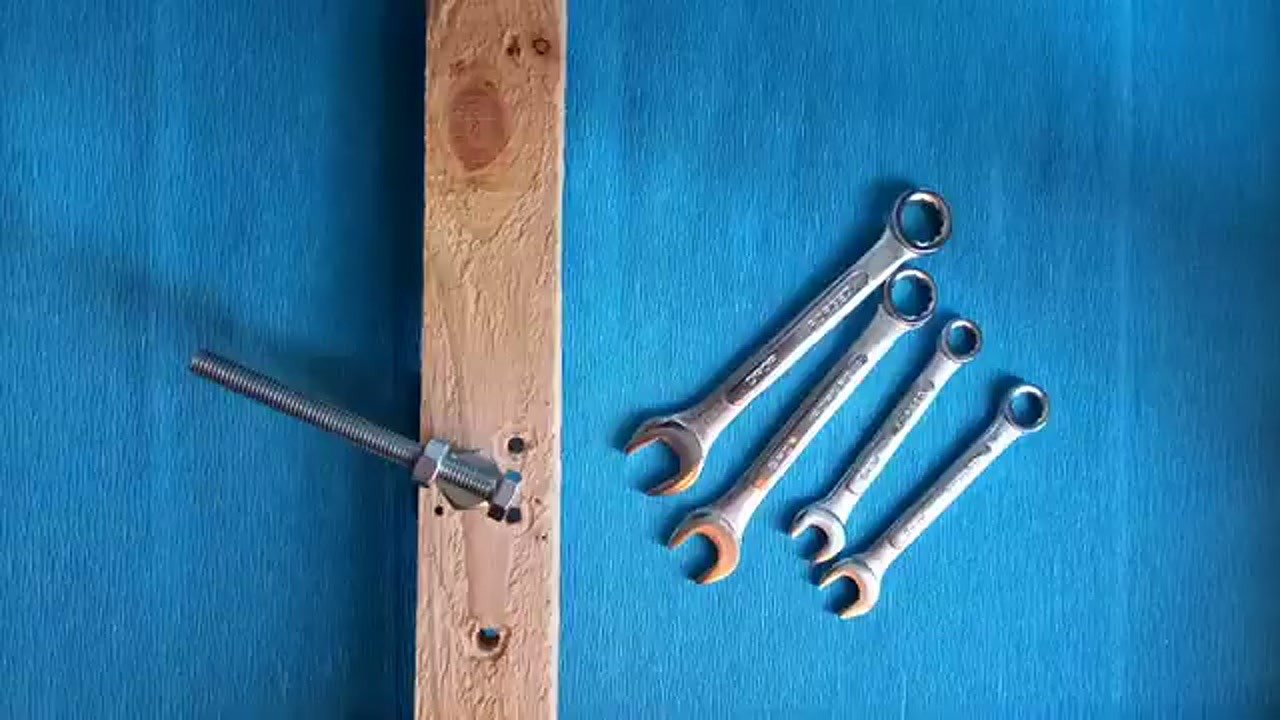
Take a spare bolt and thread two hex nuts onto the shank. Position the nuts so they are flush against each other at the end of the threads. Use a wrench to tighten the two nuts against one another, effectively locking them in place. This creates a solid, non-moving block that acts as a makeshift nut. Ensure the threads are clean to allow for smooth adjustment during the assembly process.
Applying Torque
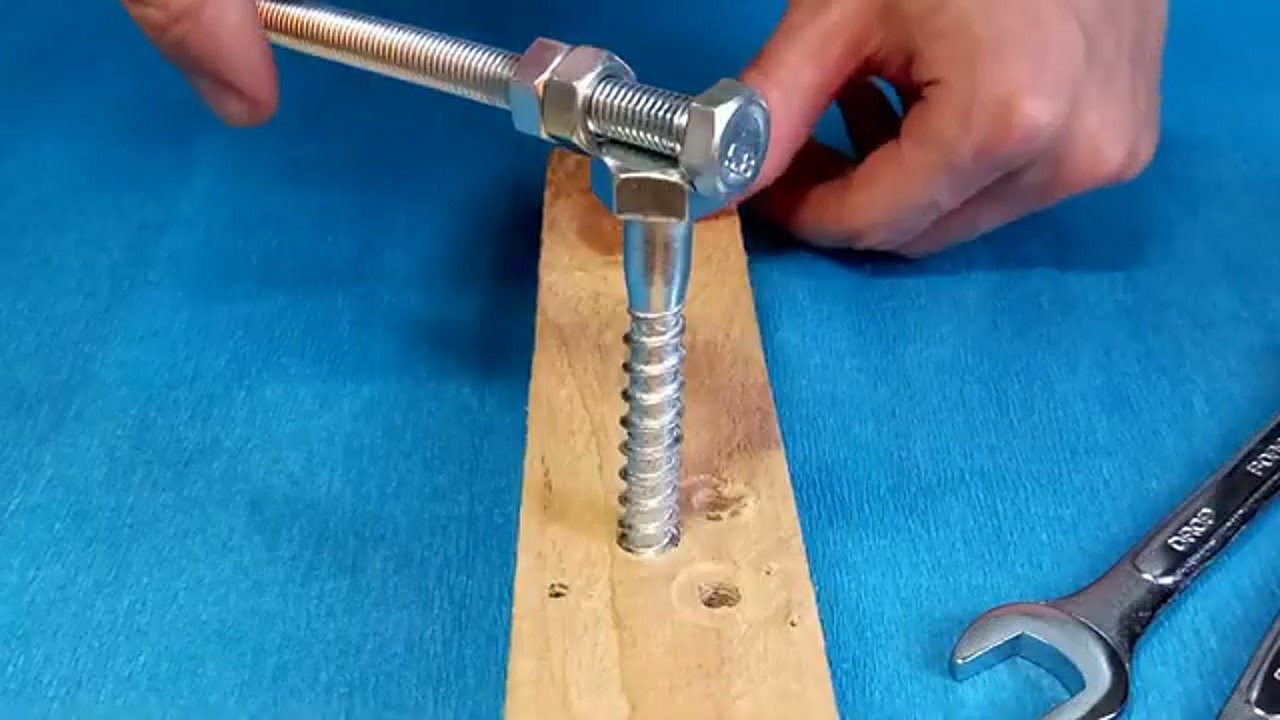
Place the improvised tool assembly over the stuck fastener head. Use a standard wrench to grip the locked nuts securely. Apply steady, increasing pressure in the counter-clockwise direction to break the rust seal. Do not jerk the tool, as this increases the risk of rounding the bolt head. If the bolt remains stuck, consider applying a penetrating oil to the threads and letting it sit for several minutes before trying again.
Adjusting the Grip
Once the bolt begins to turn, check the alignment of your improvised tool. If the nuts begin to slip, tighten them further against the bolt head to maintain a secure connection. Continue to rotate the assembly slowly, ensuring the force remains centered on the fastener axis. This step requires patience to avoid stripping the metal. If the bolt binds, rotate it back and forth to clear the rust from the threads.
Verifying the Result
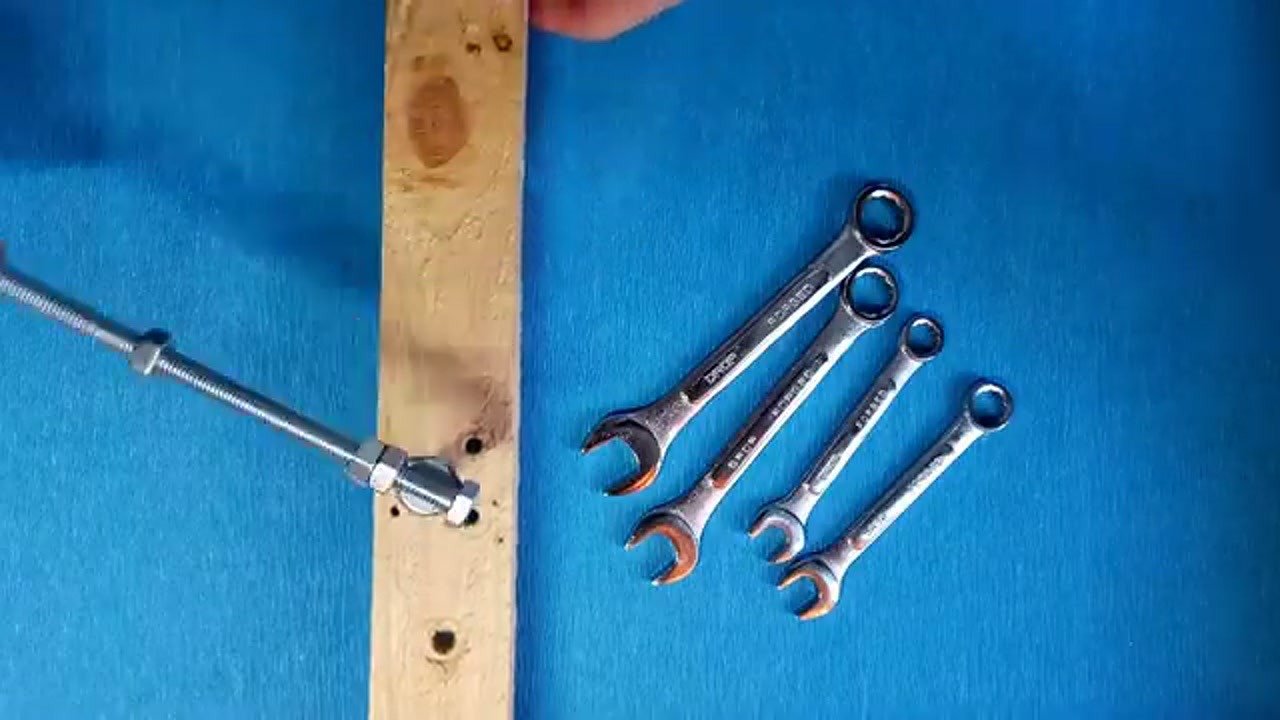
After the bolt is fully removed, inspect the threads for damage. Clean the area where the bolt was seated to remove any remaining debris or rust flakes. Verify that the fastener is intact and that the threads are not excessively worn. The improvised tool has successfully provided the necessary leverage to extract the seized component. The process is now complete and the assembly is ready for a replacement bolt.
⚠️ CAUTION: SAFETY WARNING!
Always wear safety glasses when working with rusted metal to protect your eyes from flying debris. Be careful when applying high torque, as tools can slip and cause hand injuries.
Summary & Tips
Removing rusted bolts without a specialized wrench is entirely possible with a bit of mechanical ingenuity. By creating a custom leverage point using two nuts and a spare bolt, you can tackle seized fasteners in tight spaces. This practical, repeatable solution saves time and prevents the need for expensive extraction tools in light-duty scenarios. Always remember to clean the fastener head and apply penetrating oil if the bolt is heavily corroded to ensure a successful removal.
📋 FAQ
❓ Will this method damage the bolt head?
Answer: If the nuts are tightened firmly against the bolt head, it provides a secure grip. Ensure the nuts are fully seated to prevent slipping and rounding the edges.
❓ Can this be used for high-torque applications?
Answer: This is a temporary, emergency solution. It is effective for light to medium-duty tasks, but for high-torque mechanical work, always use a properly fitted, hardened steel wrench.
❓ What if the bolt is still stuck after applying torque?
Answer: Apply a high-quality penetrating oil to the threads and allow it to soak for at least 15 minutes. The oil helps break down the rust bonds, making the bolt easier to turn.
Disclaimer: I purchased all tools for this guide with my own money to ensure an unbiased review. This post contains affiliate links, meaning I earn a small commission if you make a purchase at no extra cost to you.
🛒 Useful Links & Products
My reliable wrench set
🛒 BUY ON ALIEXPRESS46Pcs Family Tools 1/4 Set Mechanic Tool Kit
🛒 BUY ON ALIEXPRESSTorque wrench
🛒 BUY ON ALIEXPRESS




Leave a Reply