Got a Samsung TV remote here that’s been driving me nuts. Buttons feel like mush, some don’t even register unless I mash them. Before I drop cash on a new one, figured I’d crack it open and see what’s actually going on inside. Spoiler: it’s gross in there. Years of skin oil and who-knows-what. Let’s clean it out and see if we can get that click back.
Author: LifeKaki
Quick Guide: Fixing a Sticky Remote
- Batteries out first. Then pry the casing open with something plastic.
- Lift the circuit board out. Watch the rubber pad.
- Check the board for corrosion or battery leakage. Wipe the contact traces with isopropyl alcohol.
- Wash the rubber keypad. Dish soap and warm water.
- Clean out the plastic shell while the rubber dries.
- Rinse the frame. No soap left behind. Let everything dry. Fully. Don’t skip this.
- Drop the rubber keypad back into the front cover.
- Seat the board on its pegs. Should drop right in.
- Snap the shell shut. Listen for the clicks.
- Point it at your phone camera. Press a button. See purple?
Specs & Parts
| Cleaning Agent | Isopropyl Alcohol |
| Drying Time | 24 hours |
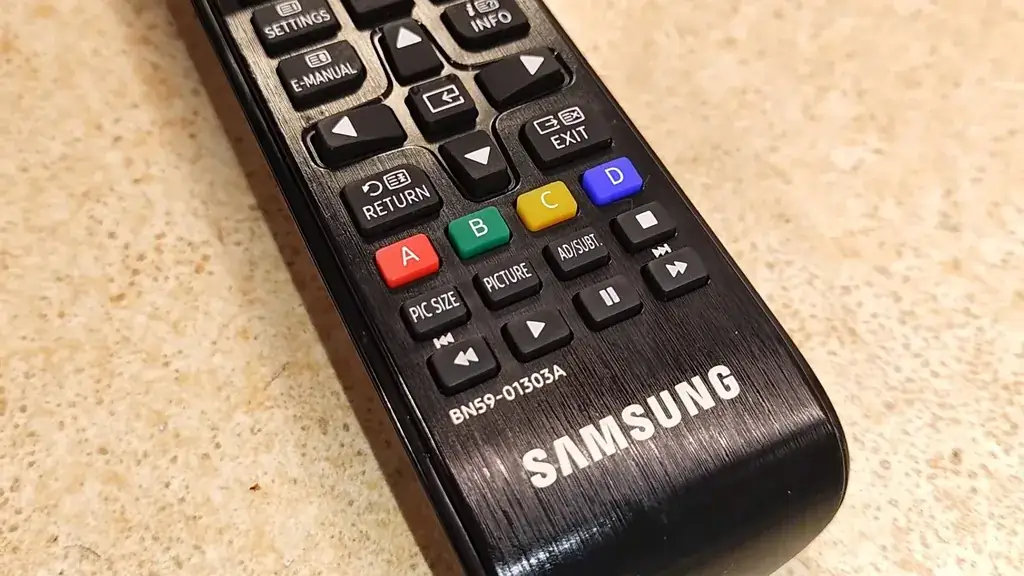
| Compatibility | Samsung BN59-01303A Remote |
| Key Components | PCB, Rubber Membrane, Plastic Casing |
📊 Time, Cost, Difficulty
🔧 Difficulty: Easy. Honestly, the hardest part is not breaking the clips.
⏱️ Time: Give yourself 30-45 minutes. Less if you’ve done this before.
💰 Shop cost: $45-$60. Which is silly for something you can do with stuff you already have.
💡 Verdict: Worth doing. Saves you a replacement and keeps the original remote out of the trash.
Tools & Materials
• Multi Function Disassembly Set
• Isopropyl Alcohol
• Mild Dish Soap
• Soft-bristled Toothbrush
• Microfiber Cloth
🔧
New BN59-01303A Remote Control for Samsung TV
AliExpress 🛒
🛠️
BUY ON ALIEXPRESS 🛒
Recommended
Multi Function Disassembly Set
Step-by-Step
Opening the Casing
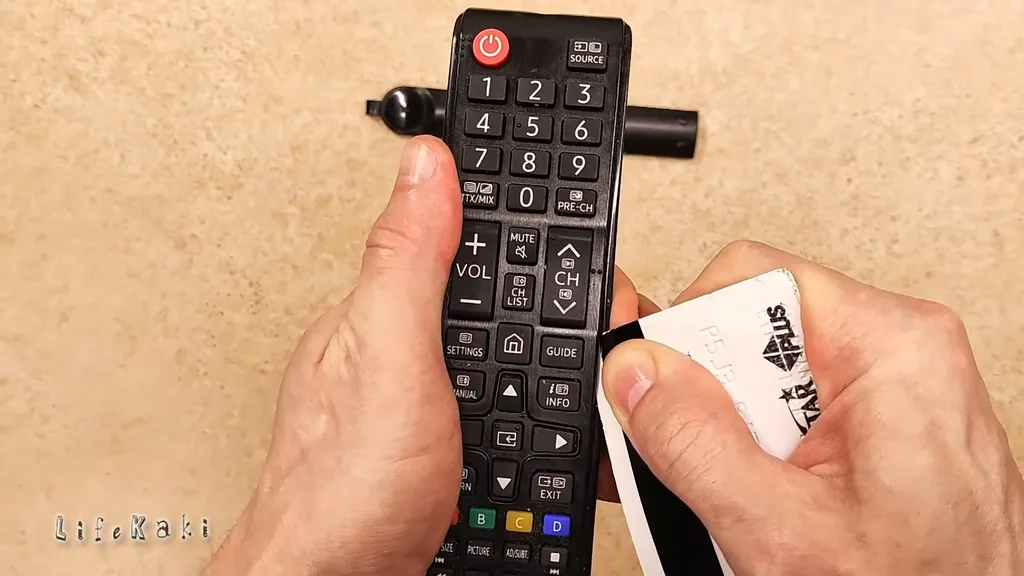
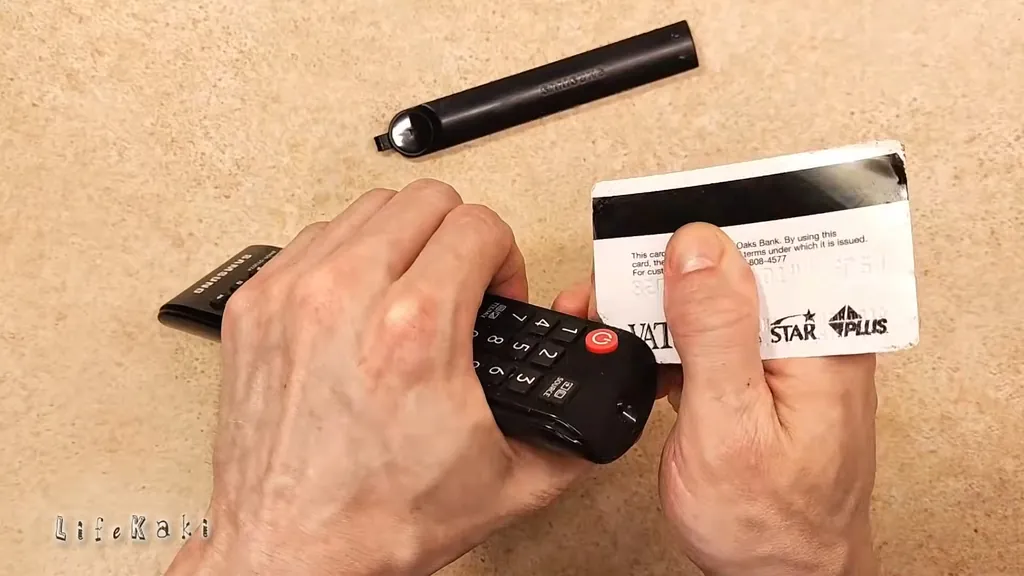
Batteries come out first. Always. I don’t care if it’s probably dead — you don’t want anything shorting while you poke around. I’m using a plastic spudger for this. A guitar pick works too. Whatever you use, don’t grab a flathead screwdriver. You’ll just gouge the plastic and feel bad about it. Work your way around the seam, popping the clips. It’s tight the first time. Mine had a stubborn spot near the bottom. Just wiggle it, don’t yank. If something feels like it’s about to crack, stop and try a different angle.
Separating the Parts
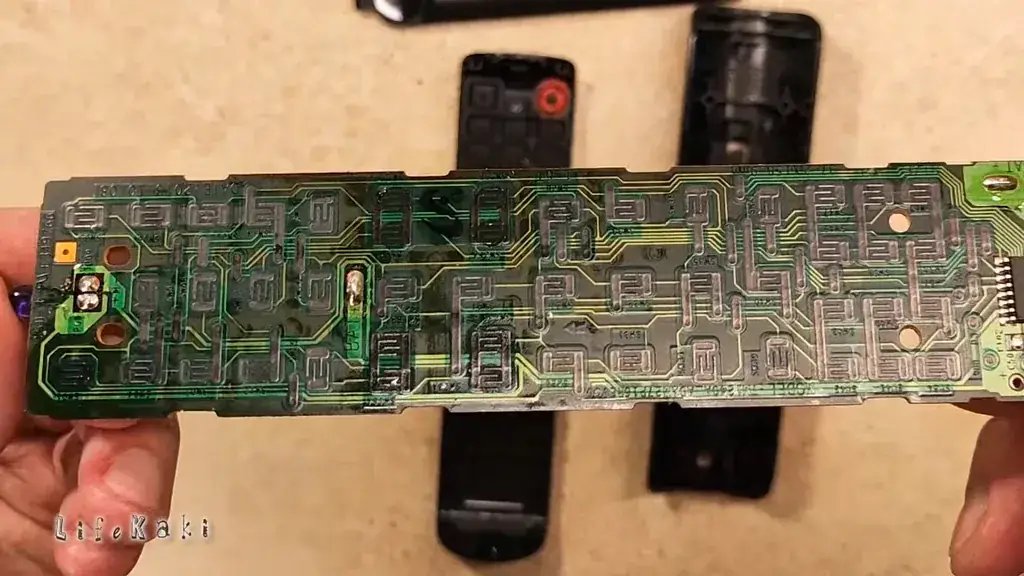
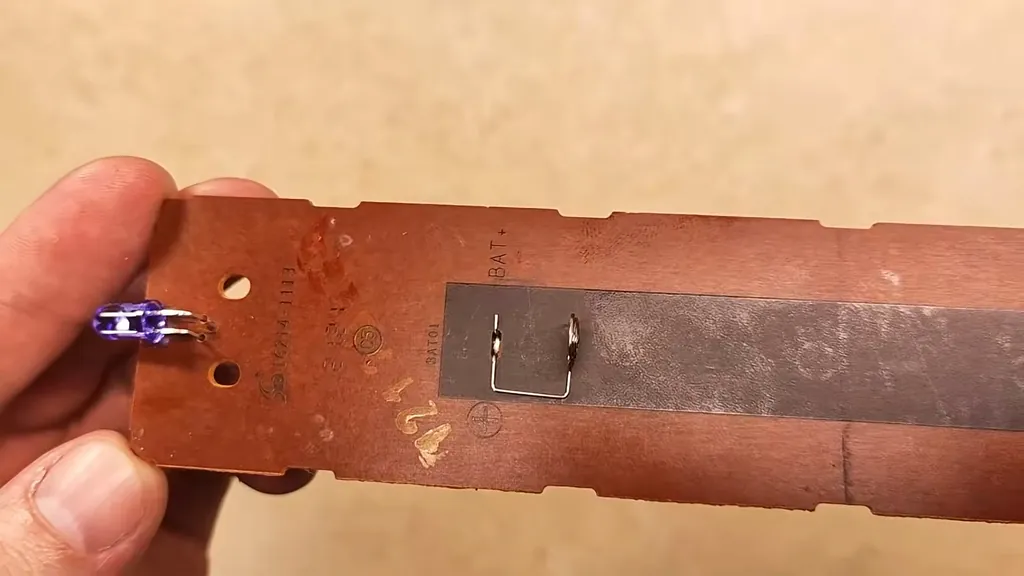
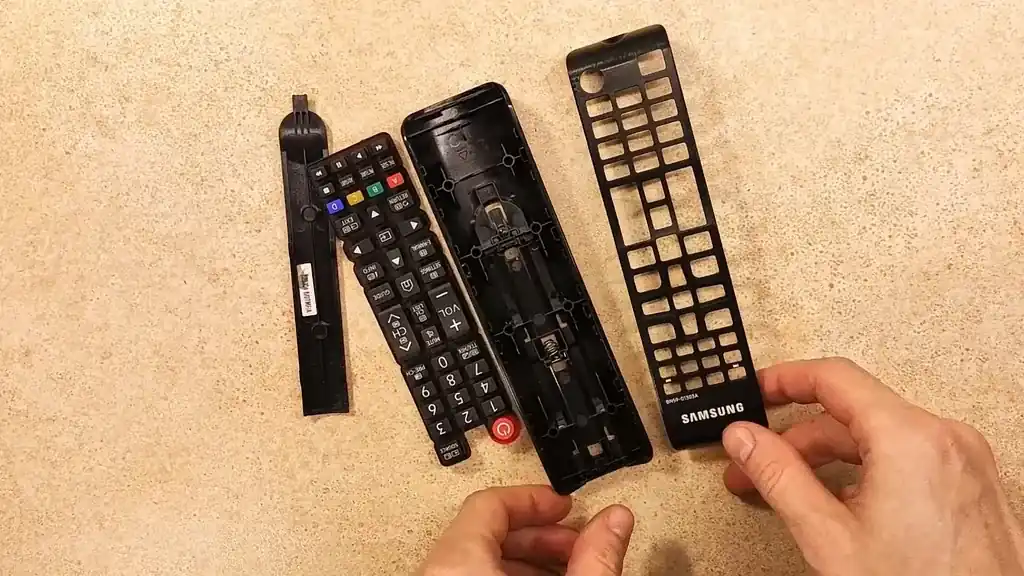
Once it’s open, lift the board out. On mine, the rubber membrane stayed in the front cover. On some models it comes out with the board. Either way, check those black conductive pads on the PCB. That’s where the magic happens, or in this case, doesn’t. Mine had a visible film on them. Kind of shiny and gross. That’s the culprit. Try not to touch the pads with your fingers while you’re looking. You’ll just add more oil.
Looking at the Board
Hold the board under a light and look at the traces. You’re checking for crusty white or green stuff — that’s corrosion, usually from old batteries. If you find it, you can clean it off with a bit of vinegar on a cotton swab, then alcohol after. Mine was clean, just dusty. No swollen caps, no broken traces. Good sign. If yours looks like it’s been through a flood, that’s a different story and maybe not worth saving.
Cleaning the Board
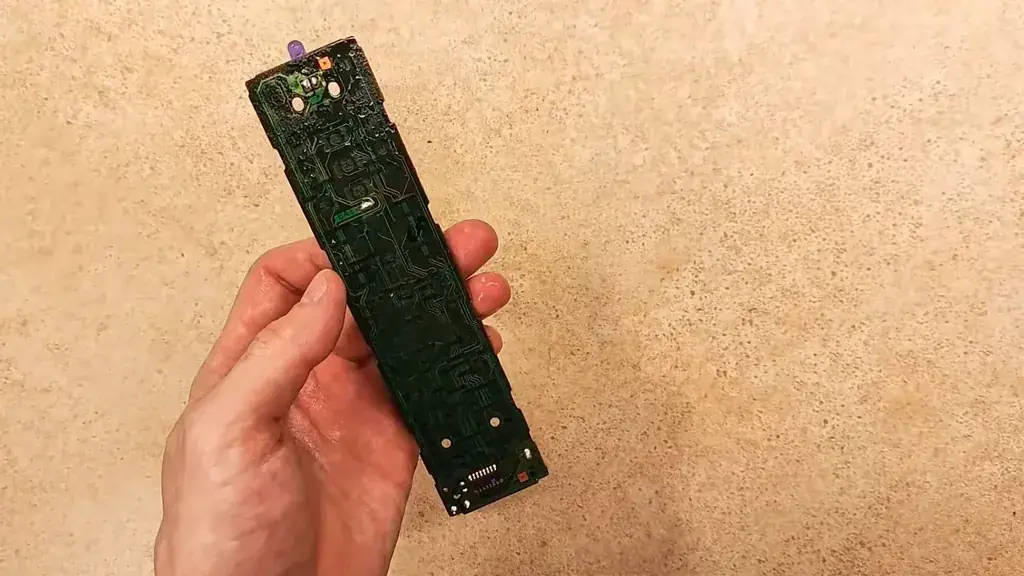
Cotton swab, isopropyl alcohol, gentle circles. You’ll see the brown gunk come off onto the swab. Don’t press hard. You’re not scrubbing a frying pan. Flip to a clean end of the swab every few passes. Once the traces look bright and shiny again, you’re done. Let it sit for a minute while the alcohol flashes off. It evaporates fast, so it’s not a long wait.
Washing the Rubber Pad
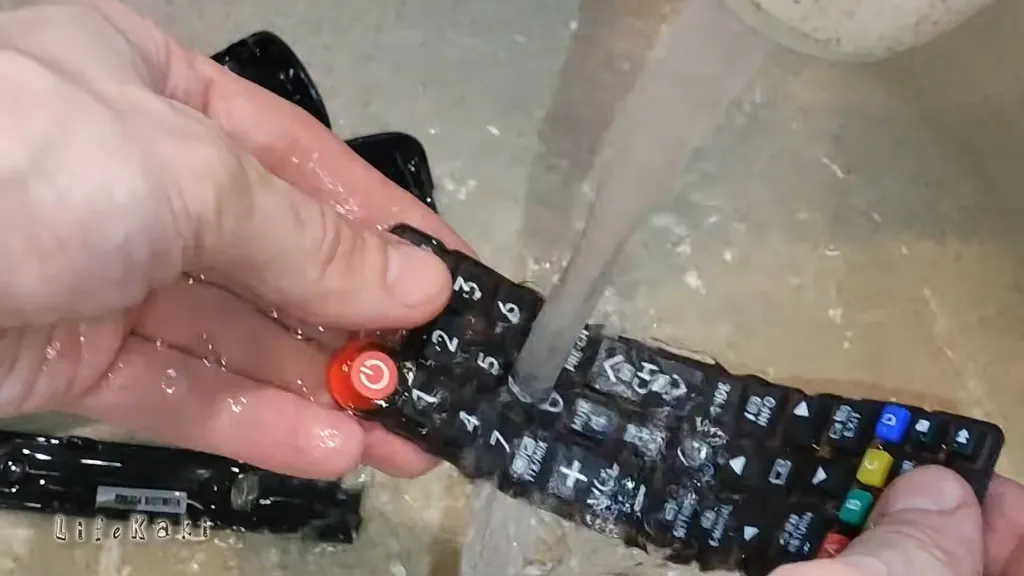
Do not use alcohol on the rubber. It’ll dry it out and make it brittle. Just warm water, a drop of dish soap, and an old toothbrush. Scrub the whole thing. Get into the grooves around each button, that’s where the grime lives. Rinse it under the tap until the water runs clear. Then shake it off and set it on a towel. It should feel grippy again, not slick.
Cleaning the Shell
While the rubber dries, deal with the plastic. Damp cloth, wipe down the inside. Around the button holes especially. If there’s gunk jammed in the corners, a toothpick gets it out. Don’t soak the shell. You don’t want water sitting inside the battery compartment. Just a wipe-down is enough.
Rinsing the Frame
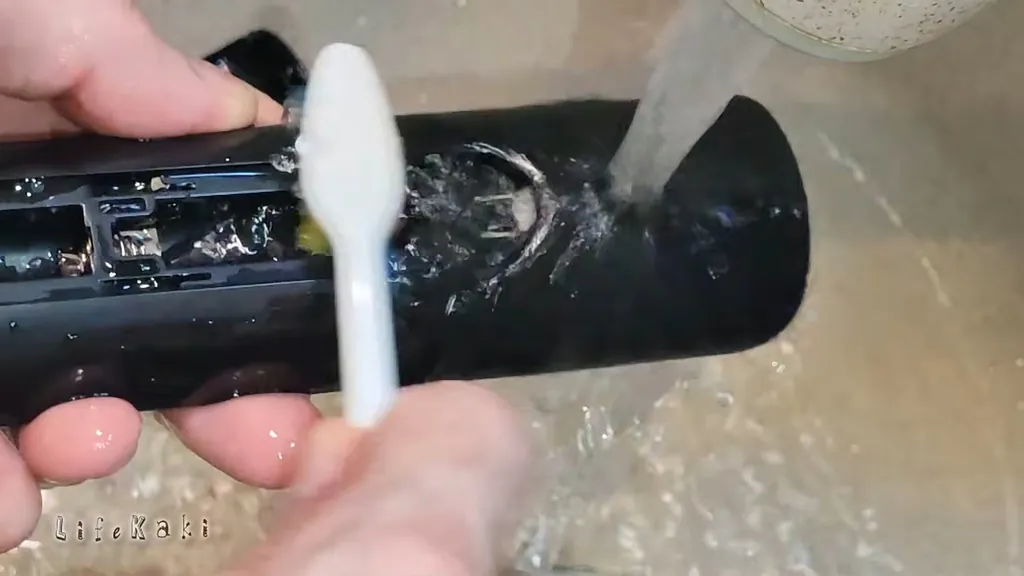
Quick rinse under the tap to get any leftover soap out of the battery compartment. Soap residue attracts dust, and we’re trying to get rid of dust, not invite more. Shake it out. Check the battery springs while you’re in there. If they’re bent or rusty, now’s the time to deal with it.
The Battery Cover
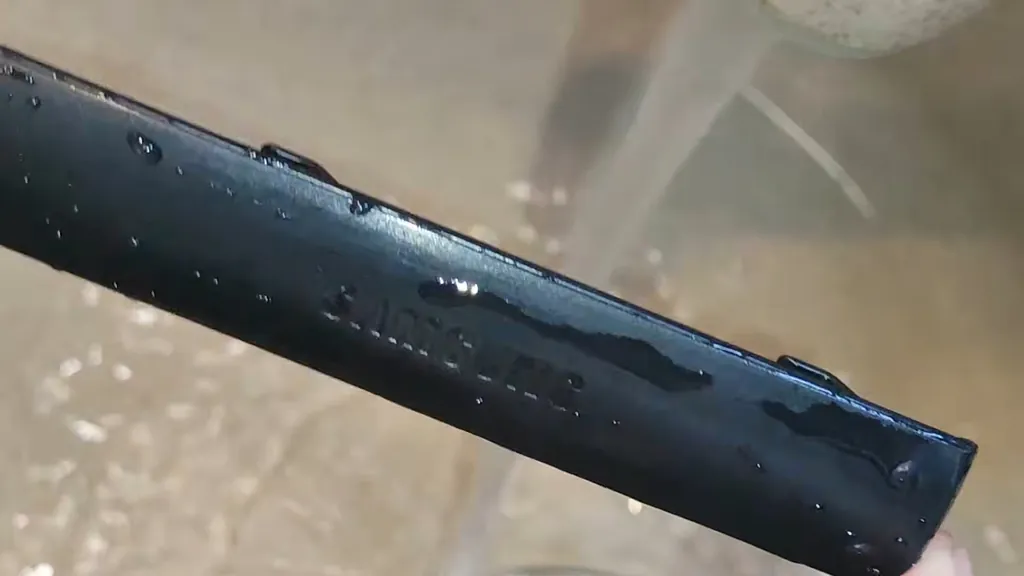
Easy to forget this part. It gets just as grimy as everything else. Wipe it inside and out. Check the little tab that holds it in place — if it’s worn down, the cover will feel loose. Not much you can do about that except be careful with it. Set it aside with the rest.
Drying. Don’t Rush This.
Blot everything with a paper towel. Then leave it. I’m serious — leave it overnight. A full 24 hours if you can stand it. A single drop of water on the board and you’ll be chasing gremlins later. I’ve killed a remote this way before. Not fun. Patience is cheaper than a new remote.
Back In Goes the Keypad
Lay the rubber pad back into the front cover. Make sure every button sits flat in its hole. If one’s twisted or pinched, it’ll feel weird when you press it. Run your finger across the front — everything should feel even. It’s a five-second check that saves you from taking it apart again.
Closing It Up
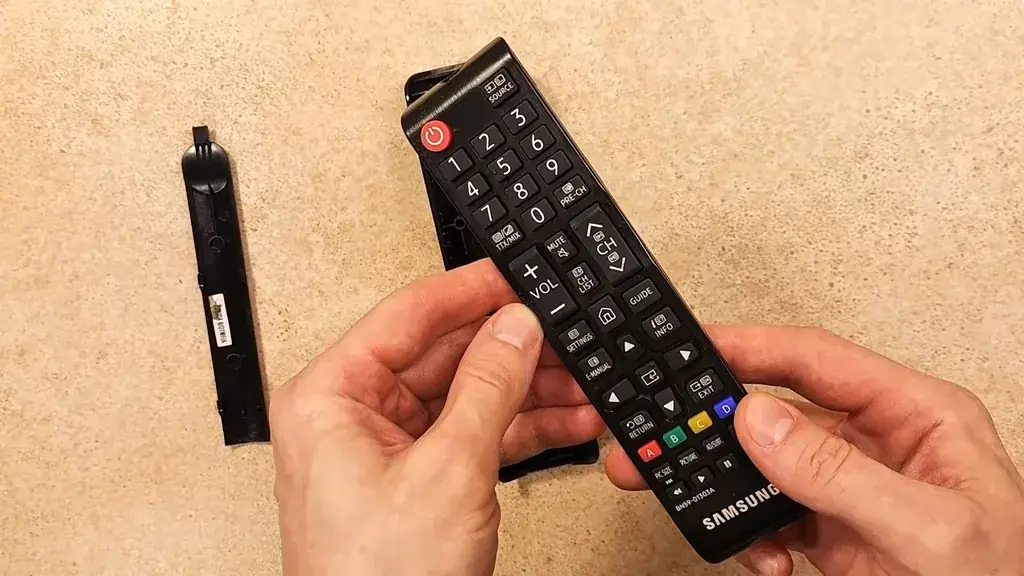
Board goes back on its pegs. It should sit flat. If it’s rocking, something’s not lined up. Line up the two halves of the shell and press around the edges. You’ll hear a series of clicks as the clips catch. If it won’t close, don’t force it. Something’s pinched. Open it back up and look. Better to spend two minutes checking than to crack the housing.
Test It
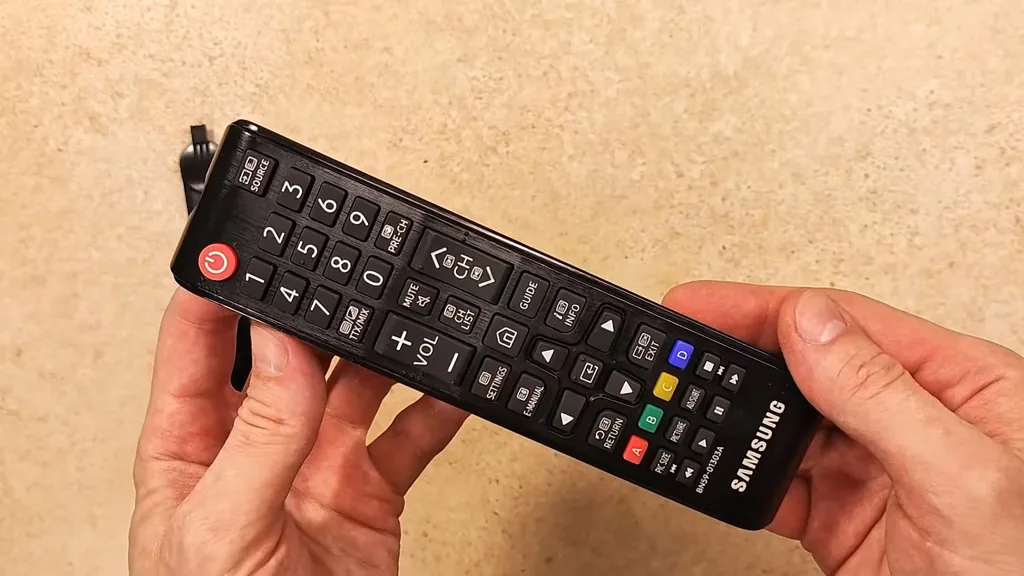
Fresh batteries in. I use new ones, because old ones can make you think the remote’s still broken when it isn’t. Point it at your phone’s front camera and press a button. You should see a faint purple blink on the screen. If you see it, you’re done. If not, check the battery orientation first, then open it back up and make sure the board is seated properly. Nine times out of ten it’s one of those two things.
⚠️ Quick Warning
Take the batteries out before you start. And don’t put it back together until everything is completely dry. Water plus circuit board equals a dead remote.
So, Was It Worth It?
Yeah. For the cost of a bit of alcohol and half an hour of your time, you get a remote that works like it’s supposed to again. No sticky buttons, no mashing. And you keep the original remote out of the landfill, which is nice. Just don’t let it get greasy again and you won’t have to do this twice.
📋 FAQ
❓ Can I just wash the rubber pad under the tap?
Yes, but dry it completely. Every groove. If there’s water hiding in there when you put it back together, you’ll have problems. A hair dryer on low works if you’re impatient.
❓ Why does my remote get sticky again so fast?
Because hands are oily. And if you eat while watching TV, crumbs get in there too. Wipe the surface down with a damp cloth once a week and you’ll get way more mileage between deep cleans.
❓ Metal screwdriver — really that bad?
Yeah. It chews up the plastic seam and you’ll see the damage every time you pick up the remote. Also, metal near a circuit board is a bad idea if there are still batteries in it. Just use plastic. An old gift card works in a pinch.
Disclaimer: I bought all the tools for this myself, so nobody paid for a good review. Some links are affiliate links — if you buy through them, I get a small cut at no extra cost to you.
🛒 Links & Stuff
Multi Function Disassembly Set
🛒 BUY ON ALIEXPRESSNew BN59-01303A Remote Control for Samsung TV
🛒 BUY ON ALIEXPRESS





Leave a Reply