When you are working in the field or dealing with a power outage, a standard electric glue gun becomes useless. This guide shows how to construct a functional, portable hot glue applicator using simple workshop materials like an aluminum can and a lighter. We will walk through the process of creating a heat-transfer nozzle that melts glue sticks on demand. This DIY solution is perfect for quick field repairs, camping gear fixes, and small projects where a power outlet is unavailable.
Author: LifeKaki
⚡ Quick Guide: How to Make It in 6 Steps
- Cut a strip from an aluminum can to serve as the heat-transfer nozzle.
- Shape the aluminum into a tube that fits around the glue stick.
- Secure the metal nozzle onto the lighter using electrical tape.
- Align the glue stick within the nozzle for efficient heat transfer.
- Adjust the assembly to ensure the flame heats the metal, not the plastic.
- Test the tool by applying melted glue to a surface.
📋 In This Article
- Tools & Materials — what you will need for this project
- Technical Specifications — device parameters
- Preparing the Aluminum Sheet — cutting the metal for the nozzle
- Making the Metal Nozzle — shaping the heat conductor
- Preparing the Lighter — setting up the heat source
- Installing the Glue Applicator — mounting the glue stick
- Final Assembly Improvements — optimizing the tool structure
- Finished Result and Testing — verifying the glue application
- Frequently Asked Questions (FAQ) — answers to popular questions
📊 Technical Specifications & Components
| Heat Source | Butane lighter |
| Heat Conductor | Aluminum beverage can |
| Adhesive | Standard hot glue stick |
| Fastening | Electrical tape |
| Portability | Pocket-sized |
Tools & Materials Used
🔧
46Pcs Family Tools 1/4 Set Mechanic Tool Kit
AliExpress 🛒
🛠️
BUY ON ALIEXPRESS 🛒
Recommended Tool
Makita D-65713 Utility Knife Snap-Off Easy
Step-by-Step Assembly & Testing
Preparing the Aluminum Sheet
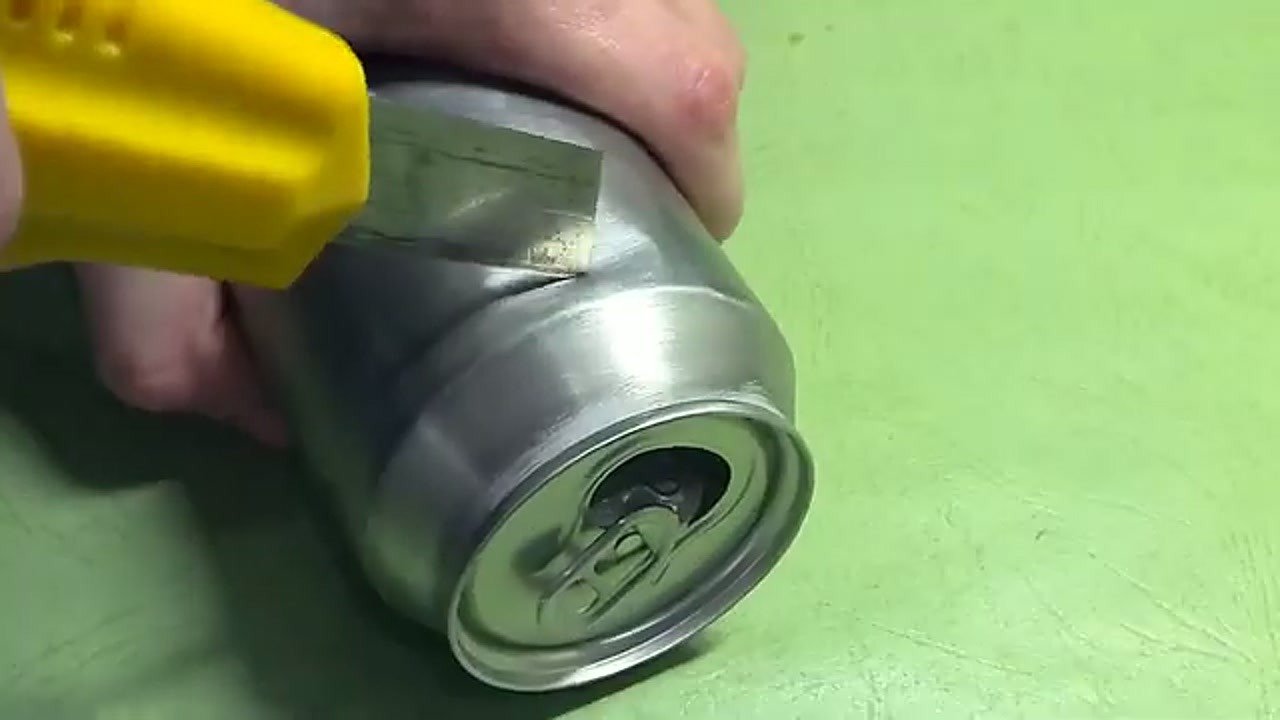
Start by selecting a clean aluminum beverage can. Use a utility knife to carefully cut a rectangular section from the side wall. The aluminum must be thin enough to bend easily but rigid enough to hold its shape. Ensure the edges are smooth to avoid cuts during handling. This metal piece will act as the primary heat conductor for the glue.
Making the Metal Nozzle
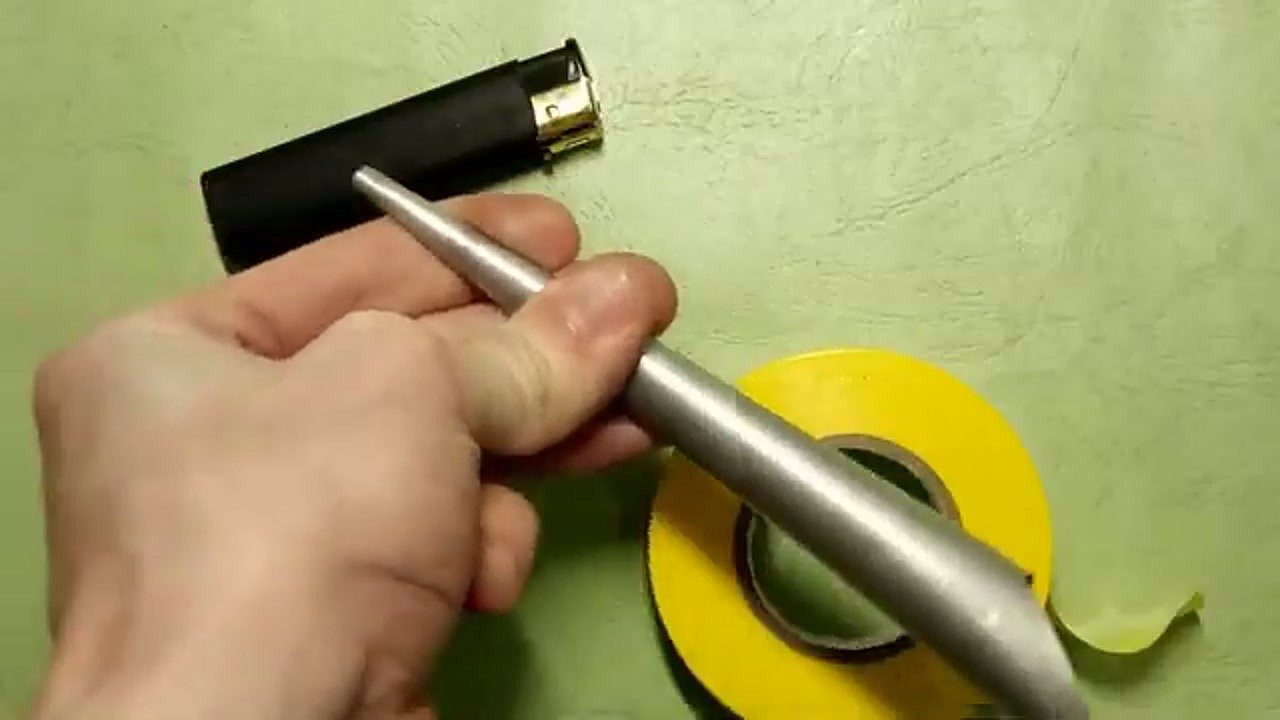
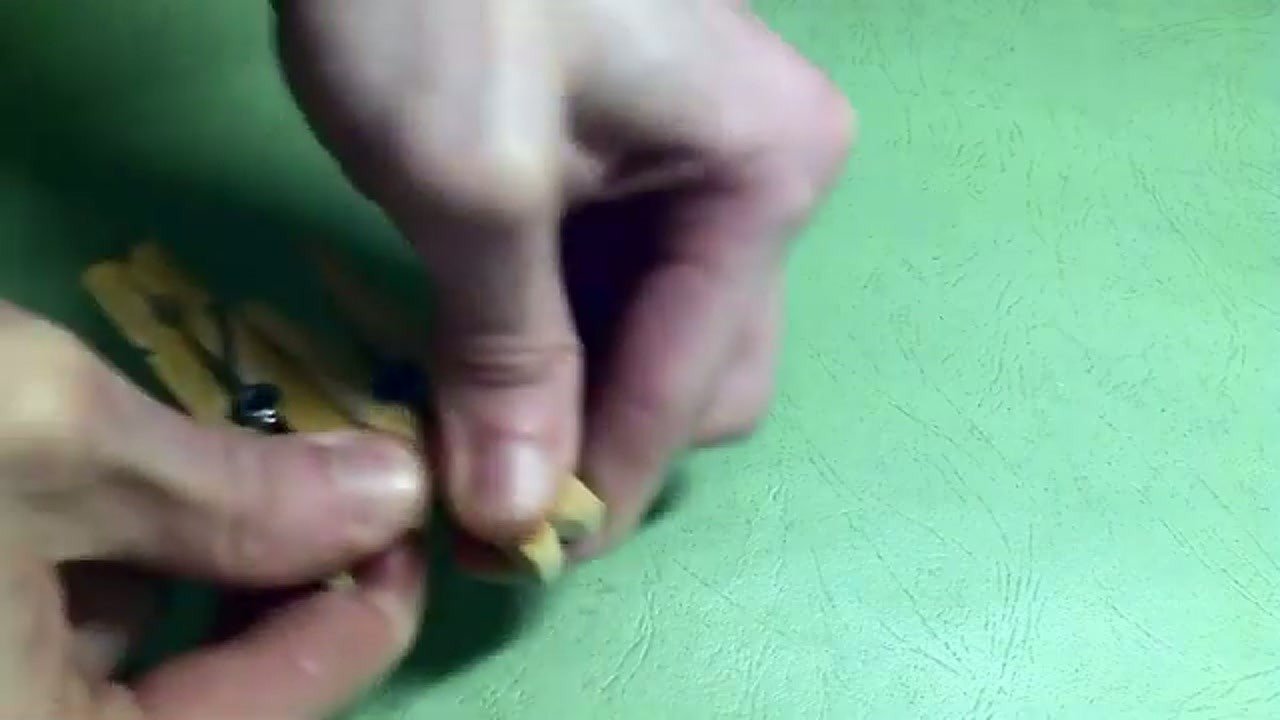
Roll the aluminum strip into a small cylinder that is slightly wider than the diameter of your glue stick. This shape allows for a small air gap, preventing the glue from burning while ensuring consistent melting. Use pliers to crimp the seam if necessary for a tighter fit. A well-formed cylinder ensures that heat from the flame is distributed evenly around the glue stick.
Preparing the Lighter
Inspect your standard butane lighter to ensure the ignition mechanism is working correctly. Clean the top surface where the metal nozzle will be attached. Remove any stickers or residue that might catch fire when the lighter is active. The lighter will serve as the base for the entire applicator assembly.
Installing the Glue Applicator
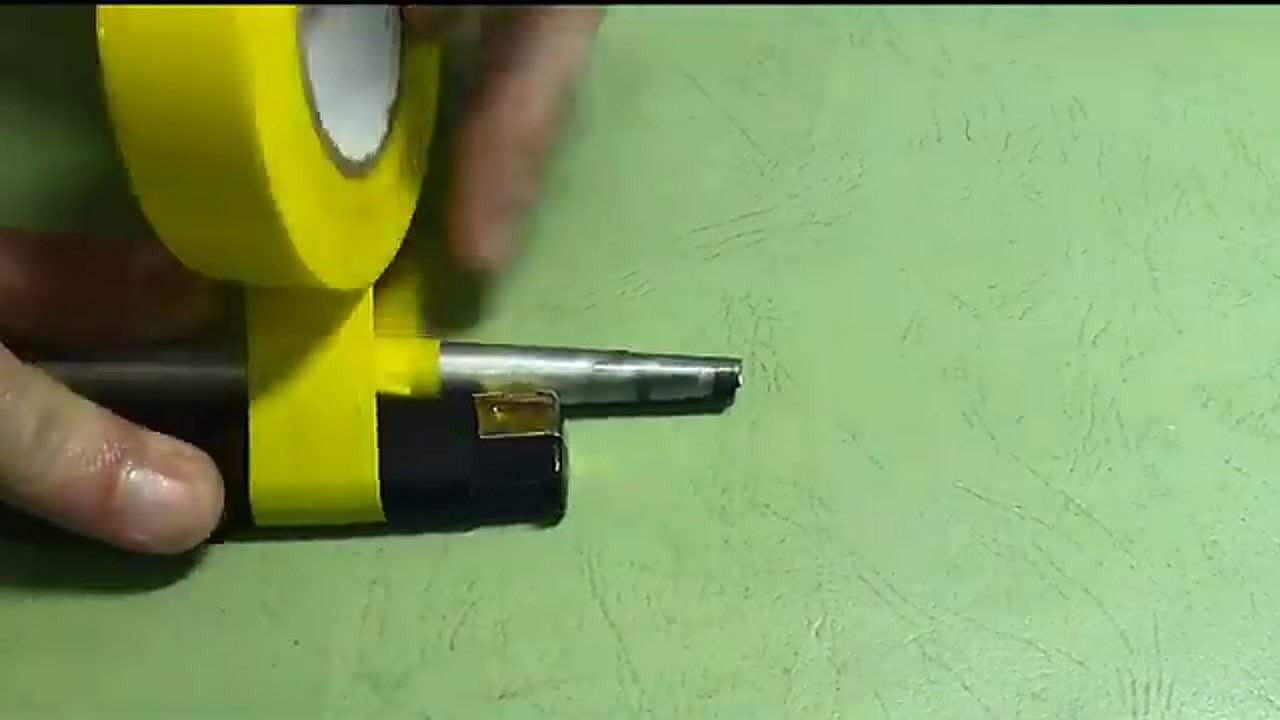
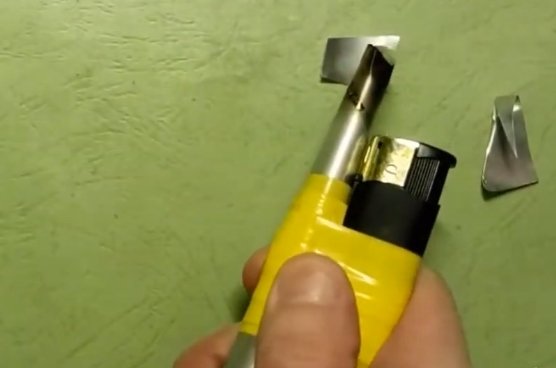
Position the aluminum cylinder over the flame area of the lighter. Use electrical tape to firmly attach the metal nozzle to the body of the lighter. Ensure the nozzle is aligned so that the flame hits the metal surface directly. Test the alignment by activating the lighter briefly to see where the heat concentrates.
Final Assembly Improvements
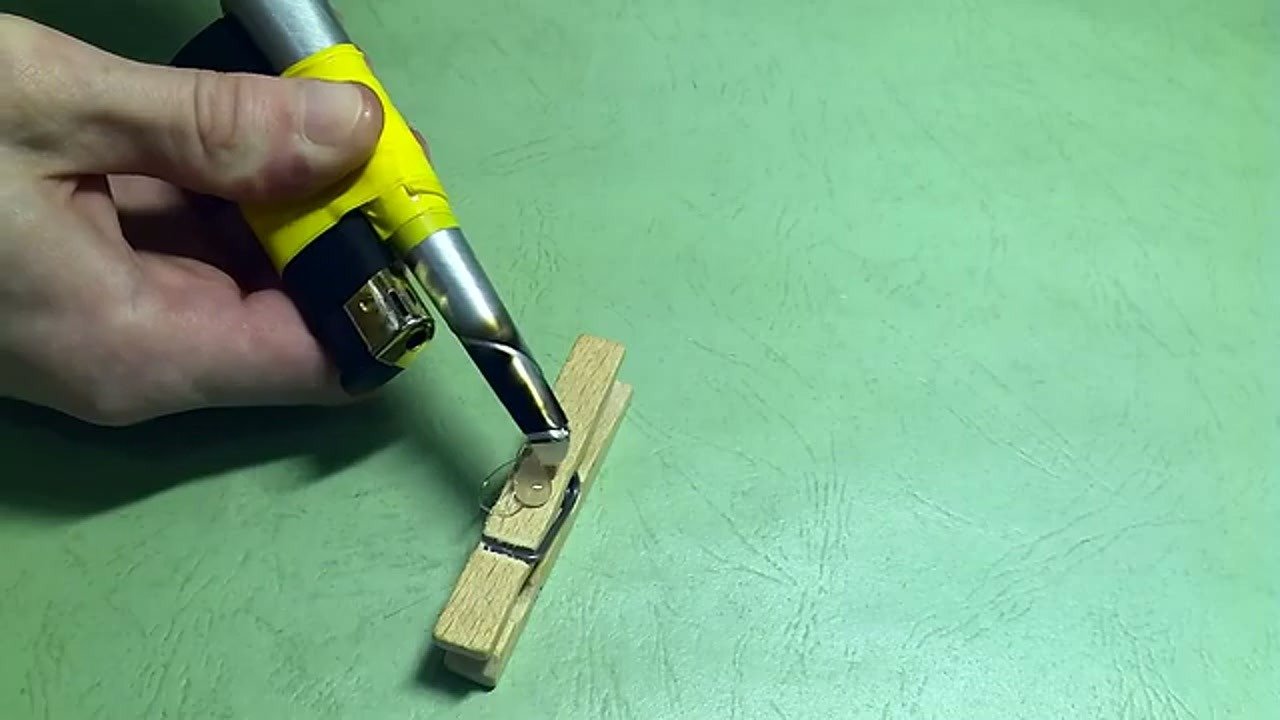
Check the stability of the mounted nozzle to ensure it does not wobble during use. Add extra layers of electrical tape if the structure feels loose. Ensure the glue stick can be inserted into the nozzle without obstruction. Proper positioning is critical to prevent the tape from melting prematurely while the tool is in operation.
Finished Result and Testing
Insert the glue stick into the nozzle and ignite the lighter. Wait a few seconds for the aluminum to transfer heat to the glue. Once the tip begins to soften, apply the glue to your target surface. This portable tool provides a reliable way to perform emergency repairs in areas without electricity.
⚠️ CAUTION: SAFETY WARNING!
Warning: This project involves using an open flame and hot metal components. Keep the tool away from flammable materials, and be cautious of the aluminum nozzle becoming extremely hot during use. Wear protective gloves if necessary and perform tests in a well-ventilated area.
Summary & Tips
Building a portable hot glue applicator is a practical DIY project that solves the problem of needing adhesive in remote locations. By using an aluminum can as a heat conductor, you create a durable and effective tool that fits in your pocket. This method is a great example of how simple materials can be repurposed for functional workshop needs. Always prioritize safety when working with open flames and hot surfaces.
📋 FAQ
❓ Can I use this tool for long-term projects?
Answer: This tool is designed for quick, emergency, or field repairs. It is not a replacement for a professional electric hot glue gun for long-term workshop tasks.
❓ What type of glue sticks work best?
Answer: Standard 7mm or 11mm hot glue sticks work fine, depending on the size of the nozzle you construct. Ensure the glue stick fits snugly inside the aluminum tube.
❓ Is it safe to use electrical tape near a flame?
Answer: Electrical tape is used for structural support, but it should be placed away from the direct path of the flame. Monitor the tape for signs of melting or burning during extended use.
Disclaimer: I purchased all tools for this guide with my own money to ensure an unbiased review. This post contains affiliate links, meaning I earn a small commission if you make a purchase at no extra cost to you.
🛒 Useful Links & Products
Makita D-65713 Utility Knife Snap-Off Easy
🛒 BUY ON ALIEXPRESS46Pcs Family Tools 1/4 Set Mechanic Tool Kit
🛒 BUY ON ALIEXPRESS






Leave a Reply