I’ve got the SunDing SD-548B wired speedometer on my bench today to see if a budget-friendly unit can actually keep up with real-world riding. We’re going through the full unboxing, sensor mounting, and calibration process to get your speed and distance tracking dialed in. No fluff, just the steps to get this mounted and working on your bike frame.
Author: LifeKaki
⚡ Quick Guide: How to Install Your Bike Computer
- Unpack the unit and check all mounting hardware.
- Insert the AG10/LR1130 battery into the display unit.
- Mount the display bracket onto the handlebar.
- Attach the wired sensor to the front fork.
- Fix the magnet to the wheel spoke.
- Align the sensor and magnet for signal pickup.
- Input your wheel circumference into the computer.
- Set the clock and verify speed readout.
📊 Technical Specifications & Components
| Model | SunDing SD-548B / 581A |
| Material | ABS plastic |
| Power Source | 1x AG10 / LR1130 battery |
| Dimensions | 49x44x15 mm |
| Weight | ~65 g |
| Features | Waterproof, Auto sleep/wake |
📊 Project Overview
🔧 Difficulty Level: Easy
⏱️ Time Investment: DIY: 20-30 minutes | Pro: 10 minutes
💡 Verdict: Installing this yourself saves you a shop fee that’s likely more than the cost of the computer itself.
Tools & Materials Used
🔧
46Pcs Family Tools 1/4 Set Mechanic Tool Kit
AliExpress 🛒
🔧
Cable Tie nylon hose clamp
AliExpress 🛒
🛠️
BUY ON ALIEXPRESS 🛒
Recommended
SunDing SD-548B
Step-by-Step Assembly & Testing
Unboxing and Initial Inspection
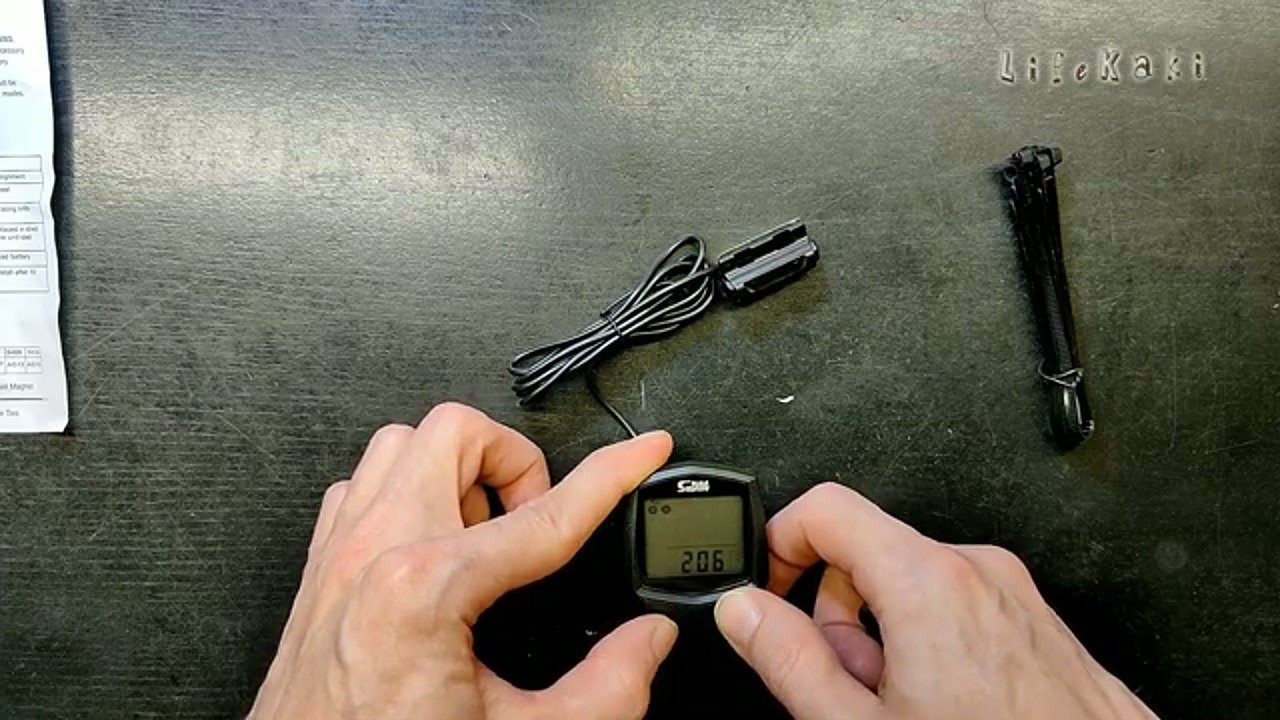
Starting with the box, I’m laying out every component to make sure nothing is missing before I start the install. The kit includes the main display, the wired sensor, a magnet, and a handful of zip ties. It’s a simple setup, but I always check the cable integrity first. If the wire is kinked or the insulation looks thin, it’s going to fail later. The plastic feels standard for this price point. Everything looks clean and ready for assembly. I’m keeping the manual handy because the wheel size chart is tucked inside. No point guessing the numbers when the manufacturer provides the data. I’ve got my tools ready to go.
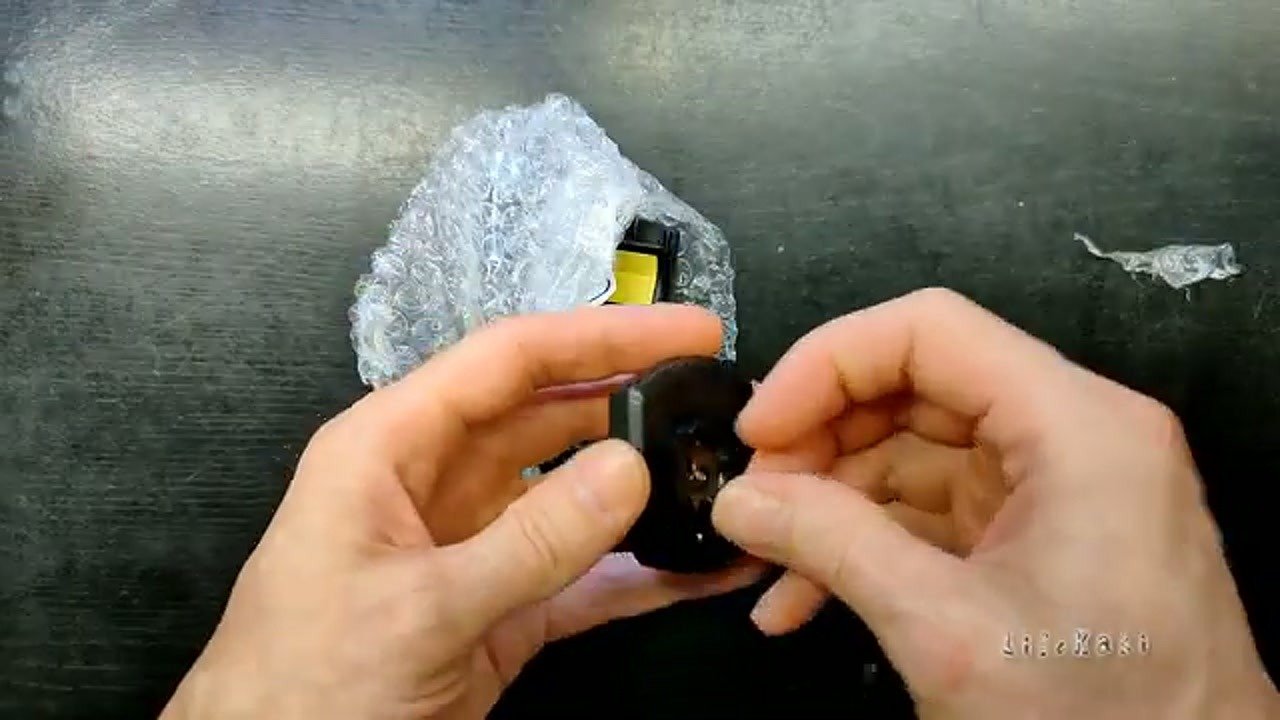
LCD Unit Overview
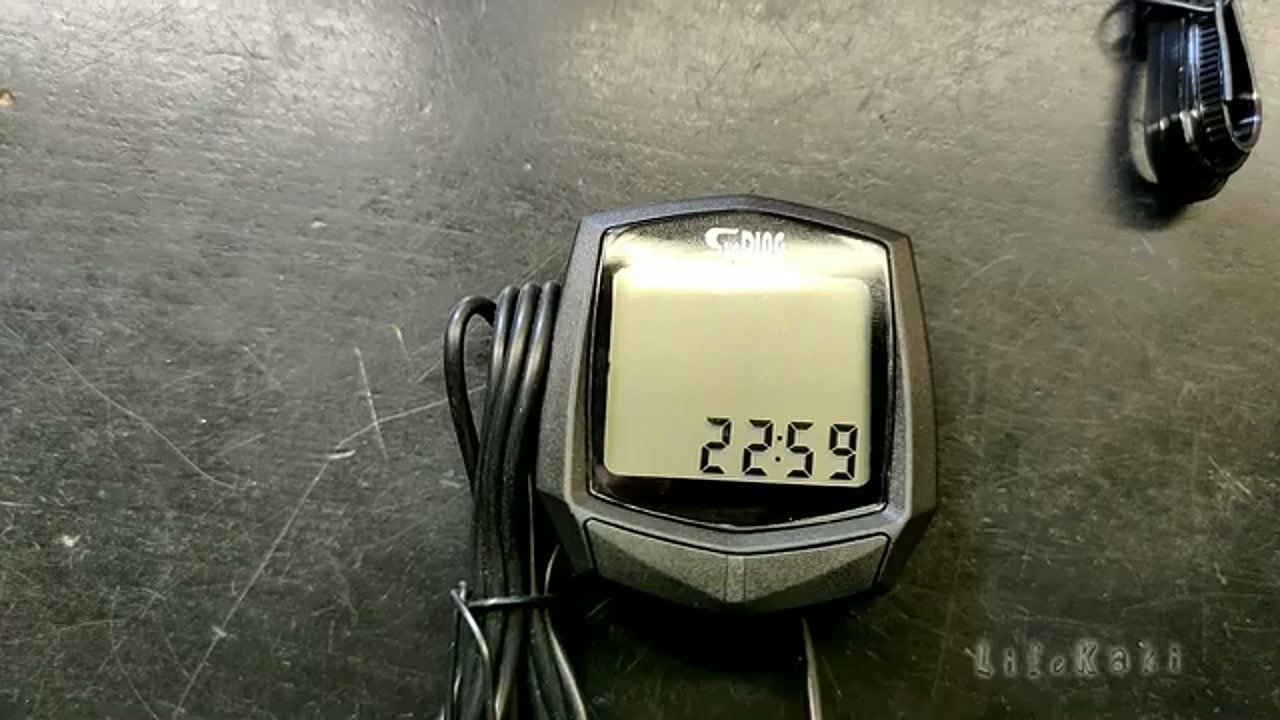
Taking a closer look at the display unit, it’s compact and lightweight. The screen is protected by a thin film that I’m peeling off now. The buttons are on the front, which makes them easy to reach while you’re riding. I’m checking the back for the battery compartment access. It’s a simple twist-off cover. The build is rated as rain-resistant, which is good for commuting. I’m making sure the contacts inside are clean and free of debris. No loose parts rattling inside the casing. It feels solid enough for a handlebar mount. Ready to pop the battery in.
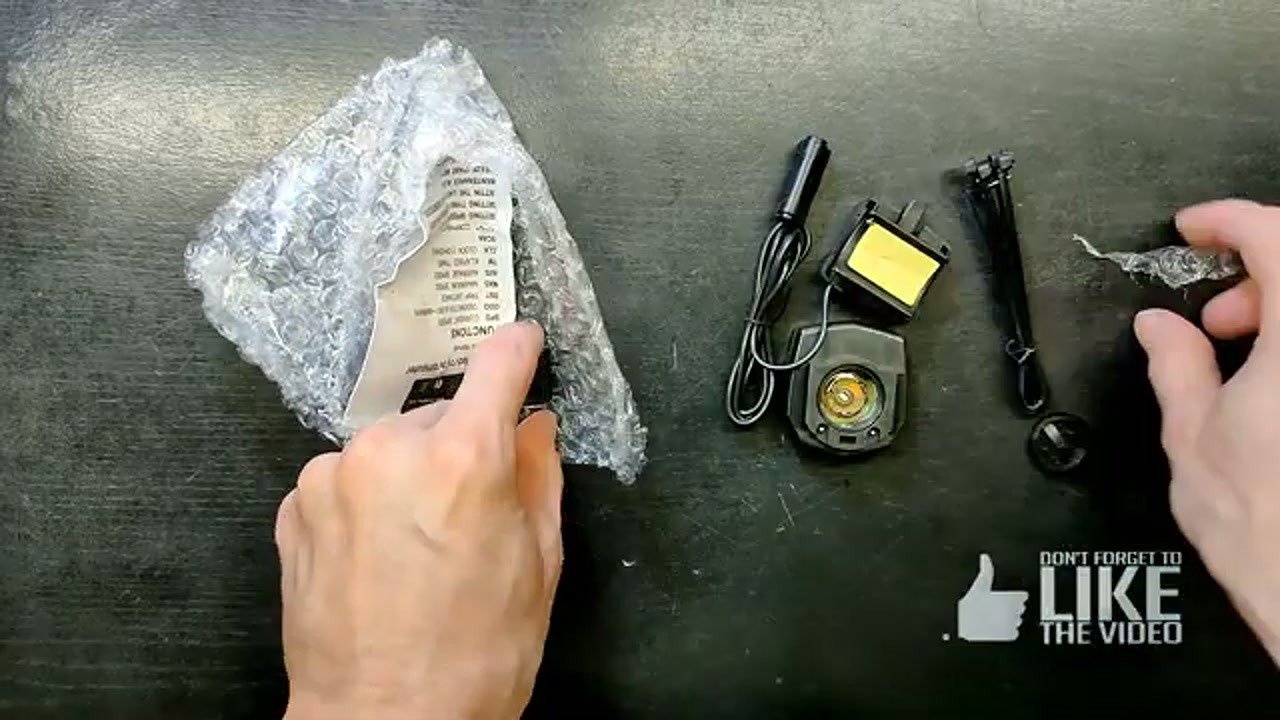
Package Contents Review
The sensor and magnet are the heart of this system. The sensor has a long lead that needs to run from the fork to the handlebar. I’m checking the bracket that holds the display; it’s designed to snap onto the bars with a bit of tension. The magnet is a simple screw-on type that clamps to the spoke. I’m inspecting the zip ties provided in the bag. They’re standard nylon, but I’ll make sure to pull them tight later. If the sensor isn’t secured, it’ll shift and lose the signal. Everything is accounted for. Time to get the power sorted.
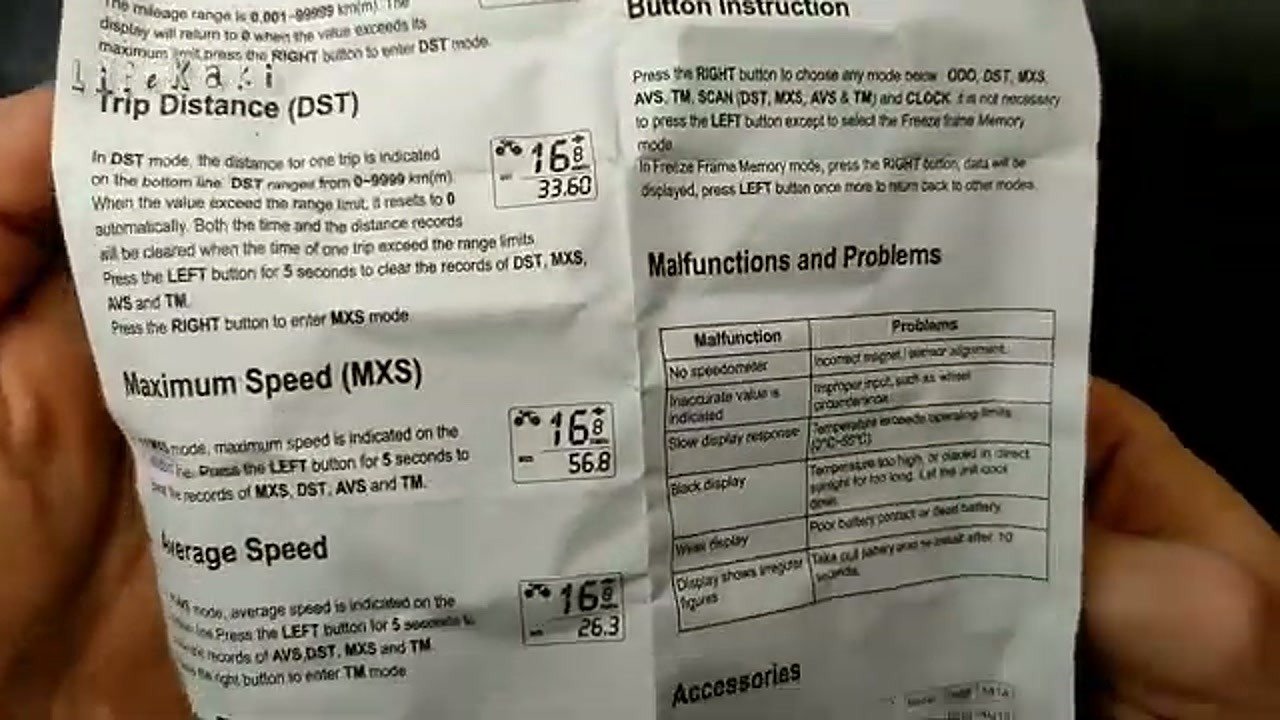
Manual and Wheel Size Reference
This is the part most people skip, but it’s the most important for accuracy. The manual has a chart that correlates your tire size to a four-digit number. For instance, a standard 26-inch tire has a specific circumference value. I’m finding the right number for my setup. If you get this wrong, your speed and distance readings will be off by a significant margin. I’m noting the value down so I don’t forget it during the programming stage. It’s a simple lookup table. No complex math required here. Just match the tire size and move on.
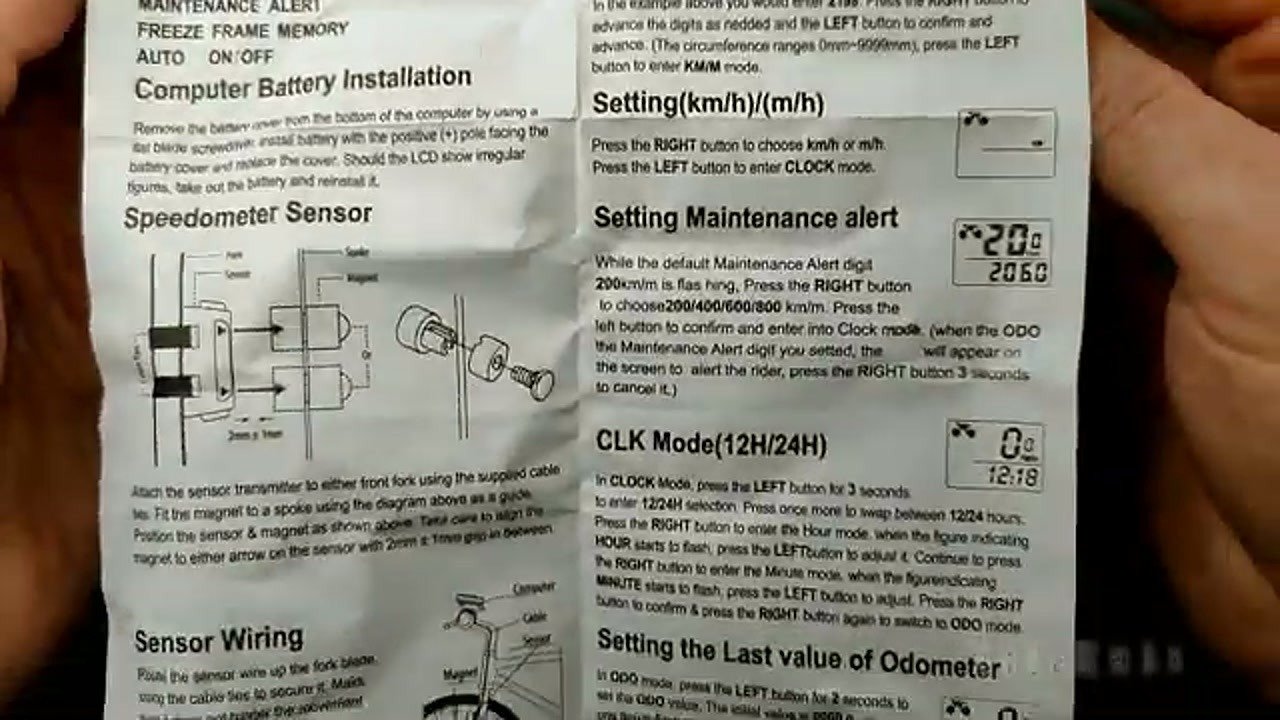
Battery Installation
I’m grabbing an AG10 or LR1130 button cell battery for the unit. It slides into the back slot with the positive side facing up. I’m using a small coin to tighten the cap back into place. Don’t overtighten it or you’ll strip the plastic threads. Once the battery is in, the display should flicker to life immediately. If it doesn’t, check the polarity or give the contacts a quick wipe. The screen shows the default settings now. It’s ready for the initial configuration. The power draw is minimal, so this battery should last a long time.
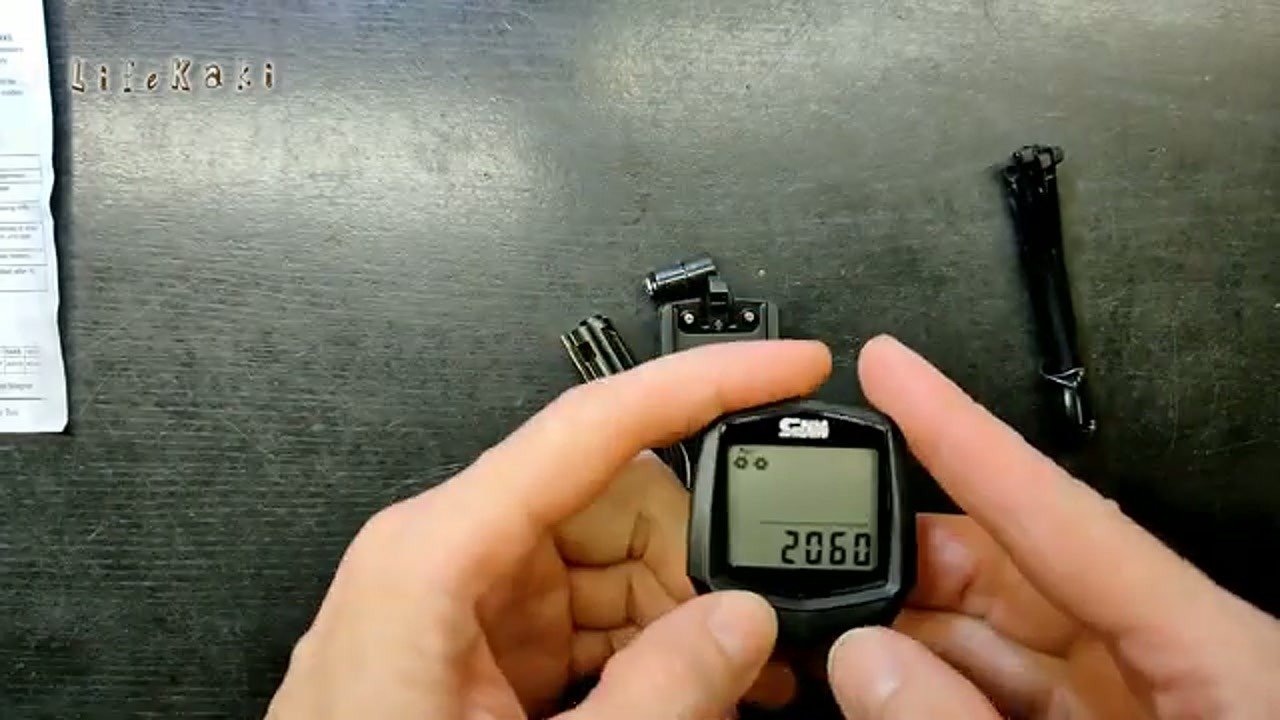
Power On and Display Modes
With the unit powered on, I’m cycling through the modes to see what it tracks. Speed, distance, and ride time are the basics here. The display is clear and the digits are large enough to read at a glance. I’m checking the auto-sleep function by leaving it idle for a few seconds. It should turn off to save power after about 300 seconds. It wakes up as soon as it detects movement. This is a nice touch for a budget device. I’m happy with how responsive the buttons are. Everything seems to be operating exactly as it should.
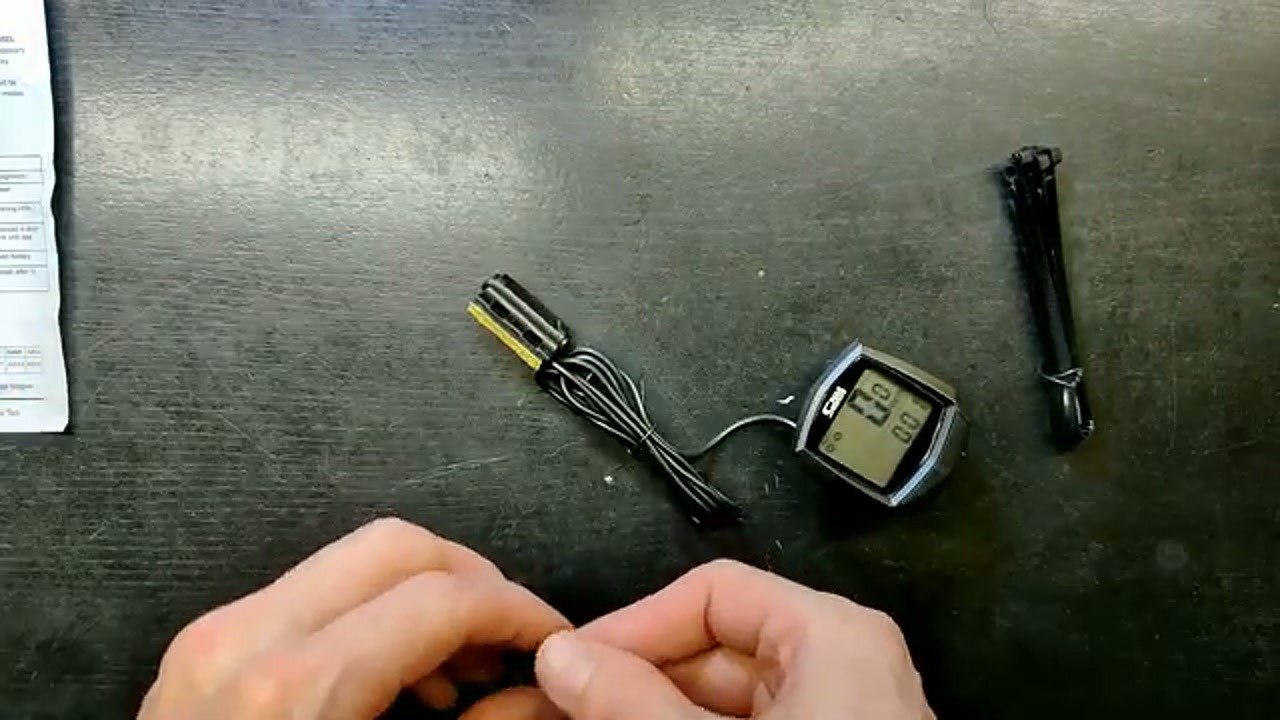
Mounting the Speedometer
Now I’m attaching the mount to the handlebar. I’m positioning it centrally so it’s easy to see while riding. I’m using the provided zip ties to secure the base to the bar. I’m pulling them tight, but not so tight that I crack the plastic. The sensor lead needs to be routed along the brake cable or fork leg. I’m using extra zip ties to keep the wire from flapping around. If the wire gets caught in the spokes, it’s game over. I’m keeping a little slack near the handlebars to allow for steering movement. Looks tidy and secure.
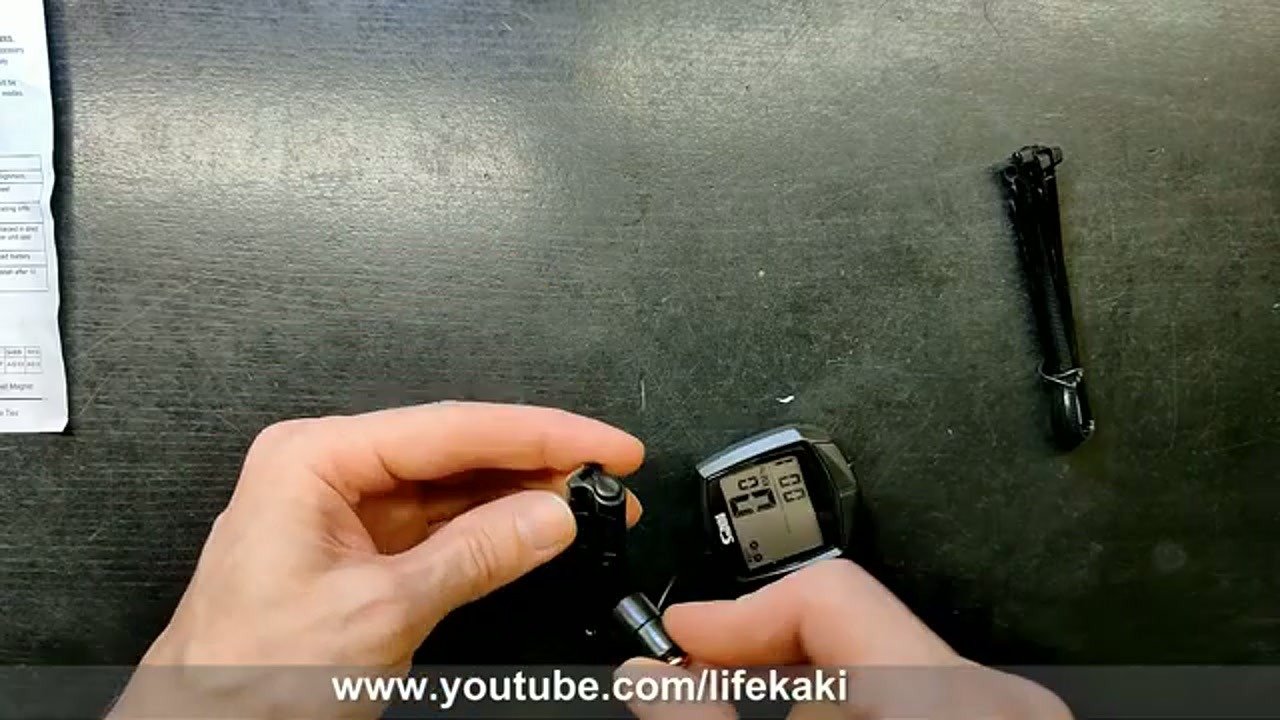
Sensor and Magnet Alignment
This is the most critical mechanical step. I’m mounting the sensor on the fork and the magnet on the spoke. The gap between them needs to be about 2 to 3 millimeters. If it’s too far, the sensor won’t pick up the magnet’s pulse. I’m spinning the wheel to test the alignment. I’m listening for any clicking or rubbing. If the magnet hits the sensor, I’ll have to adjust the position. I’m tightening the magnet screw firmly. It’s not going anywhere now. The sensor is aligned perfectly with the magnet’s path. Ready for the final settings.
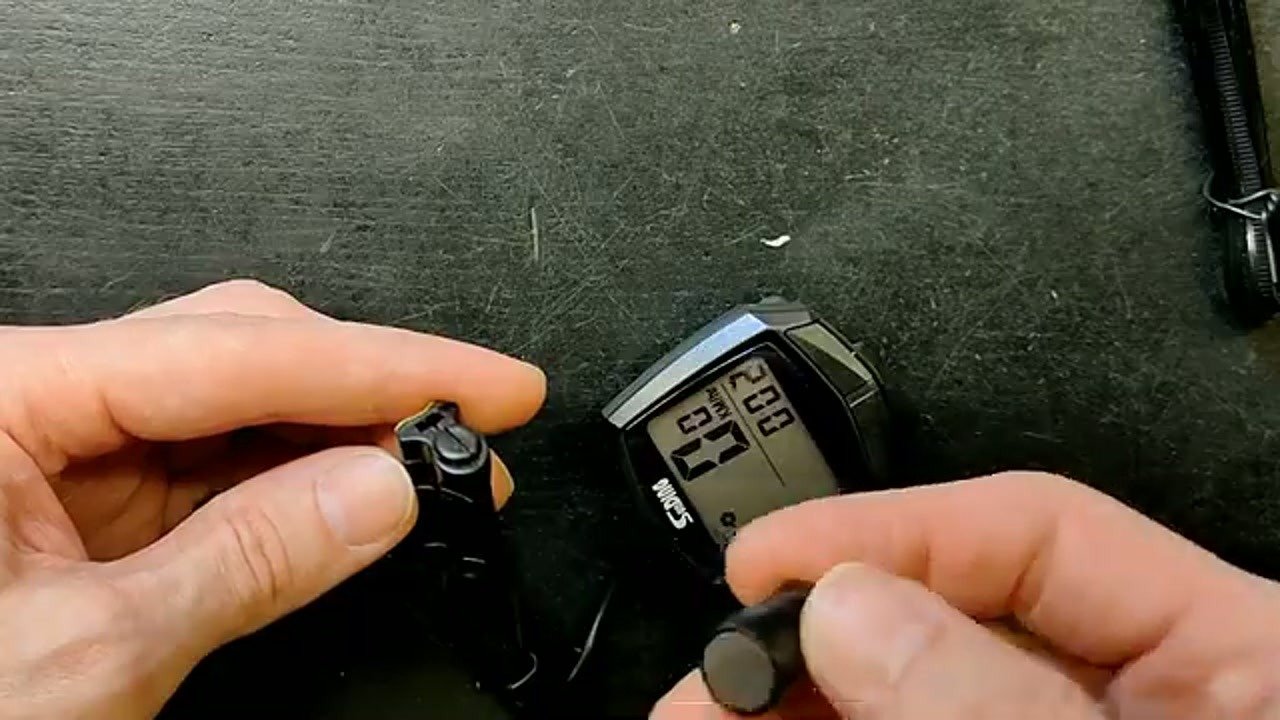
Setting the Clock
I’m entering the settings menu to configure the clock. It’s a standard 24-hour format. I’m using the buttons to toggle through the hours and minutes. It’s a bit tedious, but it only takes a minute. Once the time is set, I’m confirming the entry. The computer is now keeping time correctly. I’m also double-checking the wheel circumference input. It’s set to the value I found in the manual earlier. The setup is almost complete. The computer is now fully calibrated for my specific bike. Just one last check of the display.
Final Instruction Overview
Everything is installed and configured. I’m giving the wheel one last spin to verify the speed reading. The display updates instantly, showing the speed. The odometer is active and tracking distance. I’m checking all the zip ties one last time to ensure they’re trimmed and secure. The unit is waterproof, but I’ll keep an eye on the battery door after a heavy rain. It’s a solid, functional piece of gear for the price. I’m ready to hit the road and test it out properly. The installation was straightforward and the results are looking accurate.
⚠️ CAUTION: SAFETY WARNING!
Be careful when routing the sensor wire near the wheel to avoid entanglement, which could cause a crash.
Summary & Tips
Bottom line: this SunDing unit is a cheap, effective way to track your rides without overcomplicating things. Just take your time with the magnet alignment and the wheel size settings, and you’ll have a reliable speedometer for your bike.
📋 FAQ
❓ Is this bike computer waterproof?
Yeah, it’s designed to be rain-resistant. Just don’t submerge it in a bucket of water and you’ll be fine.
❓ Does it turn off automatically?
Actually, yes. It goes into sleep mode after about 300 seconds of inactivity to save the battery.
❓ Can I use this on any bike?
Honestly, yeah. As long as you can mount the sensor to the fork and the magnet to a spoke, it’ll work on pretty much any standard bicycle.
Disclaimer: I purchased all tools for this guide with my own money to ensure an unbiased review. This post contains affiliate links, meaning I earn a small commission if you make a purchase at no extra cost to you.
🛒 Useful Links & Products
SunDing SD-548B Wired Bicycle Computer
🛒 BUY ON ALIEXPRESS





Leave a Reply