Picked up one of those little 10 cm motion sensor LED lights to see if it’s actually worth sticking in my closet. Instead of just mounting it and calling it a day, I cracked the case open. Measured the real 150 mAh cell capacity, mapped the charging circuit, and checked whether a bigger battery would even fit before deciding on an upgrade.
Author: LifeKaki
⚡ Quick Guide: Inspecting and Upgrading a Sensor LED Light
- Unbox it and check the sensor actually works.
- Pry the case open. Thin plastic tool, go slow.
- Look at the board and the 6-LED strip.
- Measure the battery bay. Is there room for more mAh?
- Snap the housing back together. Check every clip.
- Stick the magnetic mount where you need it. Test the dimming and the sensor range.
- Charge it fully before you mount it for good.
In This Article
- Tools & Materials — what you will need
- Technical Specifications — device parameters
- Unboxing and Initial Inspection — checking the box contents
- Teardown and Inspection — opening the case, looking inside
- Battery Capacity Analysis — measuring space for upgrades
- Component Overview — the sensor module
- PCB and LED Array Check — the internal board
- Mounting the Magnetic Base — installing the hardware
- Physical Dimensions — measuring the unit
- Charging and Usage Tips — power management
- Brightness and Sensor Testing — checking the output
- Final Sensor Calibration — verifying detection
- Final Result and Performance — testing in the dark
📊 Technical Specifications & Components
| Length | 104 mm |
| Width | 22 mm |
| Battery Capacity | 150 mAh |
| LED Count | 6 LEDs |
| Sensor Type | PIR Motion Sensor |
| Mounting | Magnetic |
Tools & Materials Used
• Plastic Prying Tool
• Precision Tweezers
🔧
Screwdriver Set For Smartphone
AliExpress 🛒
🔧
Digital Caliper
AliExpress 🛒
🔧
Multimeter DT9205A
AliExpress 🛒
💡
BUY ON ALIEXPRESS 🛒
Recommended
Link to the exact model
Step-by-Step Assembly & Testing
Unboxing and Initial Inspection
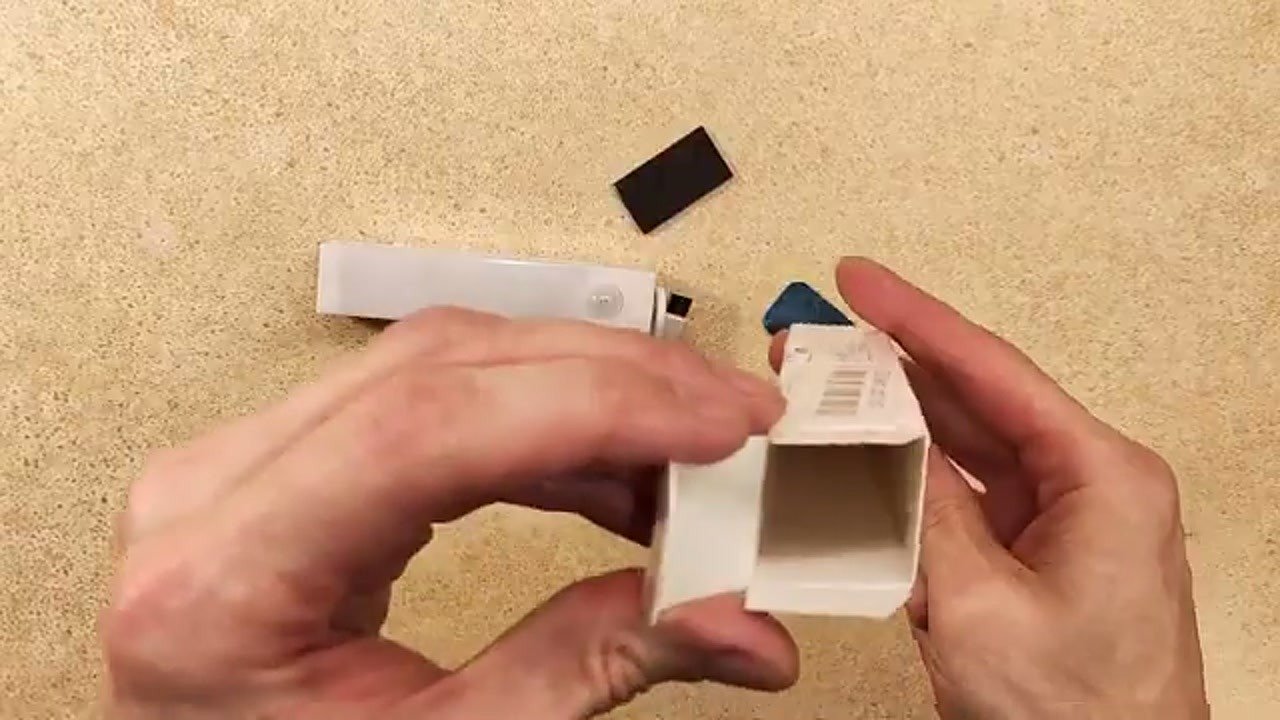
First, look at the box and the eco-markings. The kit is barebones — just the light and the magnetic mount. I pulled it out and gave it a once-over. The frosted diffuser feels fine for a budget light. Then I waved my hand at the PIR sensor to make sure it wasn’t dead on arrival. It clicked on. Good enough to keep going.
Teardown and Inspection
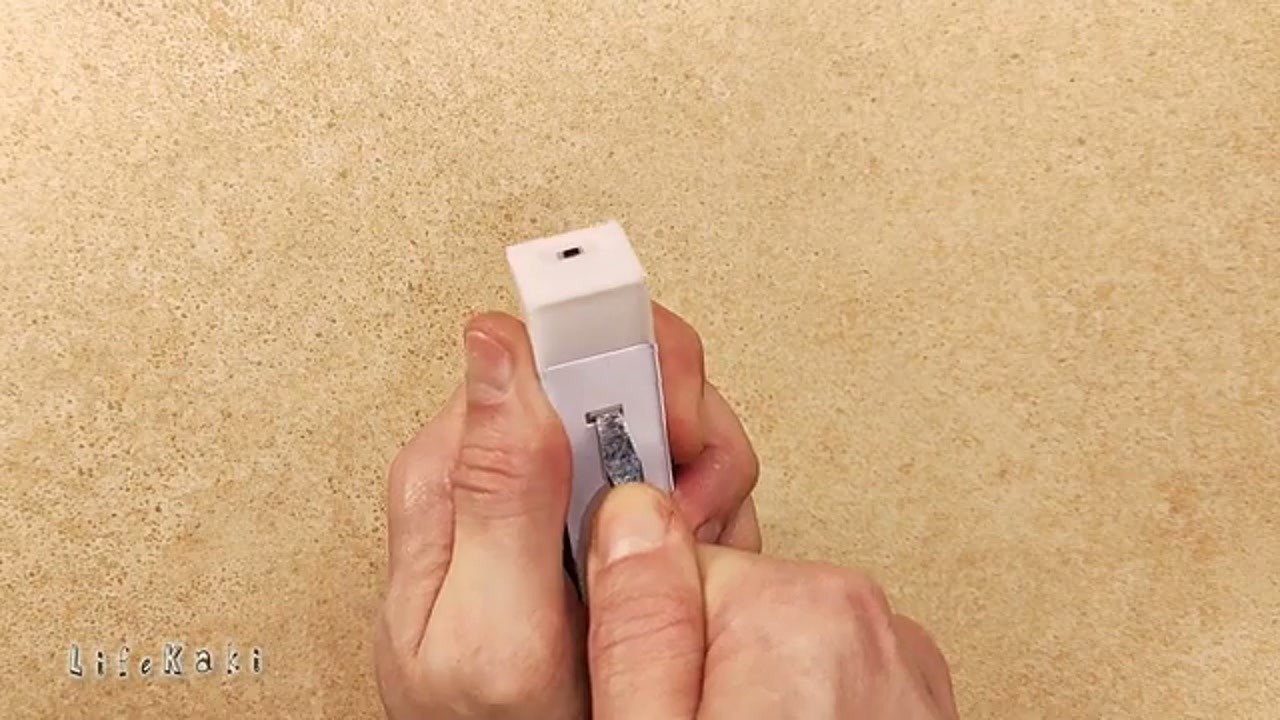
Thin prying tool goes in the seam. These clips are the soft kind, so if you yank it you’ll snap one and end up with a case that won’t sit flush anymore. Inside, the layout is simple. Wiring looks tidy for what this is. The solder joints on the board are clean enough — nothing sketchy that would make me nervous leaving it plugged in overnight.
Battery Capacity Analysis
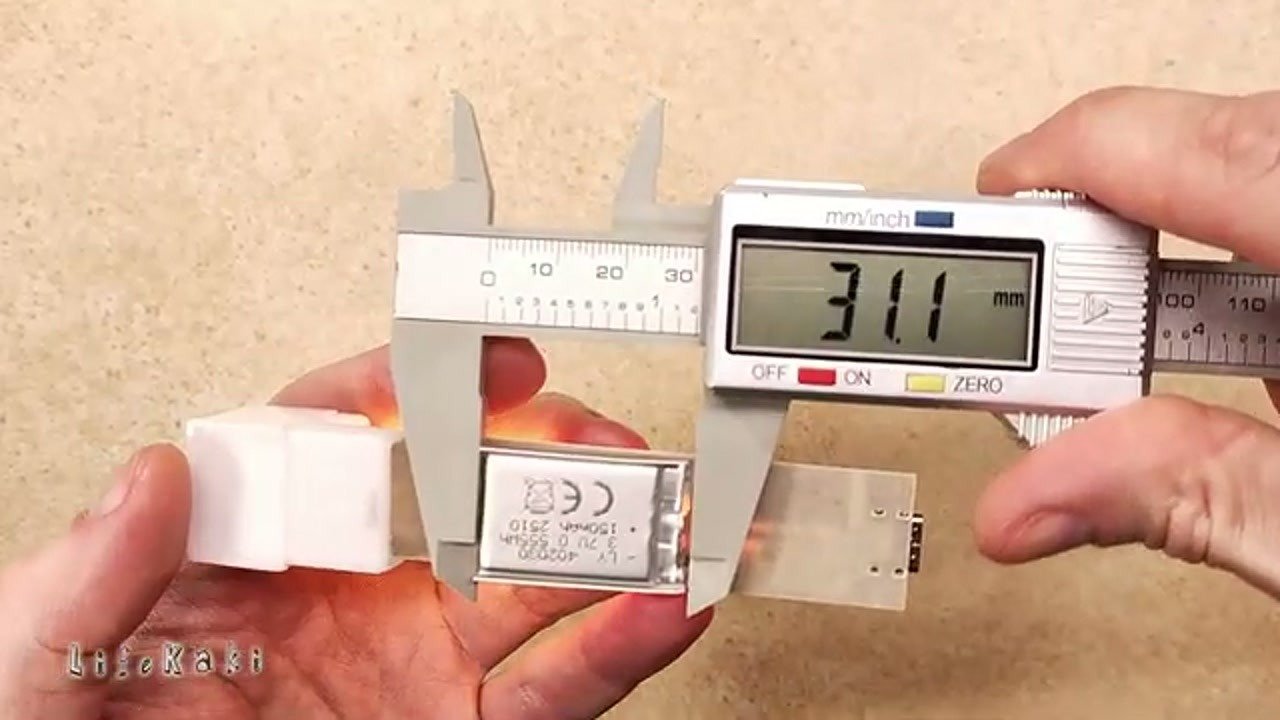
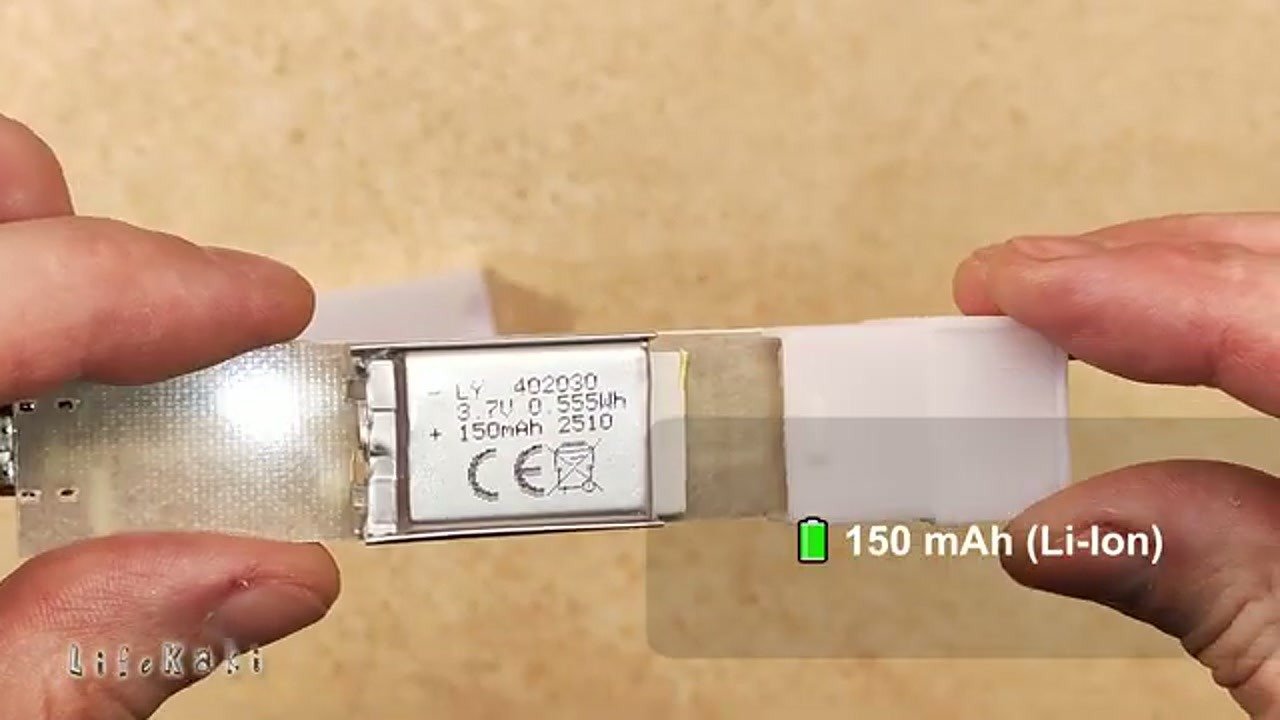
Caliper out. The stock 150 mAh cell is tiny — barely fills the pocket. But there’s leftover space around it. Not a lot, but enough that a slightly fatter Li-ion would fit without bulging the shell. So yes, an upgrade is doable later. Worth knowing before you glue anything down.
Component Overview
The sensor module is the usual PIR dome soldered to the board. Nothing exotic. I checked the wiring harness where it connects — snug, no wiggling. That’s the thing that usually fails first on cheap lights, so seeing it tight is a good sign.
PCB and LED Array Check
Six LEDs on a strip, plus the charging circuit. Traces look solid, components are basic. That’s fine. Nothing on this board is trying to be fancy. The LED spacing gives an even spread through the diffuser, so no ugly hot spots in the middle of the strip.
Mounting the Magnetic Base
The mount is just an adhesive pad with a magnet in it. Nothing to overthink. Wipe the surface first, or the sticky backing won’t hold. I pressed it flat and let it sit. The magnet grabs the light solidly — no wobble when you bump it.
Physical Dimensions
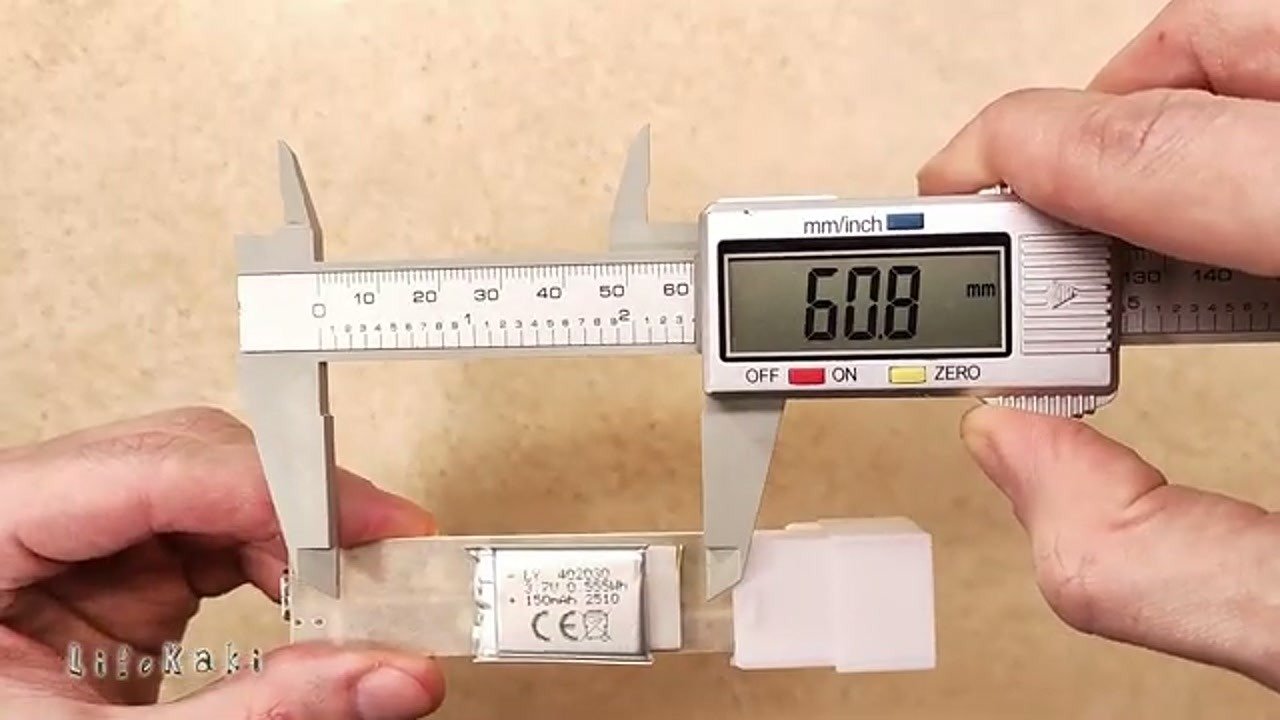
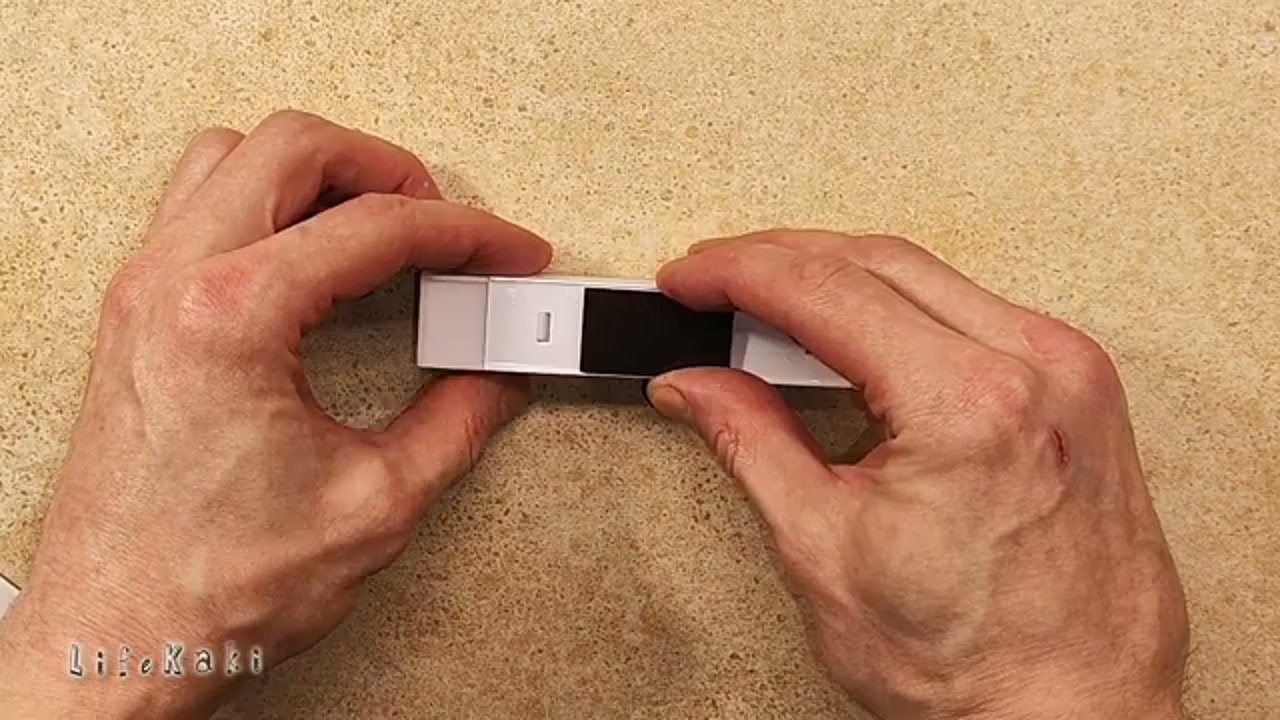
Checked the size again with the caliper. 104 by 22 mm, dead on. That’s slim enough to disappear inside a narrow cabinet without eating shelf space. Fits where I planned to put it, which is what matters.

Charging and Usage Tips
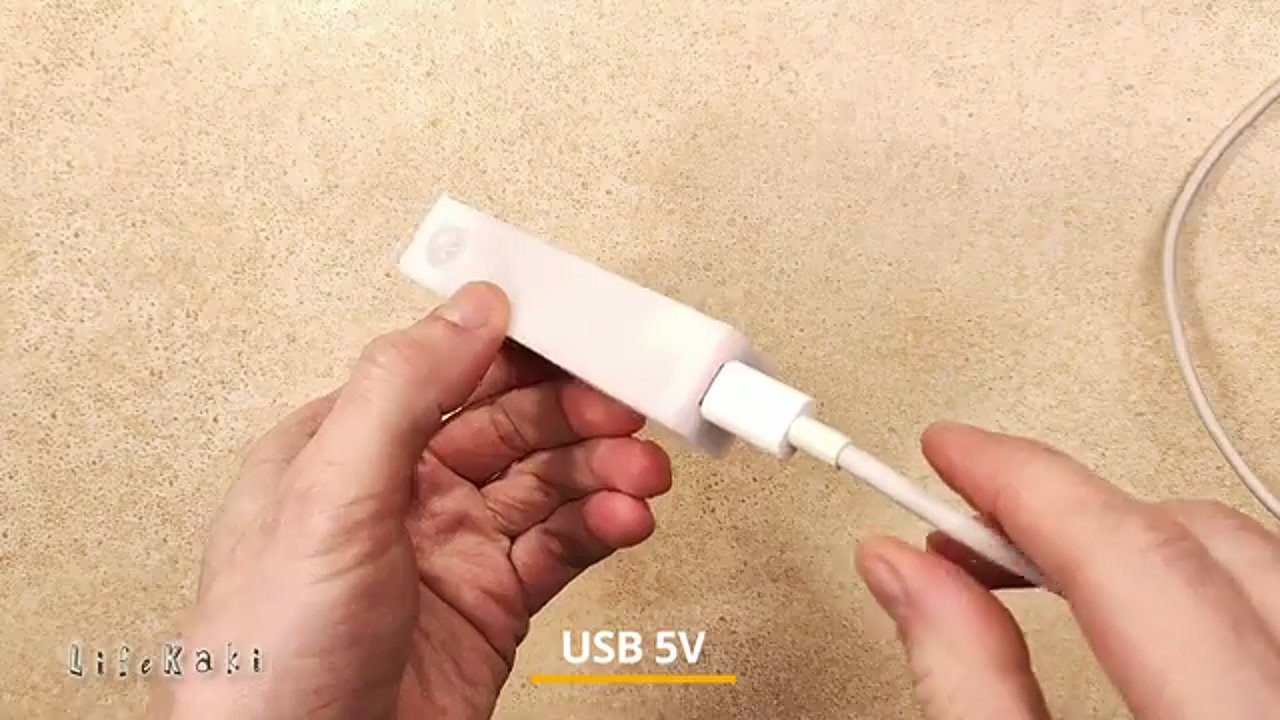
Plugged it in to time a full charge. Charge it all the way before first use. And don’t run it to zero every cycle — that’s what kills these small cells early. The indicator light on the side is actually useful for knowing when it’s topped off.
Brightness and Sensor Testing
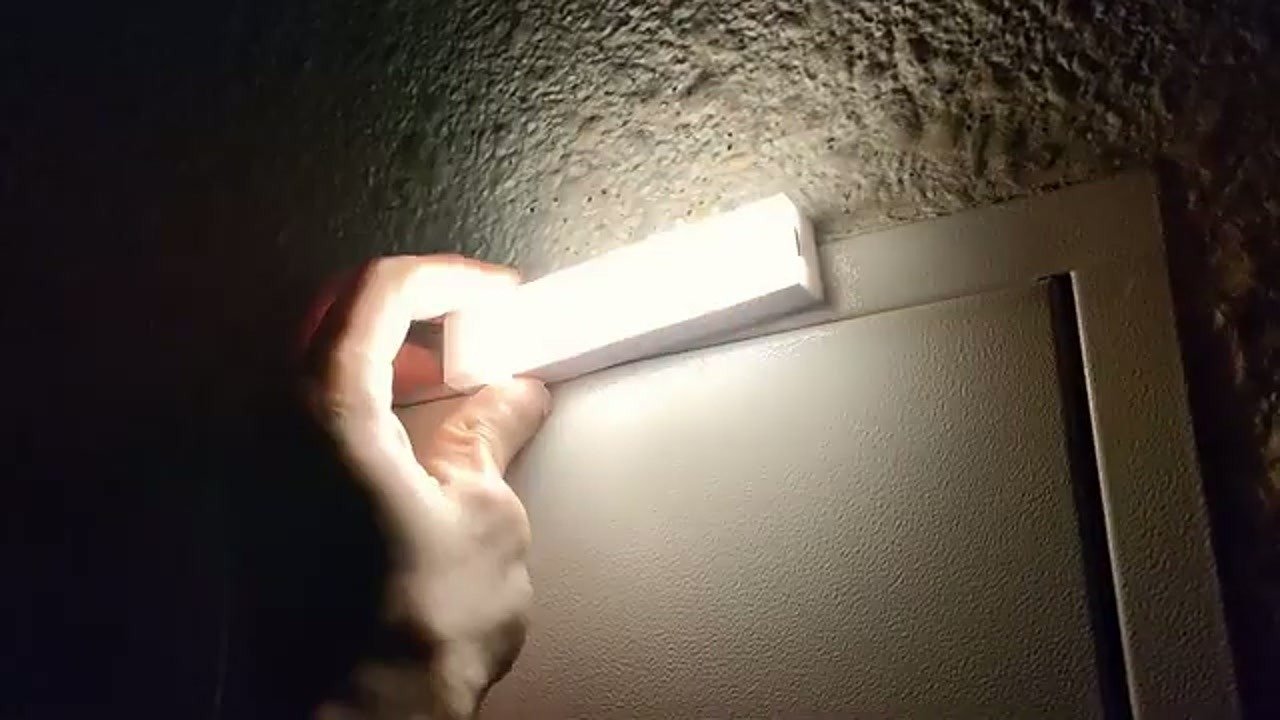
Cycled through the brightness levels. They step smoothly, no flicker. Brighter than I expected for something this small — plenty for a closet, not blinding if you glance at it. Sensor responds the moment I step in front of it.
Final Sensor Calibration
Waved my hand at different distances to see where it triggers. Detection range is about what you’d expect for a PIR at this size. No lag when it turns on. Sensor is doing its job.
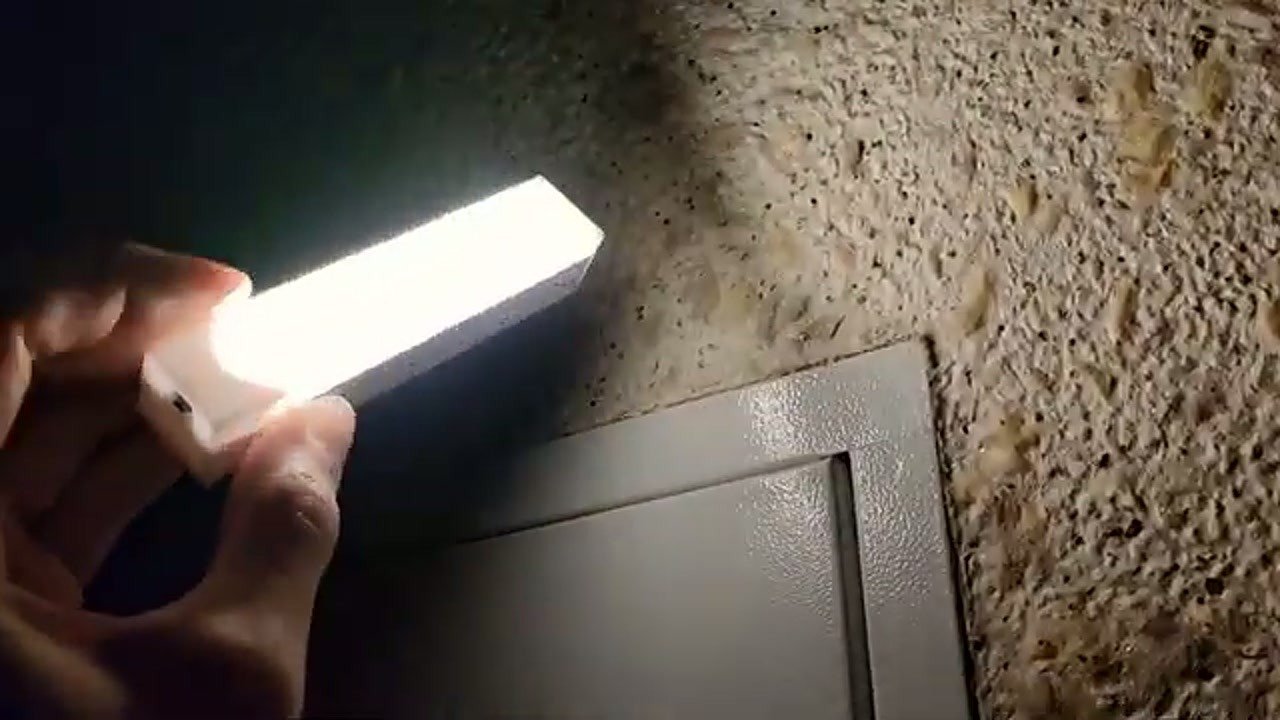
Final Result and Performance
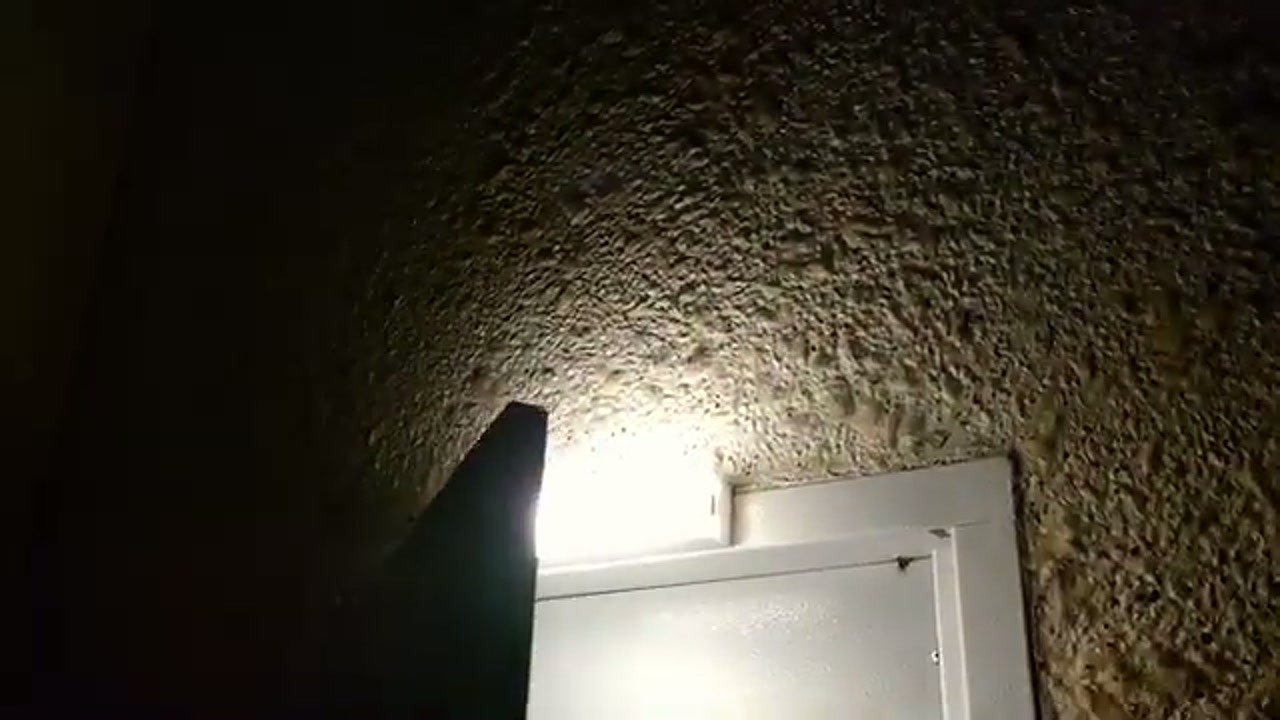
Stuck it in the darkest corner of the closet to see how it actually performs. Walks in, light comes on instantly, does the job. Housing feels solid enough to survive daily use. For the price, this is a no-brainer upgrade for any dark shelf or cabinet.
⚠️ CAUTION: SAFETY WARNING!
Go slow prying the case open — you can nick the battery pouch or snap the clips. And keep anything metal away from the board when the battery’s still connected.
Summary & Tips
For a cheap 10 cm LED sensor light, this thing does what it says. The teardown confirmed the build is fine for the price, and there’s enough room in the shell to swap in a bigger cell down the road if you want longer runtime. Easy install, works in a closet, done.
📋 FAQ
❓ Can I replace the battery with a larger one?
Yes, there’s leftover space inside the shell. A slightly bigger Li-ion will fit if you can solder the leads. Just don’t force the case shut — if it bulges, the cell is too fat.
❓ How long does the battery last on a single charge?
With the stock 150 mAh cell, expect several days of normal closet use. If the sensor is tripping every five minutes, obviously less. Depends entirely on traffic.
❓ Is the light brightness adjustable?
Yes. It steps through several levels. Useful if you want a soft glow instead of a full blast in the middle of the night.
Disclaimer: I bought everything for this guide with my own money so the review stays honest. Some links are affiliate links — I get a small cut if you buy through them, at no extra cost to you.
🛒 Useful Links & Products
Link to the exact model
🛒 BUY ON ALIEXPRESSScrewdriver Set For Smartphone
🛒 BUY ON ALIEXPRESSDigital Caliper
🛒 BUY ON ALIEXPRESSMultimeter DT9205A
🛒 BUY ON ALIEXPRESS





Leave a Reply