Standard vacuum attachments are useless for those tight gaps under car seats and heavy furniture. Don’t waste money on overpriced brand accessories. Grab an empty soap dispenser instead. We are building a slim, custom crevice nozzle using basic workshop scraps. The main thing here is sealing the joints completely tight so we maintain maximum suction. It is a straightforward build that gives you a durable, everyday tool for the spots factory nozzles simply cannot reach.
Author: LifeKaki
⚡ Quick Guide: How to Build a Custom Crevice Nozzle
- Inspect the soap dispenser pump for structural compatibility.
- Prepare the housing and base to fit the vacuum hose.
- Trim plastic components to achieve a slim, functional profile.
- Apply hot glue to create an airtight, reinforced seal.
- Refine the nozzle attachment point for secure fitment.
- Test the assembly in narrow gaps to ensure maximum suction.
In This Article
- Tools & Materials — essential items for the build
- Technical Specifications — design parameters and components
- Evaluating the Dispenser Base — initial inspection of the pump
- Preparing the Connector — fitting the rubber cuff
- Applying Airtight Seals — using hot glue for structural integrity
- Refining the Nozzle Tip — modifying the intake opening
- Integration and Assembly — combining the nozzle and brush
- Refining the Attachment Point — adjusting for vacuum hose compatibility
- Testing in Narrow Gaps — evaluating suction performance
- Brushing and Cleaning — removing debris from tight spaces
- Final Inspection and Fitment — verifying the finished tool
- Frequently Asked Questions (FAQ) — common project queries
📊 Technical Specifications & Components
| Nozzle profile | Slim-line |
| Sealant | Hot melt adhesive |
| Connector type | Rubber cuff |
| Compatibility | Universal vacuum hose |
| Material | Recycled plastic |
Tools & Materials Used
• Liquid soap dispenser pump
• Rubber hose
• Rubber sewer pipe cuff
• Plastic bottle cap
• Hot glue sticks
• Universal Multifunctional Diagonal Pliers
• Utility knife
🛠️
BUY ON ALIEXPRESS 🛒
Recommended Tool
Hot Melt Glue Gun
Step-by-Step Assembly & Testing
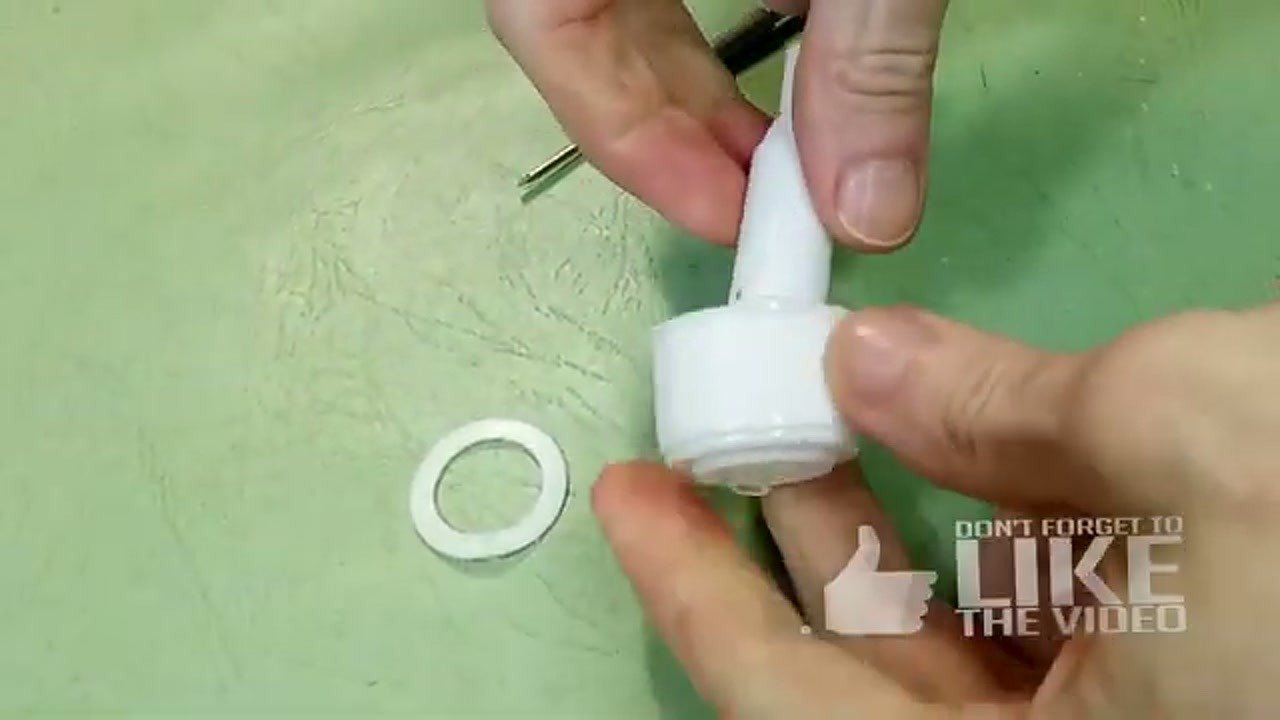
Evaluating the Dispenser Base
The project begins by inspecting the soap dispenser mechanism to determine its structural potential. I carefully remove the internal pump components to isolate the housing. The base needs to be flat and stable to ensure a proper connection to the vacuum hose. I check for any cracks in the plastic that could cause air leaks. A solid foundation is necessary for maintaining consistent suction pressure during operation.
Preparing the Connector
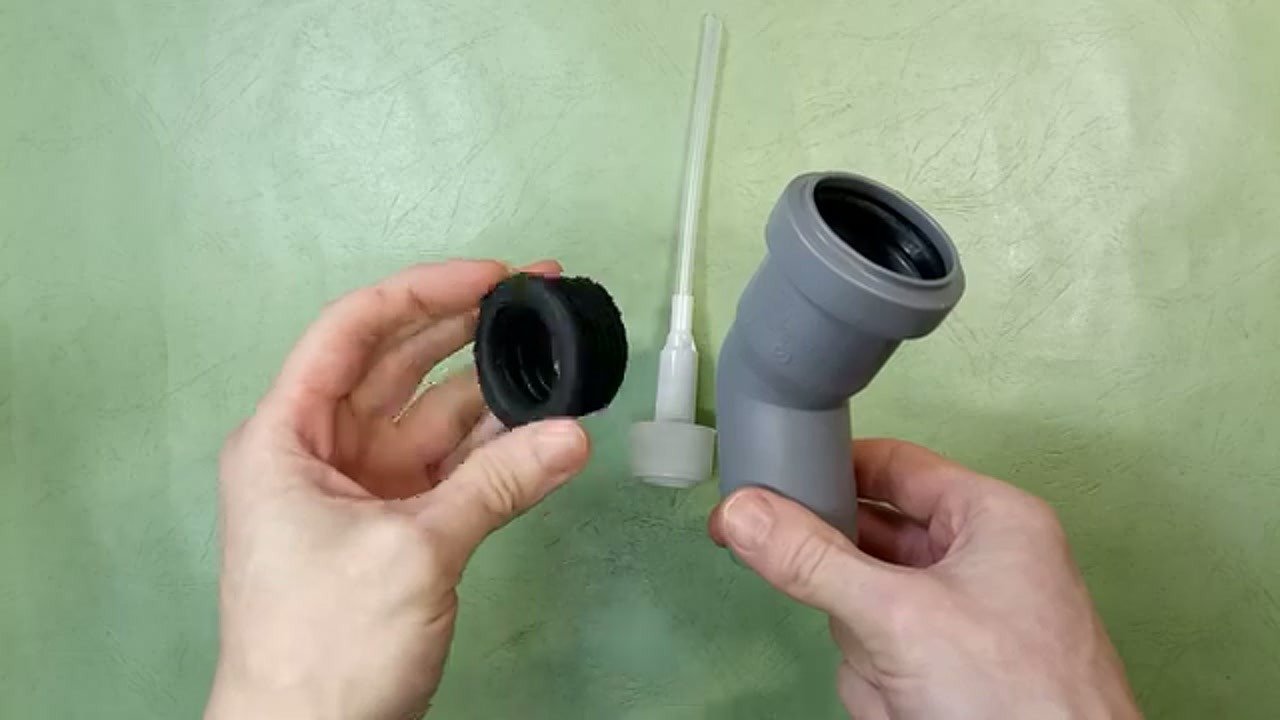
Next, I prepare the rubber sewer pipe cuff that will serve as the adapter for the vacuum hose. The diameter must be tight enough to prevent air loss, which would significantly reduce suction power. I align the cuff with the dispenser housing to check for any gaps. If the fit is loose, I use a layer of tape to shim the connection. This step ensures the tool remains securely attached during use.
Applying Airtight Seals
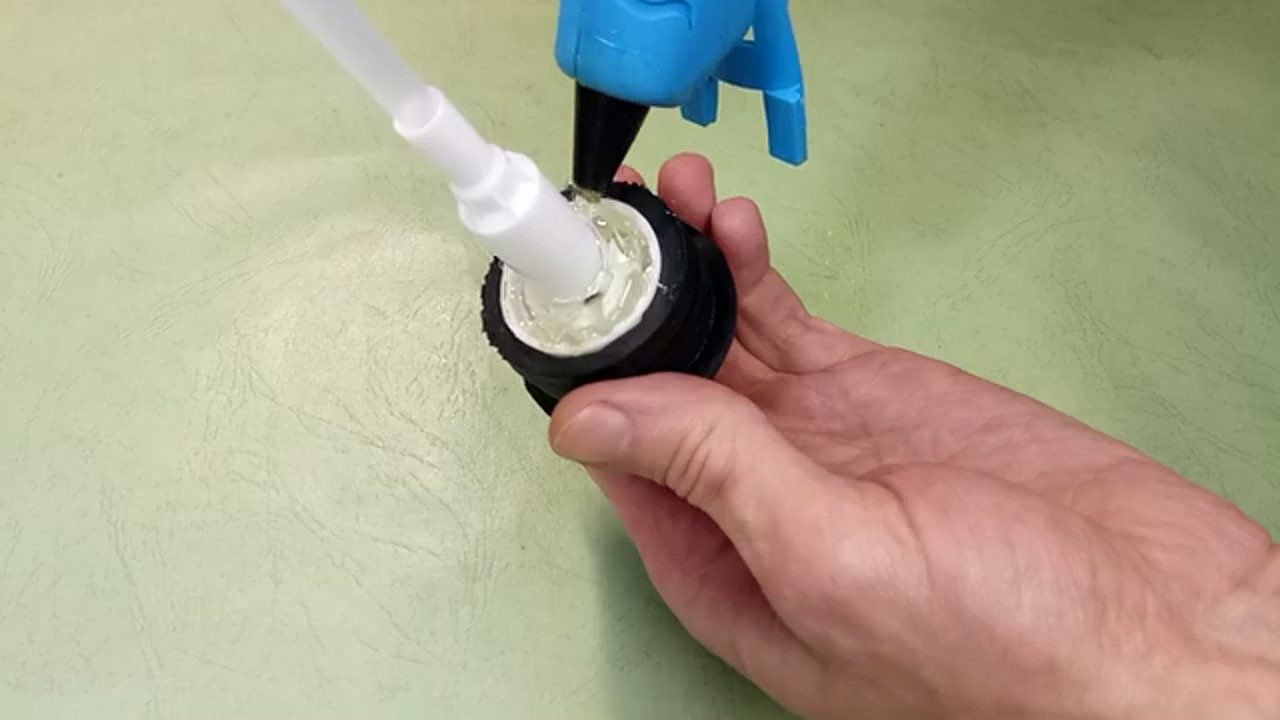
To ensure maximum efficiency, every seam must be sealed perfectly. I use a hot glue gun to apply a generous bead of adhesive around the junction of the bottle cap and the housing. The glue must be applied evenly to avoid bubbles that could lead to structural failure under pressure. Once applied I hold the parts firmly until the adhesive sets completely. This creates a rigid airtight bond capable of withstanding the vacuum’s force.
Refining the Nozzle Tip
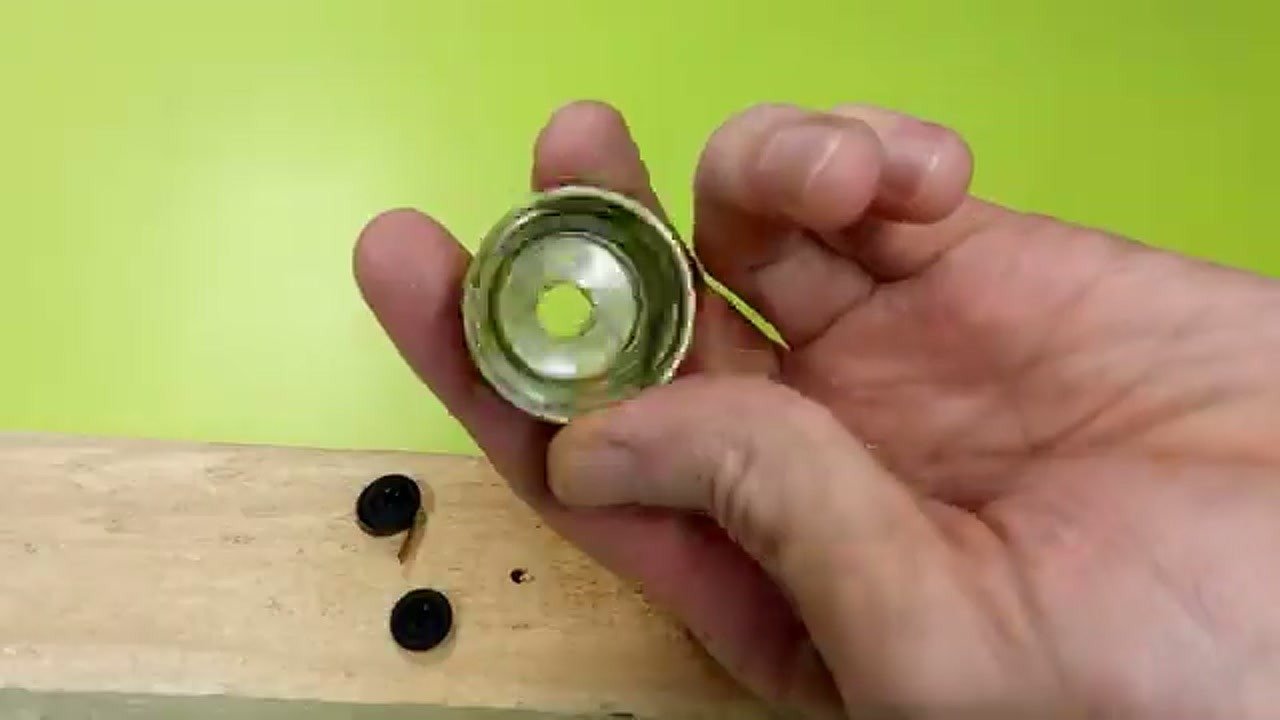
The intake tip requires a precise shape to reach into narrow gaps. I use diagonal pliers to trim the plastic edges, creating a tapered profile that funnels air effectively. I check that the opening is free of sharp burrs that could scratch furniture surfaces. A smooth intake path prevents debris from getting stuck inside the nozzle. This refinement is essential for maintaining high airflow velocity.
Integration and Assembly
I integrate a small brush component onto the nozzle body to help dislodge stubborn dust. I apply hot glue to the brush base and press it firmly against the plastic housing. The positioning must allow for both suction and mechanical scrubbing simultaneously. I allow the glue to cure for several minutes to ensure it doesn’t shift during cleaning. This combination of suction and friction is the key to effective deep cleaning.
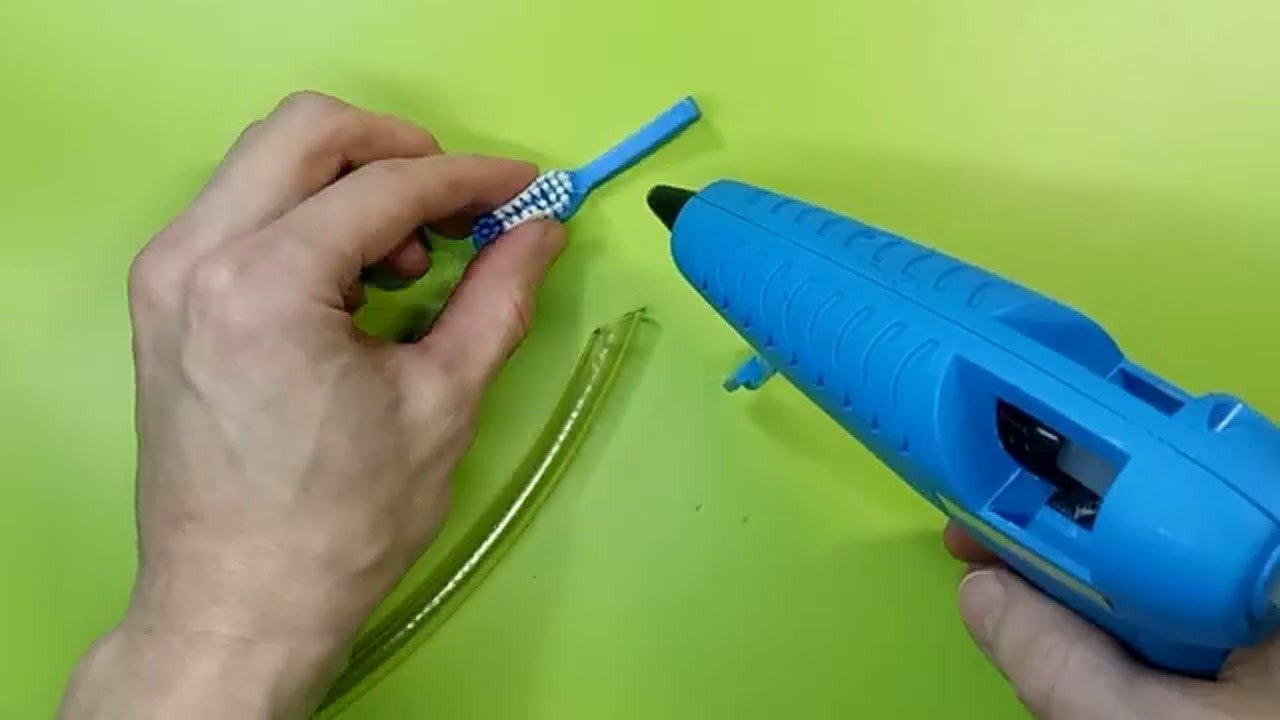
Refining the Attachment Point
I perform a final check on the attachment point to ensure it fits the vacuum hose snugly. If the connection is too loose, the nozzle will fall off during operation. I adjust the rubber cuff positioning to maximize the grip on the hose surface. I verify that the airflow is not restricted by any internal obstructions. Everything is now aligned for a secure, functional fit.
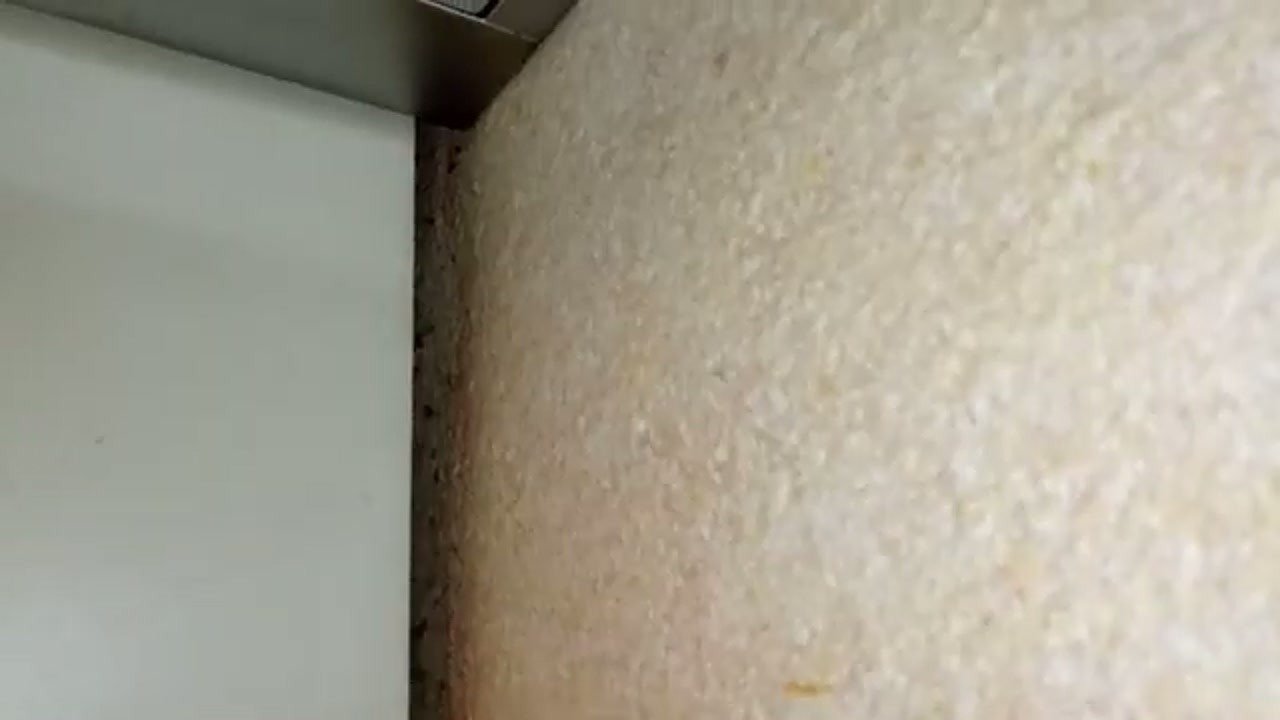
Testing in Narrow Gaps
Now, I test the nozzle by inserting it into a narrow gap under a piece of furniture. The slim profile allows it to slide in easily without resistance. I observe the suction power as it pulls dust from the corners. The seal remains intact, and there is no whistling sound, which would indicate an air leak. The tool effectively reaches areas that were previously inaccessible.
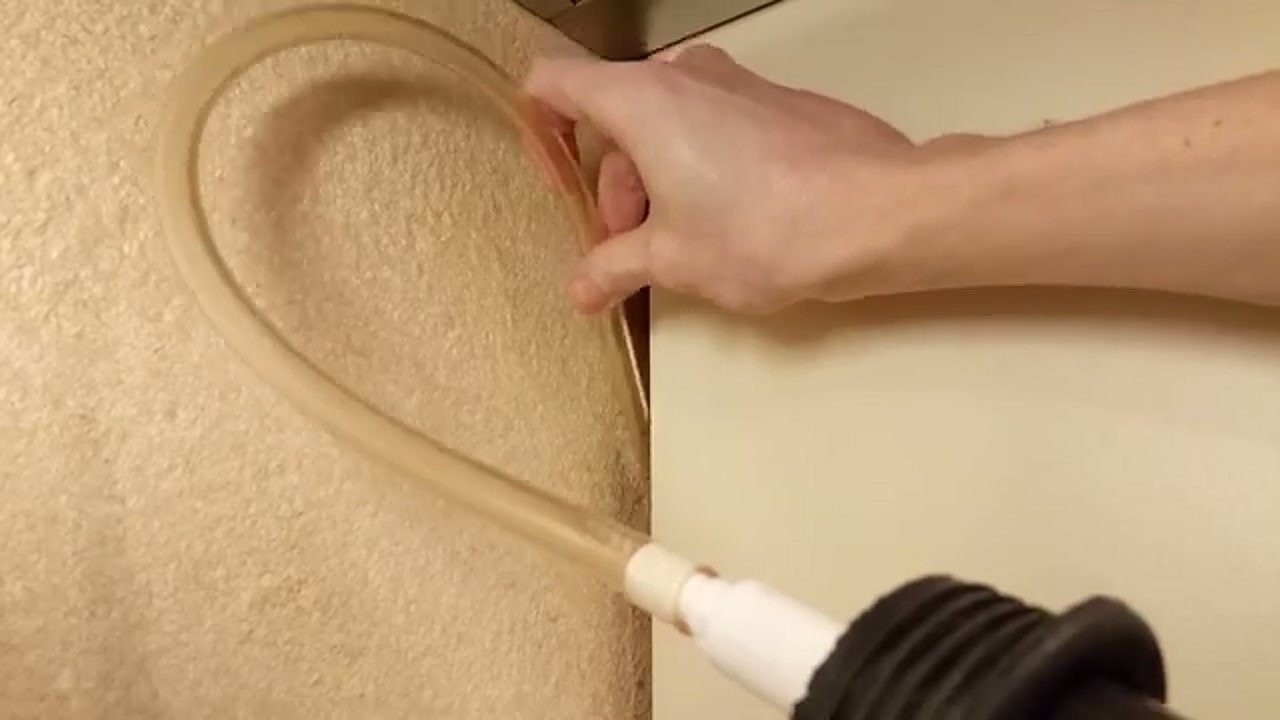
Brushing and Cleaning
I use the integrated brush to agitate the dust while the vacuum is running. This action effectively lifts debris from the surface, allowing the suction to pull it into the hose immediately. The combination of mechanical agitation and airflow produces a clean result in seconds. I move the nozzle back and forth to cover the entire area. The brush bristles are firm enough to clean but soft enough to avoid damage.
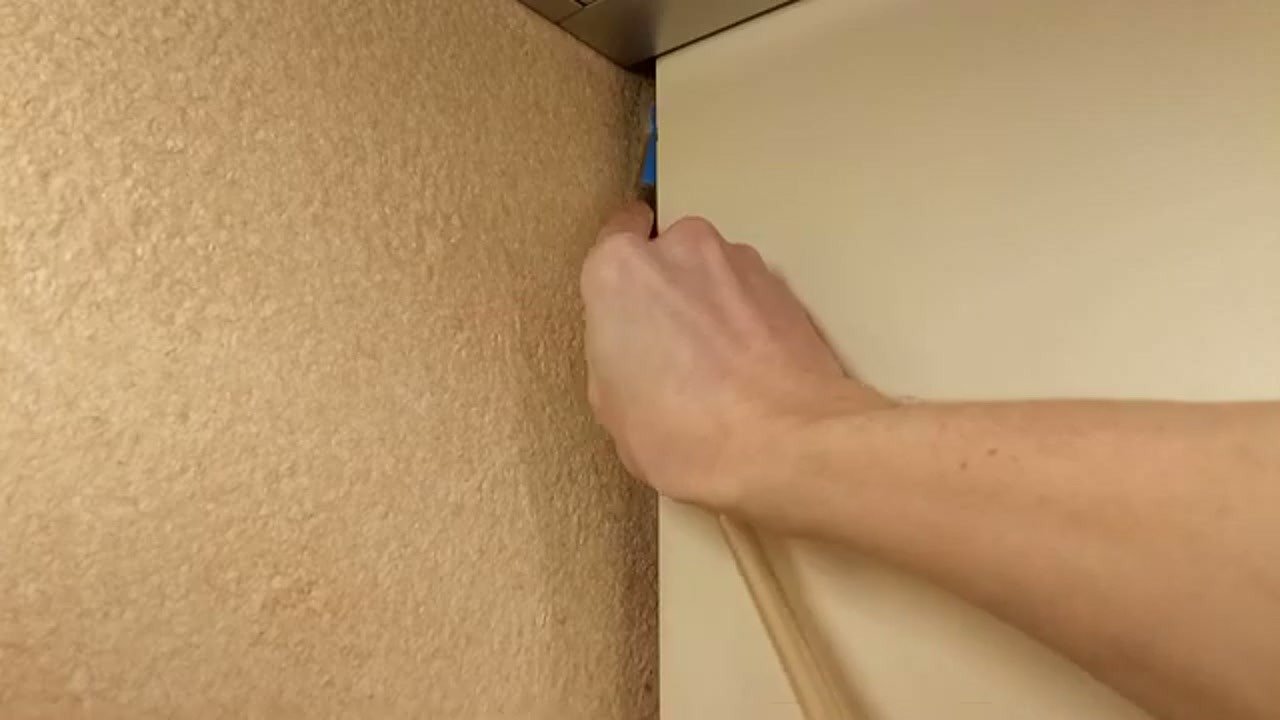
Final Inspection and Fitment
The final inspection confirms that the nozzle is durable and ready for regular use. I check all glue joints for signs of stress or separation. The assembly is lightweight, making it easy to maneuver in tight spaces. The project successfully demonstrates how to repurpose common household items into a functional workshop tool. Everything is now clean and the tool is stored for future maintenance tasks.
⚠️ CAUTION: SAFETY WARNING!
Use caution when operating a hot glue gun to avoid thermal burns. When trimming plastic with pliers or knives, wear eye protection to prevent injury from flying debris.
Summary & Tips
Building a custom crevice nozzle is a practical way to upgrade your cleaning kit using simple materials. By focusing on airtight seals and a slim profile, you create a tool that effectively reaches narrow gaps under furniture. This DIY project is a repeatable solution for any workshop, providing a durable and low-cost alternative to store-bought accessories. Always ensure your seals are robust to maintain consistent suction power during your cleaning tasks.
📋 FAQ
❓ Is this custom nozzle durable enough for daily use?
Answer: Yes, when properly sealed with high-quality hot glue, the nozzle provides sufficient rigidity for standard household cleaning tasks.
❓ Can this be adapted for different vacuum hose sizes?
Answer: Absolutely. By selecting a rubber cuff that matches your specific vacuum hose diameter, the design can be customized to fit almost any vacuum model.
❓ What should I do if the suction is weak?
Answer: Weak suction usually indicates an air leak. Check all glue joints for gaps and ensure the rubber cuff is seated tightly against the vacuum hose.
Disclaimer: I purchased all tools for this guide with my own money to ensure an unbiased review. This post contains affiliate links, meaning I earn a small commission if you make a purchase at no extra cost to you.
🛒 Useful Links & Products
Hot Melt Glue Gun
🛒 BUY ON ALIEXPRESS





Leave a Reply