I’ve got a standard wired bike computer on my workbench today, and honestly, it’s the most reliable way to track your ride without worrying about Bluetooth pairing or dead batteries in a GPS unit. We’re going to get this sensor mounted, the wire routed, and the display calibrated so you can actually see your speed while you’re out on the road. It’s a straightforward job, but you’ve got to watch your cable tension.
Author: LifeKaki
⚡ Quick Guide: How to Install a Wired Bike Computer
📊 Technical Specifications
| Sensor Type | Wired magnetic reed switch |
| Mounting | Zip ties |
| Display | LCD digital |
| Compatibility | Universal for most bicycles |
📊 Project Overview
🔧 Difficulty Level: Easy
⏱️ Time Investment: DIY: 30-45 minutes | Pro: 15 minutes
💡 Verdict: Installing this yourself saves you a shop visit fee, which is usually more than the cost of the computer itself.
Tools & Materials Used
🔧
Universal Multifunctional Diagonal Pliers
AliExpress 🛒
🔧
Screwdriver Set For Gadgets
AliExpress 🛒
🛠️
BUY ON ALIEXPRESS 🛒
Recommended
Sunding SD-548B – bike computer
Step-by-Step Assembly & Testing
Sensor Positioning
Starting with the front fork, I’m finding the right spot for the sensor. It needs to be close to the wheel but not touching. Keep it steady. A loose sensor means no signal.
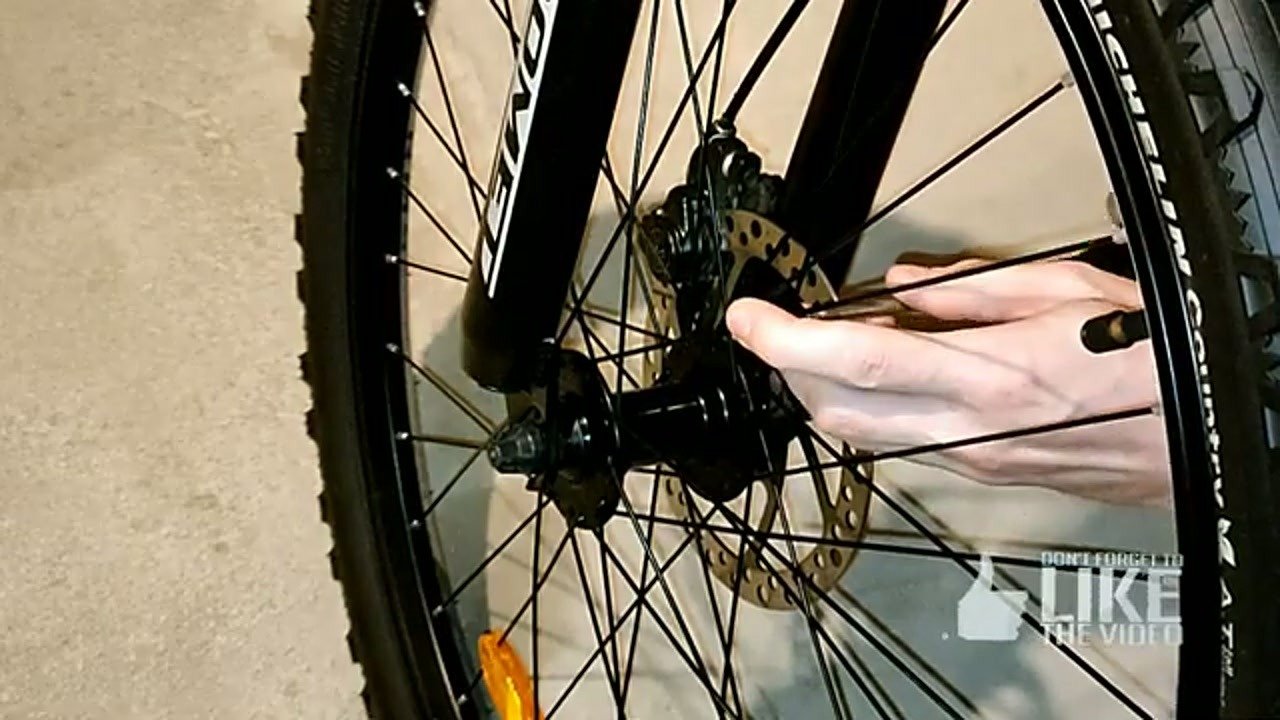
Securing the Sensor
I’m using a zip tie to lock the sensor in place. Pull it tight. Don’t let it rotate on the fork leg. Snip the excess tail off.
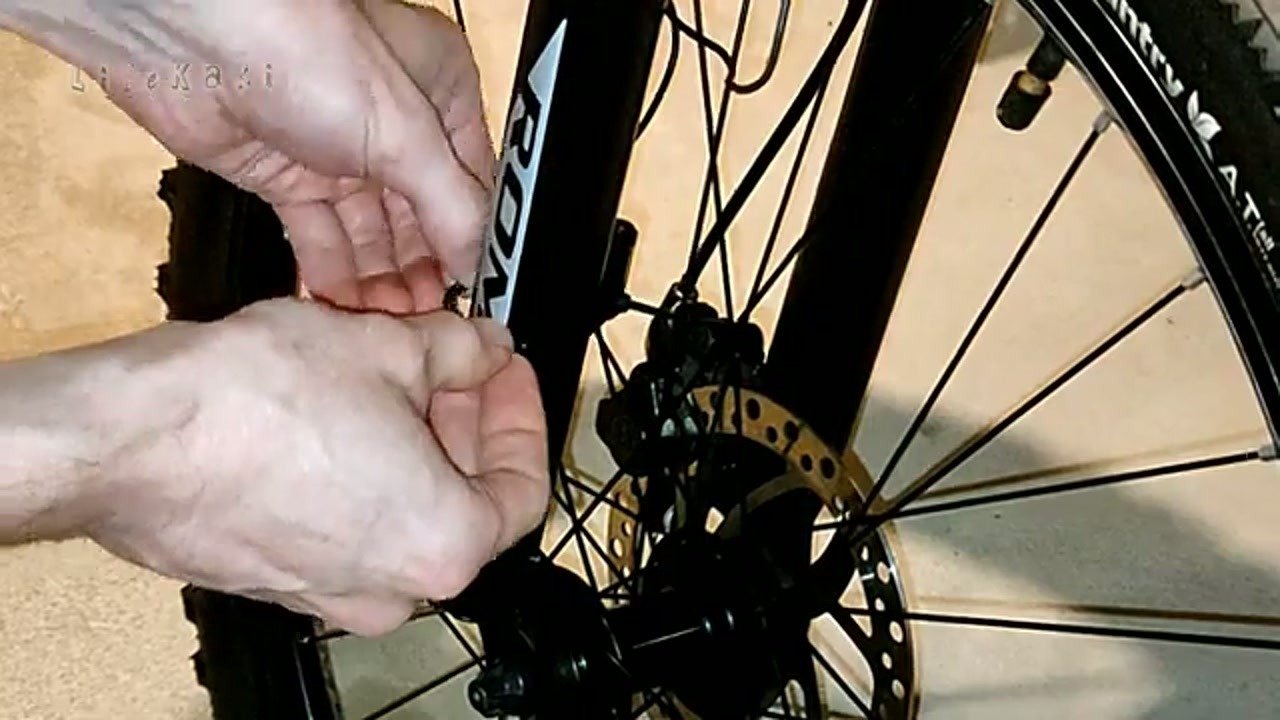
Cable Management
Now, I’m running the wire up the fork. I’m following the brake cable housing. It looks cleaner that way. Don’t pull it too tight.
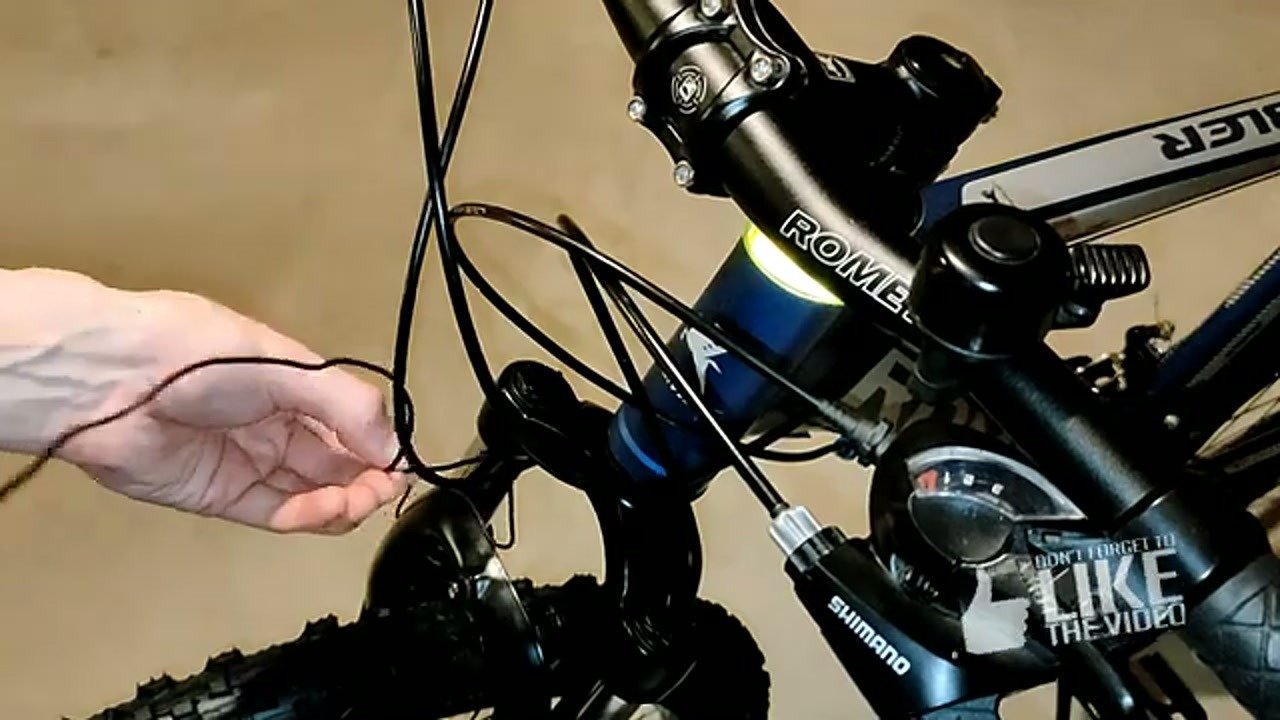
Fixing the Wire
Adding more zip ties along the frame. Keep the wire away from the moving parts. You don’t want it snagging on the spokes.
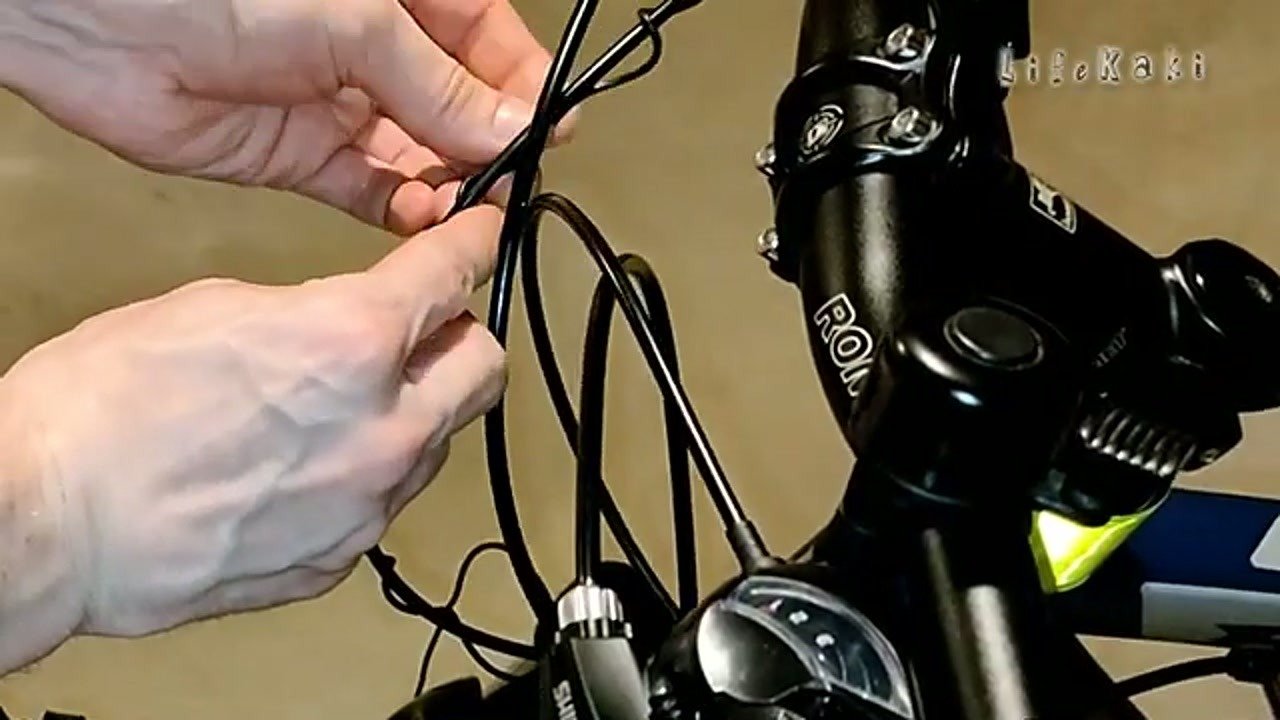
Display Mounting
Setting the display bracket on the handlebars. I’m checking for visibility. It needs to be easy to read while riding. Tighten the screws down.
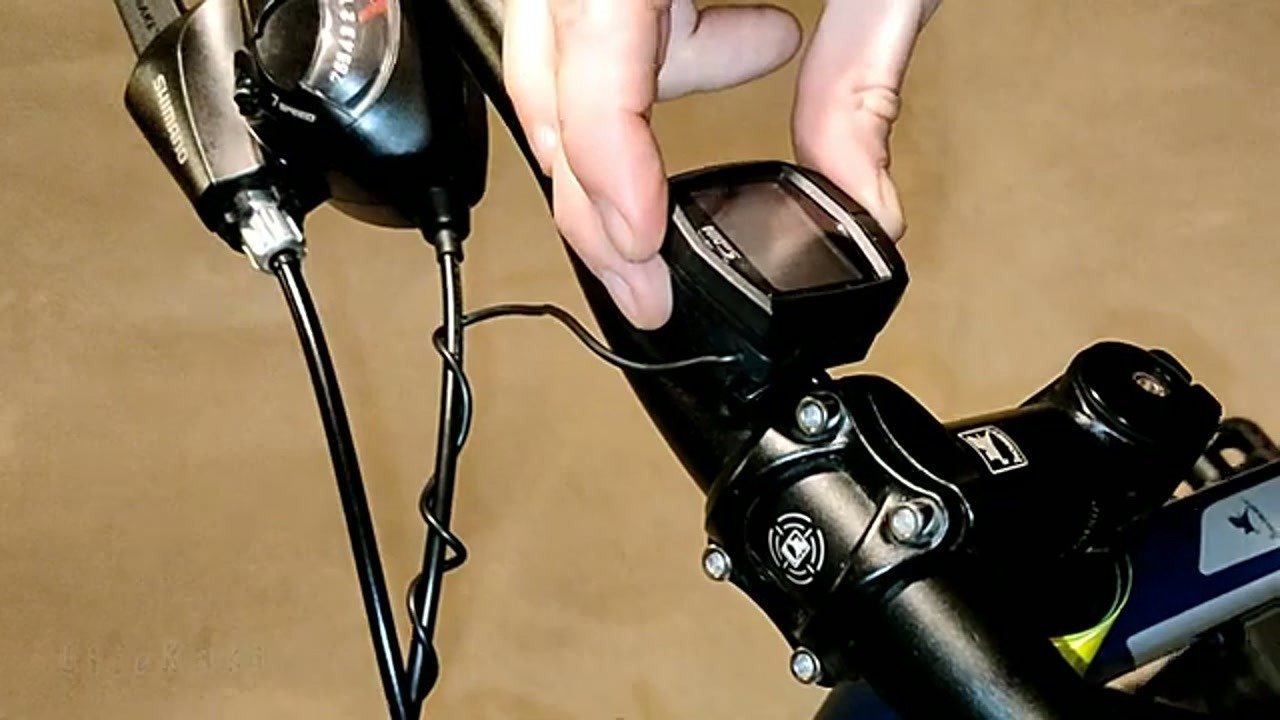
Locking the Mount
Double-checking the bracket stability. I’m adding a zip tie for extra security. It shouldn’t wiggle when I hit a bump.
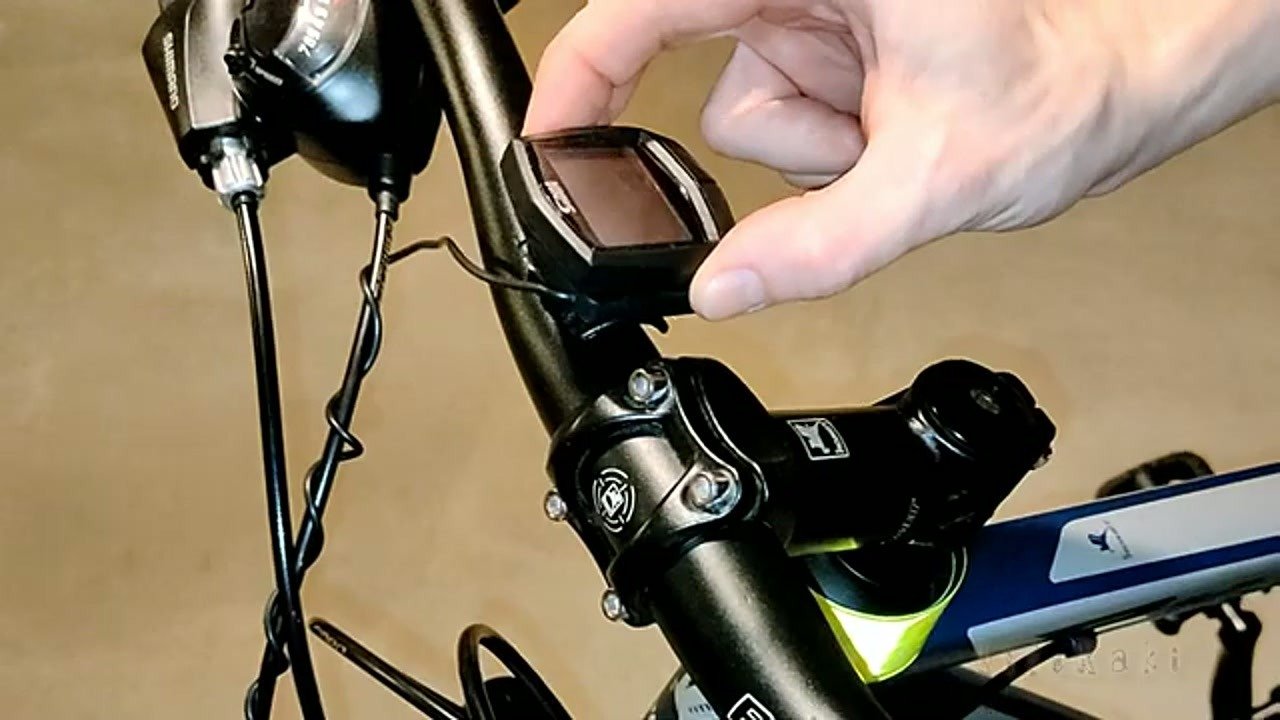
Finalizing Mount
Everything is locked down tight. The mount is solid. I’m making sure the display clicks in properly.
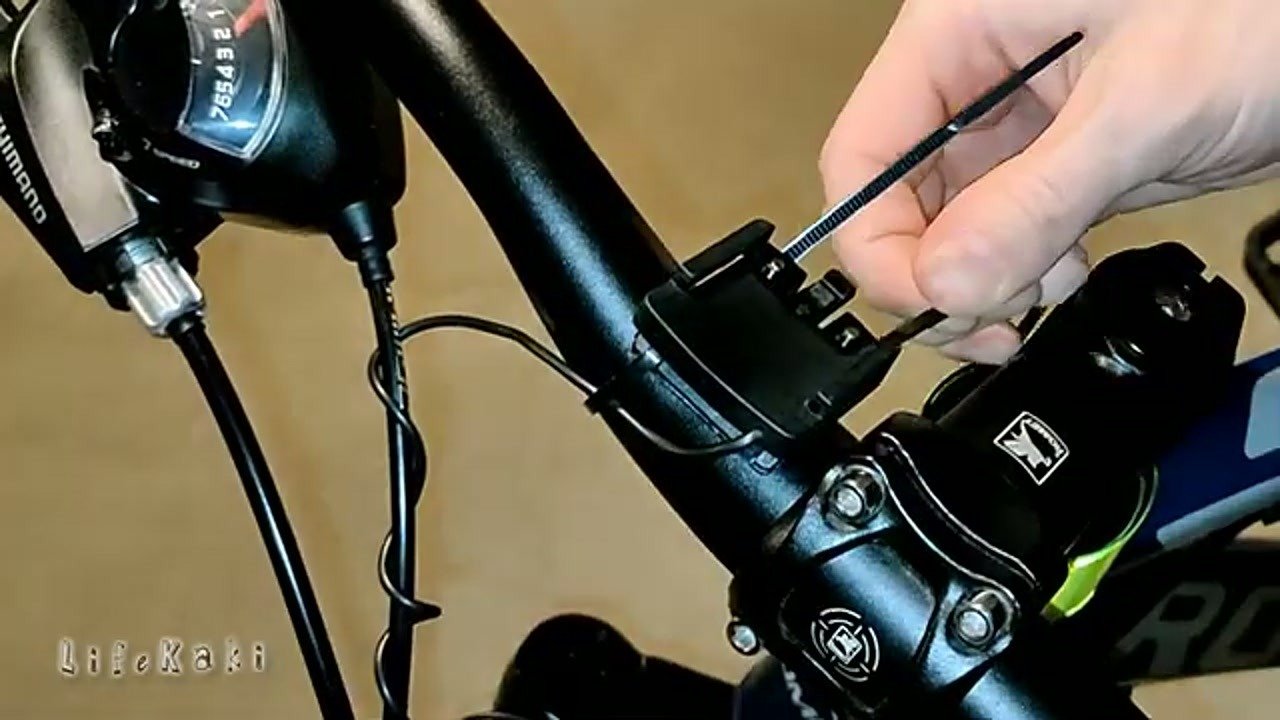
Display Installation
Sliding the computer unit into the mount. It should snap into place. Now it’s ready for the final wiring connection.
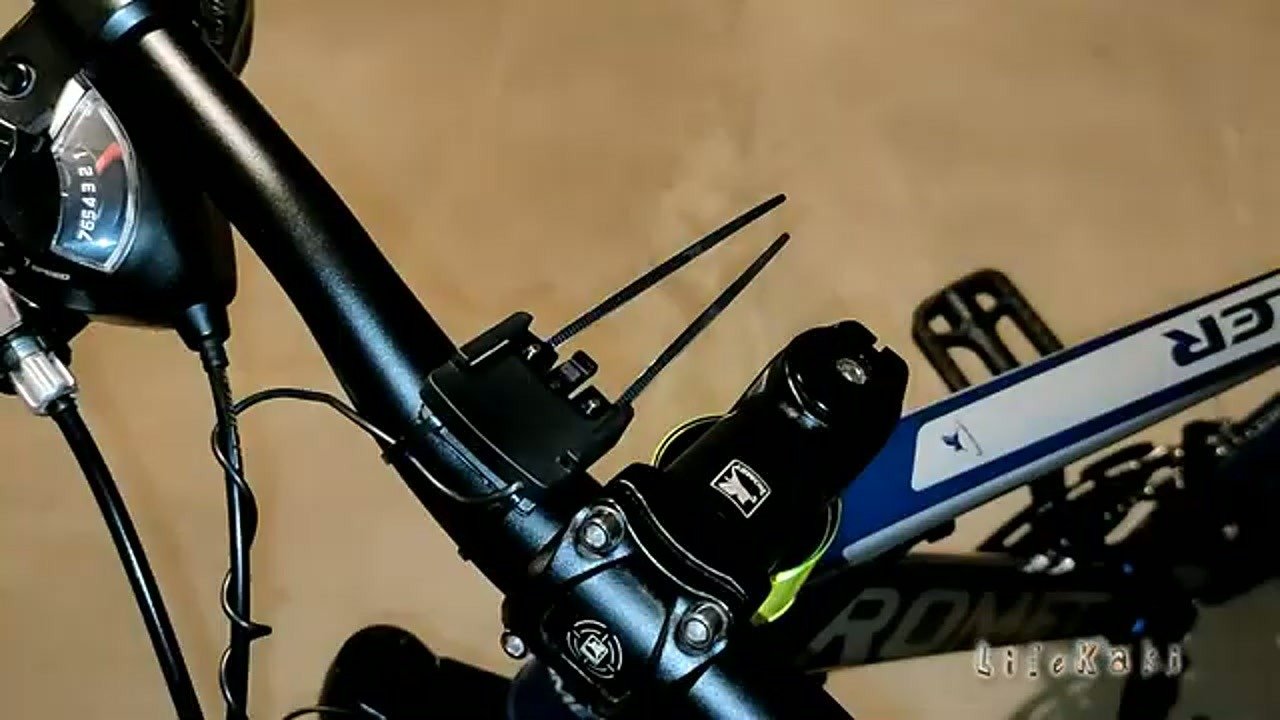
Magnet Alignment
Checking the magnet on the spoke. It must pass the sensor at the right distance. Just a few millimeters of gap. Perfect alignment.
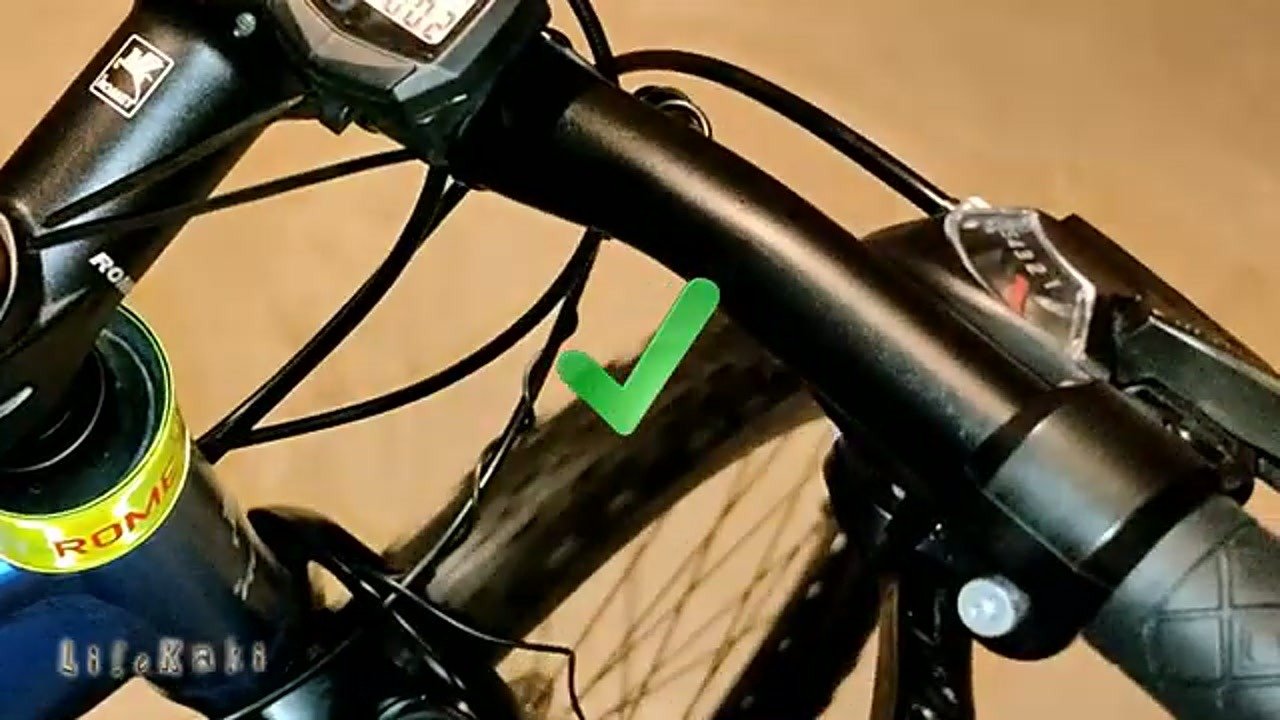
Initial Test
Spinning the front wheel now. The display shows 0 km/h. It’s picking up the signal. Looking good.
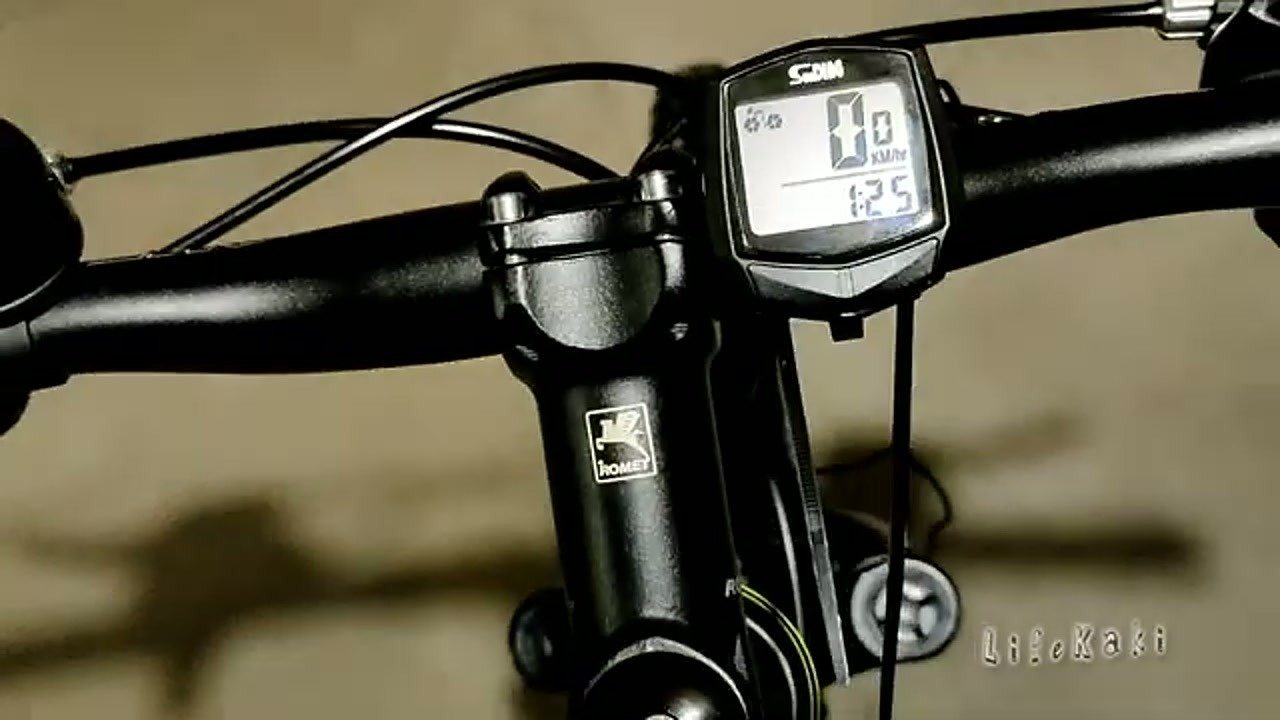
Verification
I’m checking the sensor response again. Every rotation triggers the display. No missed signals. It’s working as intended.
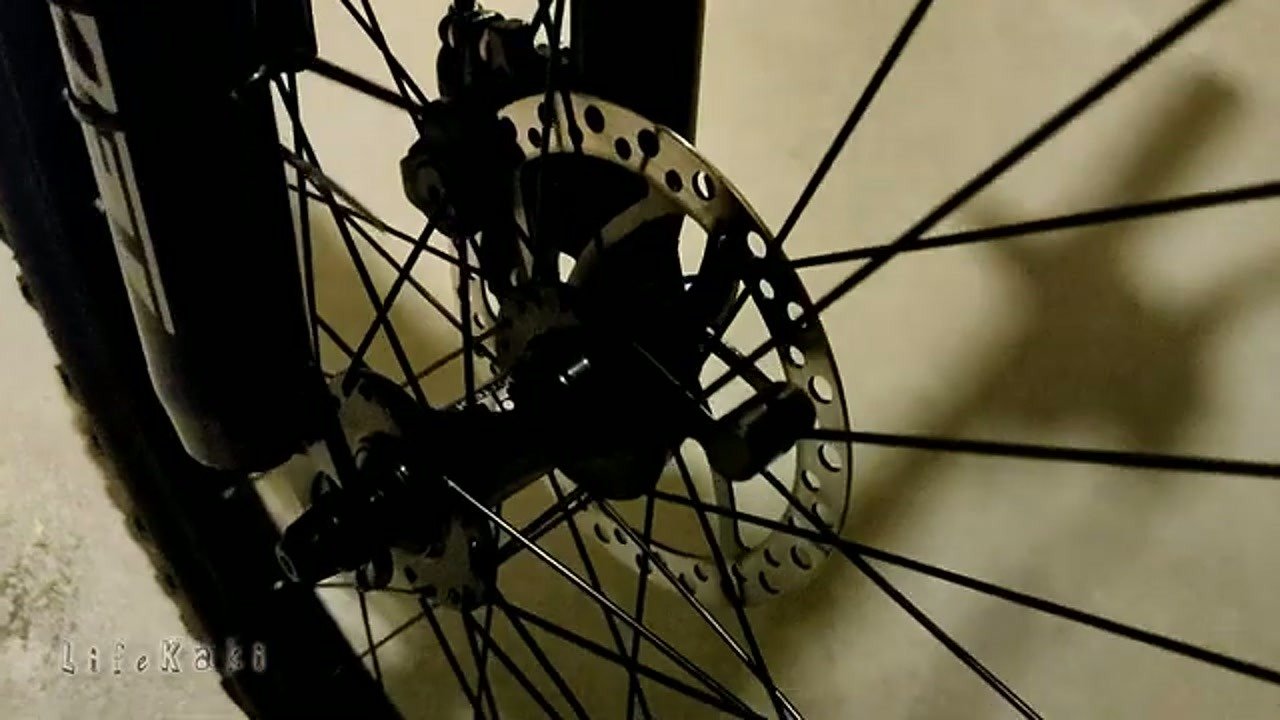
Final Result
Everything is trimmed and secured. The installation is clean. Ready for the first real ride.
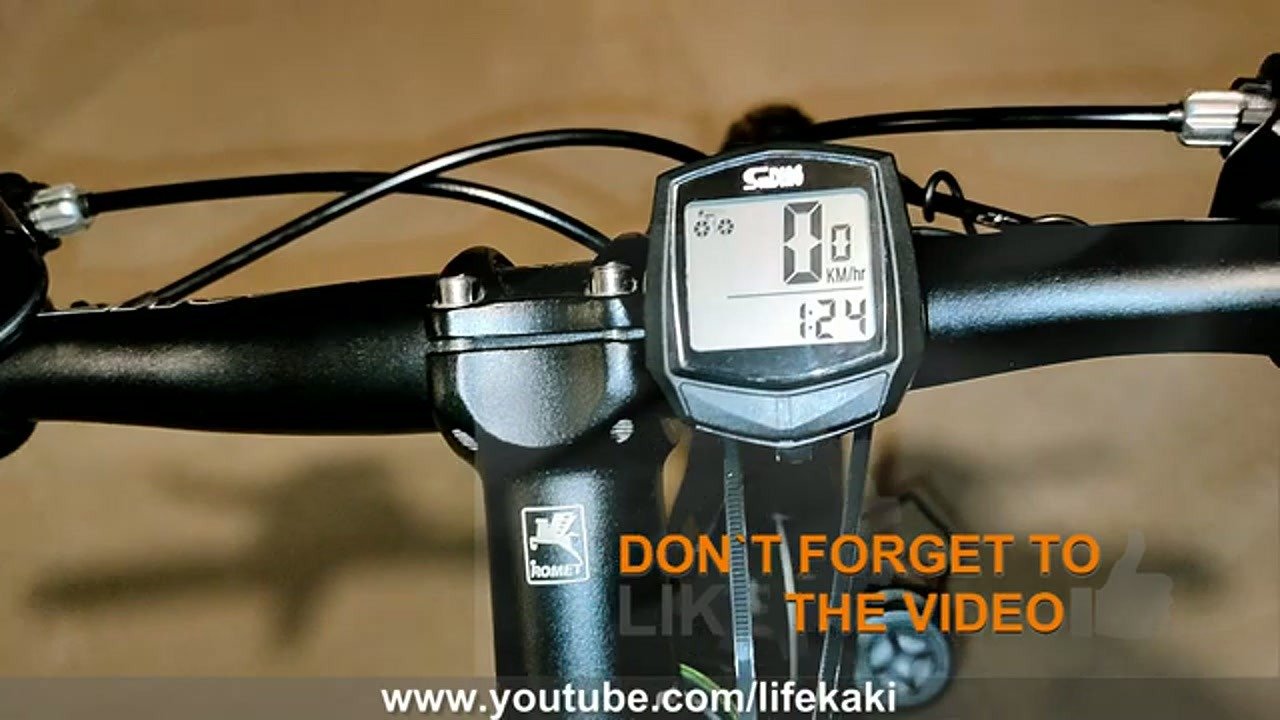
⚠️ CAUTION: SAFETY WARNING!
Always keep cables away from the wheel spokes to prevent them from getting caught while riding.
Summary & Tips
Bottom line: it’s a simple setup that just works. Just keep your cable runs tidy and ensure that magnet gap is tight, and you’ll have accurate speed data for years.
📋 FAQ
❓ Does this work on any bike?
Yeah, it’s universal. Just make sure your fork is standard and you have enough space for the magnet on the spokes.
❓ How do I change the battery?
Usually, there’s a small coin-cell slot on the back of the display. Just pop it open with a coin or small screwdriver.
❓ Is it waterproof?
Most of these are splash-proof. Don’t submerge it, but a little rain won’t hurt the unit.
Disclaimer: I purchased all tools for this guide with my own money to ensure an unbiased review. This post contains affiliate links, meaning I earn a small commission if you make a purchase at no extra cost to you.
🛒 Useful Links & Products
🛠️
BUY ON ALIEXPRESS 🛒
Recommended
Sunding SD-548B – bike computer





Leave a Reply