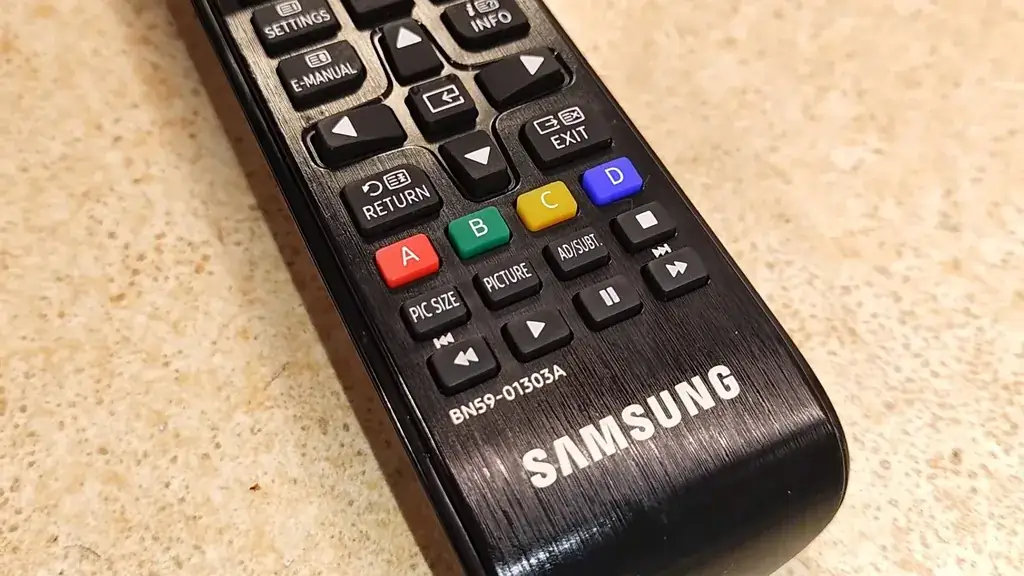
Sticky buttons and unresponsive controls on your Samsung Smart TV remote are usually caused by internal dust and oxidation. This guide explains how to properly disassemble and clean your remote control to restore full functionality. We focus on a practical, step-by-step approach to ensure your device works like new without damaging sensitive internal components.
Video Author: LifeKaki
⚡ Quick Guide: How to Clean Your TV Remote in 6 Steps
- Remove the batteries from the remote control compartment.
- Insert a thin plastic tool into the seam to separate the case halves.
- Carefully remove the rubber button pad from the circuit board.
- Wash the rubber buttons using soap and water, avoiding alcohol.
- Dry all components thoroughly before reassembly.
- Snap the case back together and test the button responsiveness.
📋 In This Article
- Tools & Materials — Required items for the repair
- Samsung Remote Disassembly — Opening the remote case safely
- Cleaning the Button Pad — Washing and drying the rubber components
- Reassembly and Testing — Putting the remote back together
- Frequently Asked Questions (FAQ) — Common maintenance questions
📊 Technical Specifications & Components
| Device Model | Samsung AA59-00793A |
| Compatibility | Samsung F Series Smart TVs |
| Cleaning Agent | Mild soap or dish detergent |
| Prohibited Agent | Alcohol-based cleaners for rubber |
Tools & Materials Used
🛠️ Smartphone Repair Tool Kit — BUY ON ALIEXPRESS 🛒
Step-by-Step Assembly & Testing
Opening the Remote Case
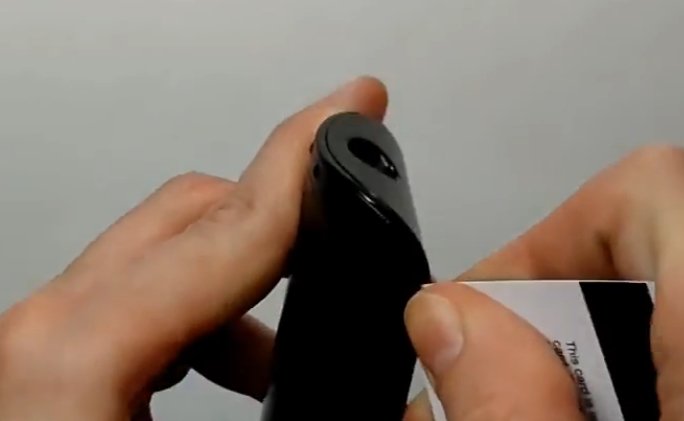
Start by removing the batteries from the compartment to prevent any accidental shorts. Use a thin plastic card or a dedicated pry tool to gently wedge into the seam between the front and back panels. Slide the tool along the entire perimeter of the remote to release the internal clips. Once the clips are disengaged, the two halves will separate easily. This reveals the internal circuit board and the loose rubber button pad.
Internal Inspection
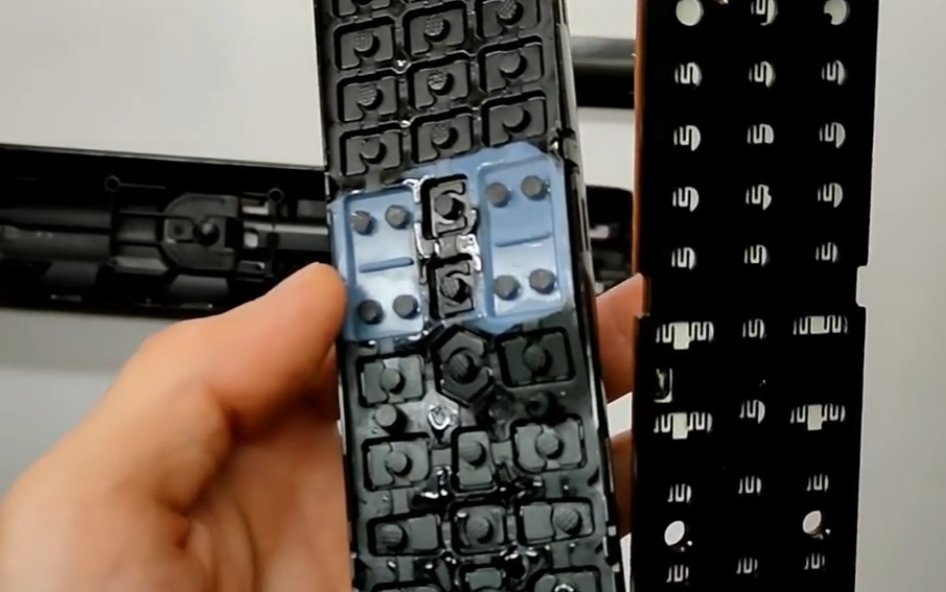
After opening the housing, inspect the circuit board for signs of oxidation or liquid spills. The rubber button pad is typically held in place by the pressure of the case, so it should lift out without resistance. Check the contact points on the board for debris or sticky residue that might cause button failure. Keeping the board clean is essential for reliable signal transmission.
Removing the Button Pad
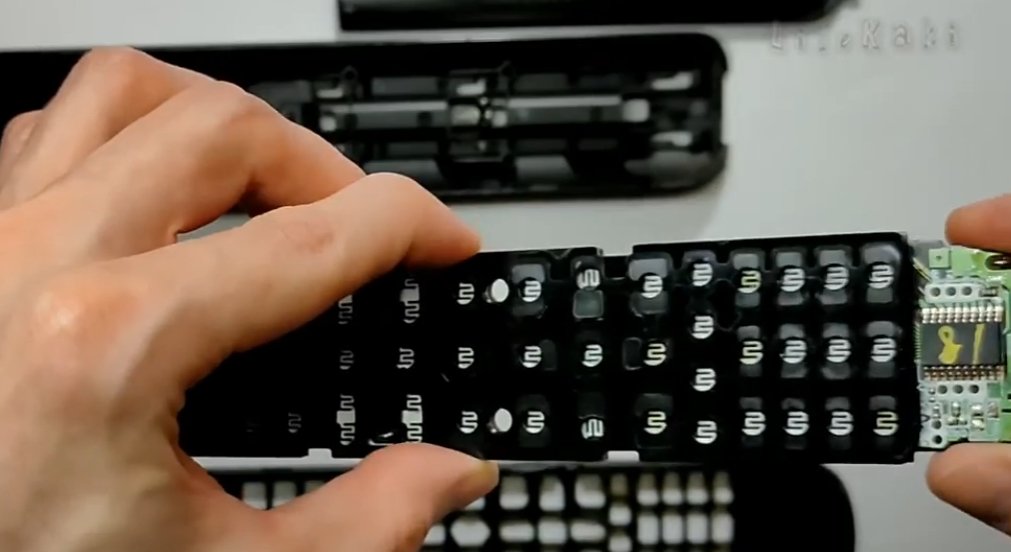
Carefully lift the rubber button mat away from the circuit board. Ensure that no small components are dislodged during this process. If the buttons are stuck due to grease or dust, they will come out as a single unit. Place the board in a safe, dry area while you proceed with cleaning the rubber parts.
Washing the Buttons
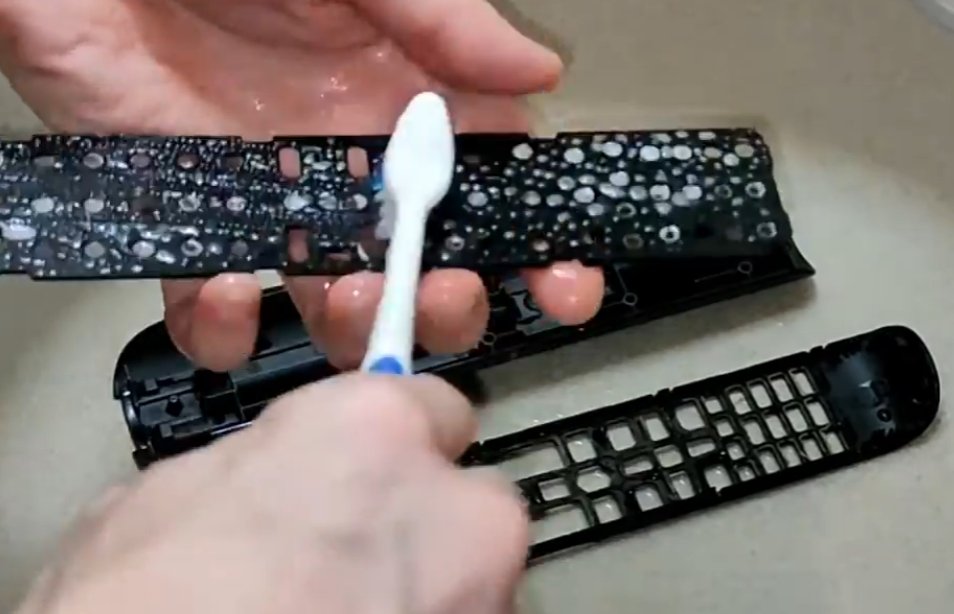
Wash the rubber button pad using warm water and mild dish detergent. Use a soft toothbrush to gently scrub the hard-to-reach crevices where dirt and skin oils accumulate. Never use alcohol-based cleaners on rubber, as they can degrade the material and cause it to become brittle. Rinse the buttons thoroughly under running water to remove all soap residue.
Drying Process
After rinsing, pat the buttons dry with a clean paper towel. It is critical to let the components air dry completely, preferably overnight, before reassembly. Any trapped moisture inside the remote can lead to corrosion on the circuit board contacts. Ensure there is no lint left behind from the towels.
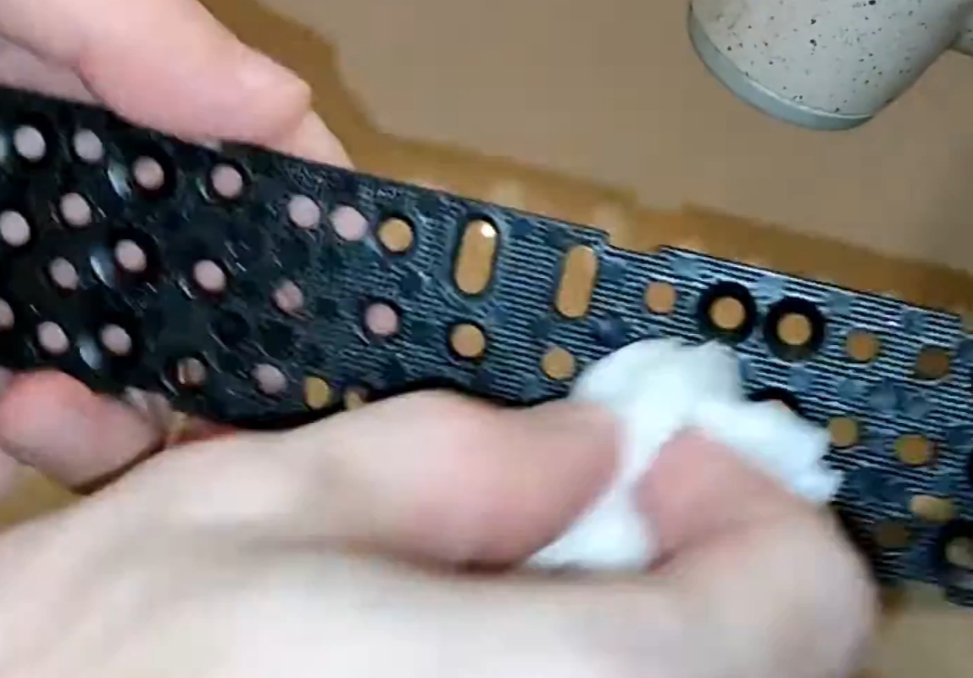
Board Inspection
Examine the circuit board for any remaining dust or residue. If necessary, use a dry, soft brush to lightly dust off the contacts. Do not apply liquid cleaners directly to the electronics. A clean board ensures that the conductive rubber pads make proper contact when pressed.
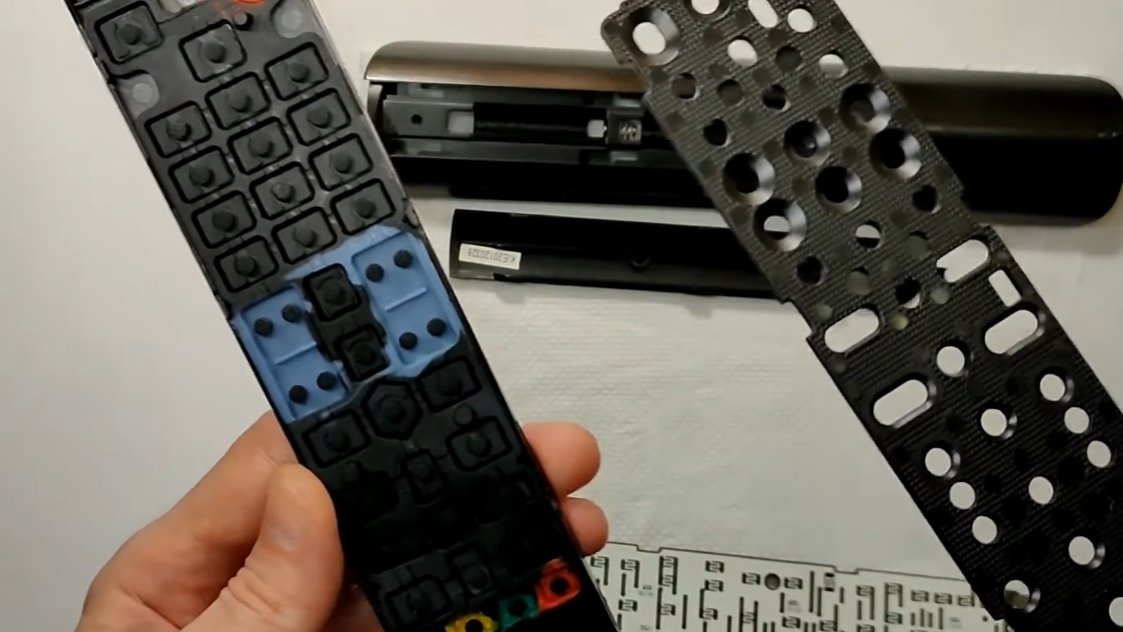
Final Preparation
Verify that the rubber buttons are perfectly dry and free of any debris. Check the alignment of the buttons with the holes in the front panel. Proper seating of the rubber mat is required for the buttons to click correctly once the case is closed.
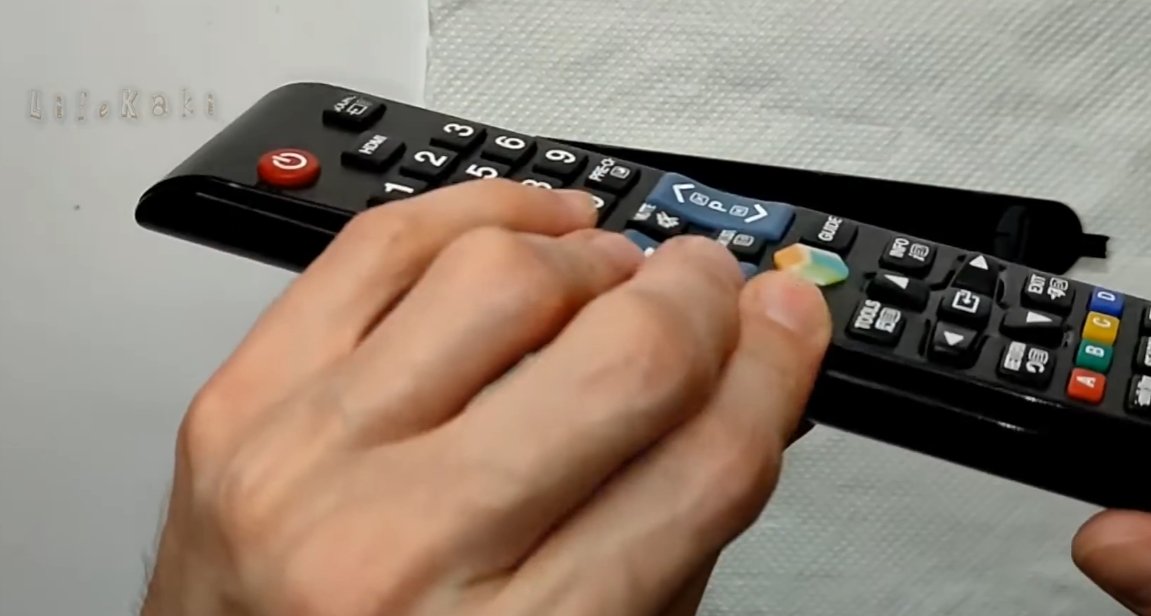
Reassembling the Remote
Place the rubber button mat back into the front housing, ensuring all buttons are aligned with their respective openings. Align the circuit board on top of the rubber mat. Carefully press the back panel onto the front panel until you hear the clips snap into place. Ensure the seam is tight and even around the entire remote.
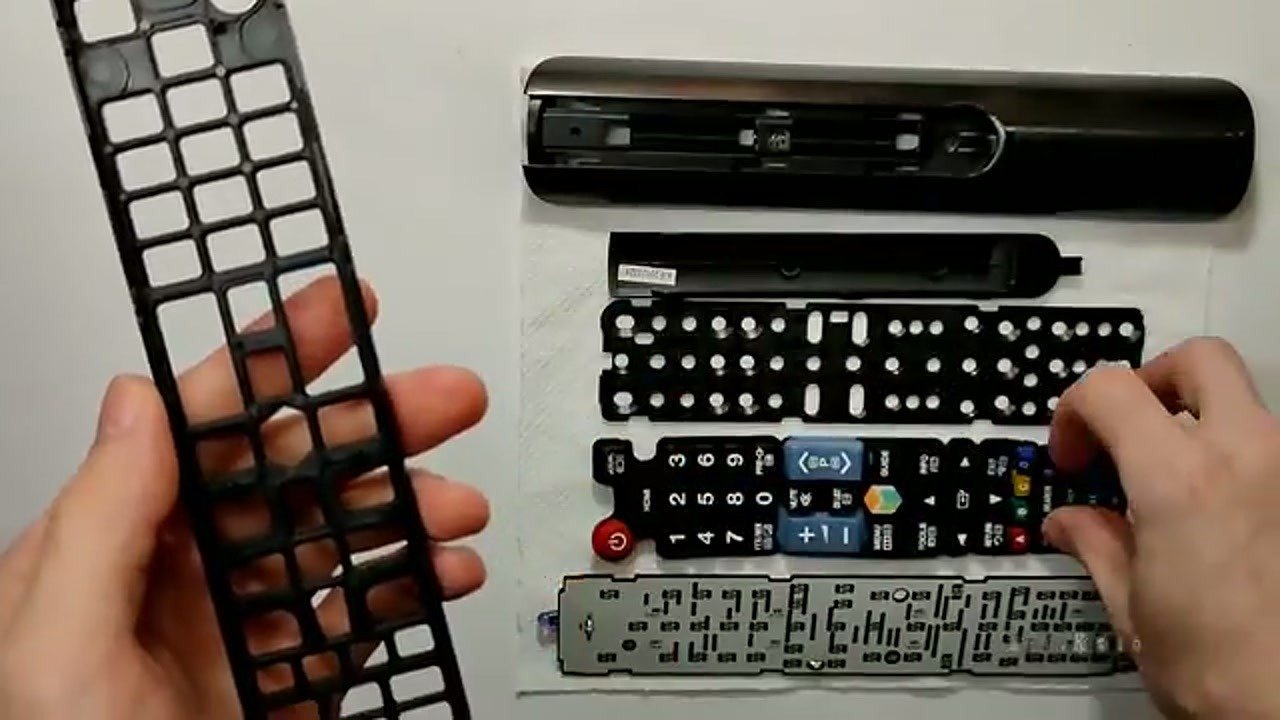
Final Testing
Insert fresh batteries into the remote and test each button for responsiveness. The buttons should feel tactile and register commands on the TV immediately. If any button feels sluggish, verify that the rubber mat is seated correctly inside the housing. A successful cleaning should result in smooth, consistent operation.
⚠️ CAUTION: SAFETY WARNING!
Always remove batteries before disassembling any electronic device to prevent short circuits. Use only non-conductive plastic tools to avoid damaging the circuit board.
Summary & Tips
Cleaning your Samsung TV remote is a simple, practical way to extend its lifespan and improve button responsiveness. By avoiding harsh chemicals and ensuring the device is completely dry before reassembly, you can easily resolve sticking buttons and signal issues. Regular maintenance keeps your remote control in durable, functional condition.
📋 FAQ
❓ Can I use alcohol to clean the circuit board?
Answer: You can use high-purity isopropyl alcohol (90%+) on the circuit board contacts if there is heavy oxidation, but never use it on the rubber button pads as it will damage the material.
❓ Why do my TV remote buttons stick?
Answer: Buttons typically stick due to the accumulation of dust, grease, and skin oils that work their way into the gaps, creating a sticky residue that prevents the rubber from rebounding.
Disclaimer: I purchased all tools for this guide with my own money to ensure an unbiased review. This post contains affiliate links, meaning I earn a small commission if you make a purchase at no extra cost to you.
🛒 Useful Links & Products
Smartphone Repair Tool Kit





Leave a Reply