A few months ago, a storm knocked out the power in my area for several hours. My phone still had a signal, but my WiFi router went dead – and I needed the internet to finish work.
I started digging through my workshop, looking for something that could power it temporarily. That’s when I noticed an old battery sitting on the shelf. I figured, why not try to make it work?
What came out of that moment of frustration turned into one of the most useful little DIY hacks I’ve ever done. It’s simple, safe if you’re careful, and can keep a WiFi router or small gadget alive during a blackout. Here’s exactly how I did it.
Step-by-Step Process
00:08 – Step 1: Opening the Old Battery
The battery I used was from an old power tool. I took a screwdriver and slowly pried open the casing.
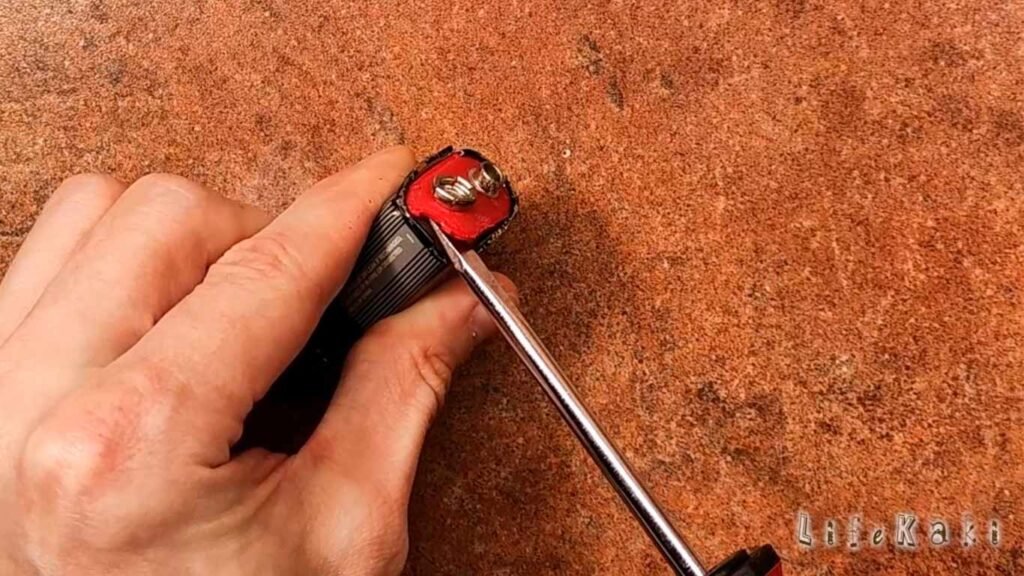
You don’t want to stab or cut too deep – some of those cells still hold charge, and puncturing them can be dangerous. My goal was to expose the metal contacts, not destroy the cells.
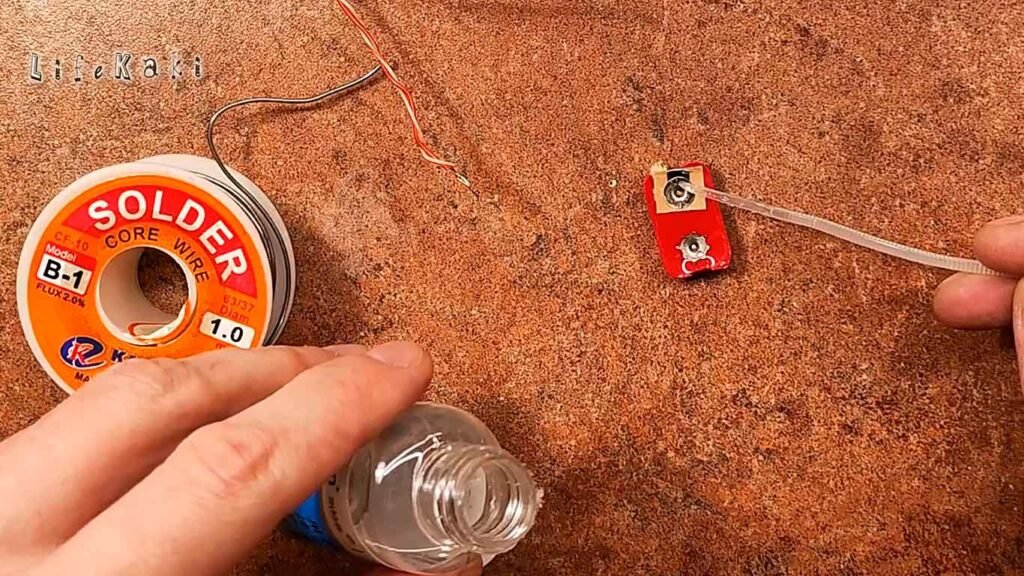
00:48 – Step 2: Soldering the Wires
Next, I grabbed two pieces of wire from an old USB cable. The trick was getting them to stick firmly to the metal contacts.
The surface was corroded, so I cleaned it with sandpaper and added a drop of acid flux. Some people even use a bit of motor oil; it helps the solder flow. After a few tries, both wires were solidly attached — one to the positive, one to the negative side.
01:35 – Step 3: Securing the Setup
I didn’t want the wires moving around or touching each other, so I used a glue gun.

A layer of hot glue around each connection keeps everything insulated and adds a bit of shock protection. It doesn’t look fancy, but it works.
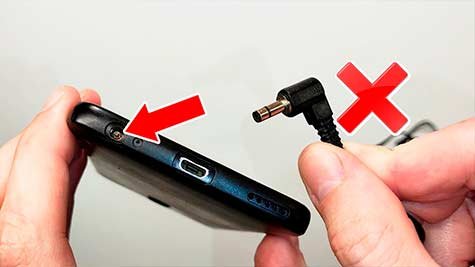
02:00 – Step 4: Adding the 9V Plug
My router takes a 9V DC input, so I grabbed a spare connector from an old adapter.

I soldered it to the wires, making sure the polarity matched (center positive). If you’re not sure, always check the router label before connecting.
02:35 – Step 5: Testing the Circuit
Before risking the router, I tested the output with a multimeter.
The reading showed a steady 9.1 volts – good enough. When I finally plugged it into the router, the power light came on instantly. That small success moment was worth every minute of tinkering.
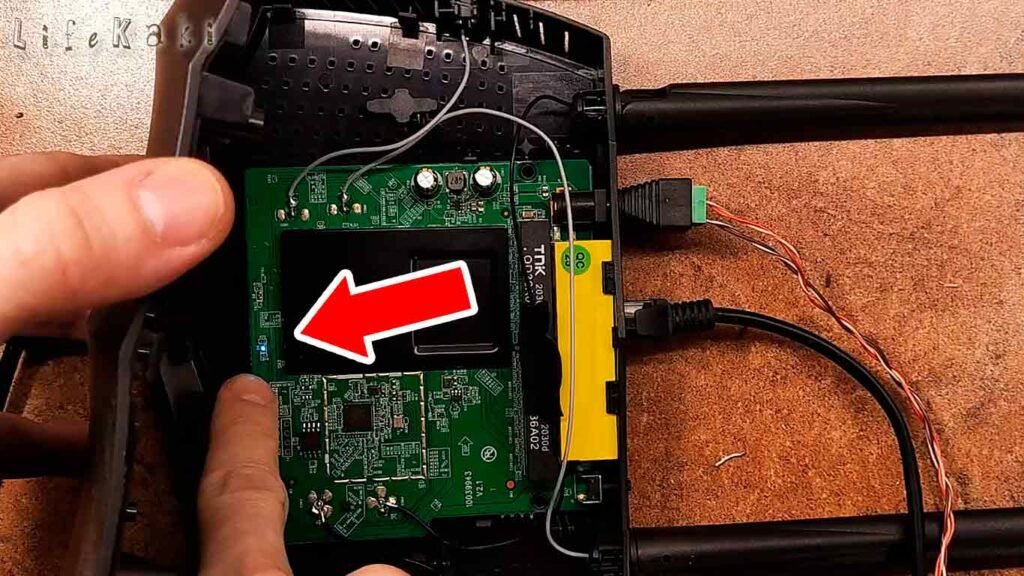
02:40 – Step 6: Using a Stronger Battery
If your router requires more current, connect a larger or higher-capacity battery.

The router should start up normally and provide internet connectivity as usual – proving that even old batteries can be brought back to life with a bit of creativity.
Watch as your router powers up and runs perfectly using your homemade adapter!
What I Learned
This little experiment reminded me that “old” doesn’t mean “useless.” A single discarded battery can power a router, a small speaker, or LED lights if you know how to wire it safely.
The most important thing is safety – always check polarity, insulate connections, and never leave it unattended for long.
Additional Tips
- Check your router’s label for voltage and polarity before connecting anything.
- Use insulated wires – never bare copper near power terminals.
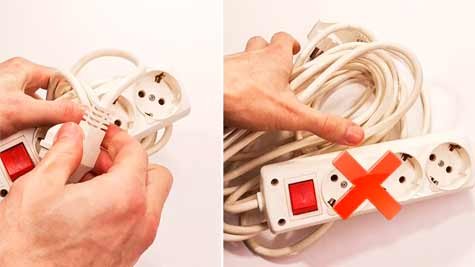
- Keep the battery in a stable position; don’t let it roll or touch metal surfaces.
- If the battery feels hot, disconnect it immediately.
- Store this DIY setup as a backup; don’t rely on it for daily use.
This approach is perfect for short-term situations – camping, emergency internet access, or testing small gadgets. It’s not a professional UPS, but it’s the kind of simple fix that keeps things running when you need them most.
If you want to see how it looks in action, check out my video on YouTube.com/@lifekaki. You’ll see the full process from start to finish.
Maintenance and Storage
After using the battery, let it cool before recharging. Keep it in a dry place away from heat or direct sunlight. Wipe off any residue around the contacts and reapply glue if needed. I’ve reused mine several times without a problem – just treat it like any other tool.
Related Videos You Might Like:
- Sharpen Panasonic ES-SL41-S520 Foil Shaver
- LED Bicycle Front Light with Type-C Rechargeable Battery – Complete Unboxing and Review
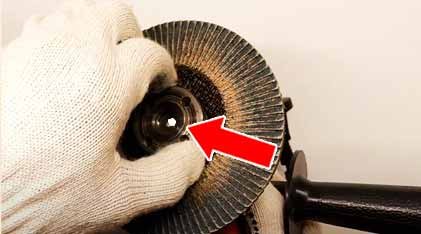
- How to Change the Circle on the Grinder Without a Key – Easy and Safe Methods
- How Clean Can Your Shaver Get With This Trick?
Let’s Hear from You!
Did you know about this method? Drop your experience or questions in the comments! Your feedback helps and inspires others.


Leave a Reply