Repairing and cleaning a space heater fan yourself is not only possible but also a great way to extend the life of your device and save money on replacement costs. Many space heaters stop working efficiently due to accumulated dust, worn-out switches, or minor mechanical issues. With basic tools and a careful approach, you can restore the performance of your heater without calling a technician.
Before you begin any work, it is crucial to prioritize safety. Make sure the heater is turned off and unplugged from the power source. Working on an electric device that is connected to power can be dangerous and may cause serious injury. Once you confirm that the unit is completely disconnected, you can proceed.
A common issue with space heaters is a faulty rotary switch. This component controls the different power settings of the heater. If your heater fails to turn on or respond to setting changes, the switch might be worn out. A suitable replacement is the Electric Room Heater Position 5Pin Rotary Switch Selector AC 250V 16A, which can be found here: https://alli.pub/6rxnqq
Step 1 – Access the Fan
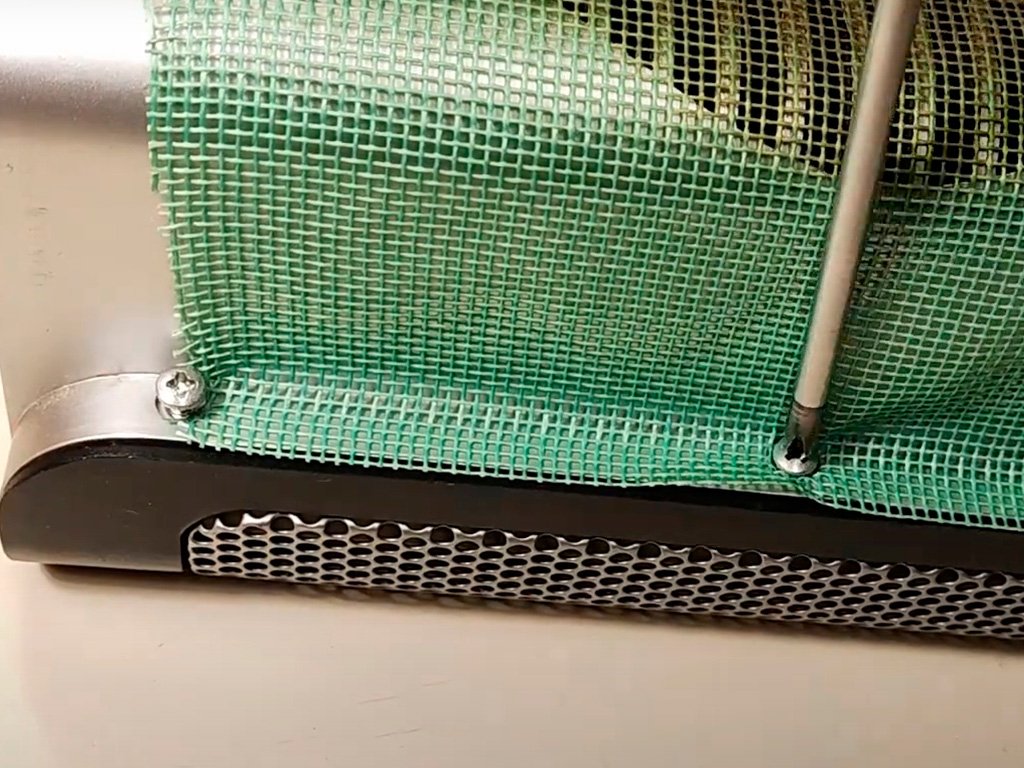
The first step in repairing or cleaning a heater fan is to access it. Most heaters have a casing or panels that need to be removed. Depending on the model, you may need to unscrew the back panel, side covers, or top section. Keep the screws in a small container so you do not lose them. Take note of the position of each part as you remove it to make reassembly easier later.
Step 2 – Cleaning the Fan
Dust and dirt build-up is one of the most common reasons for reduced heater efficiency. When debris collects on the fan blades, it slows the airflow, forcing the heater to work harder and consume more power.
To clean the fan:
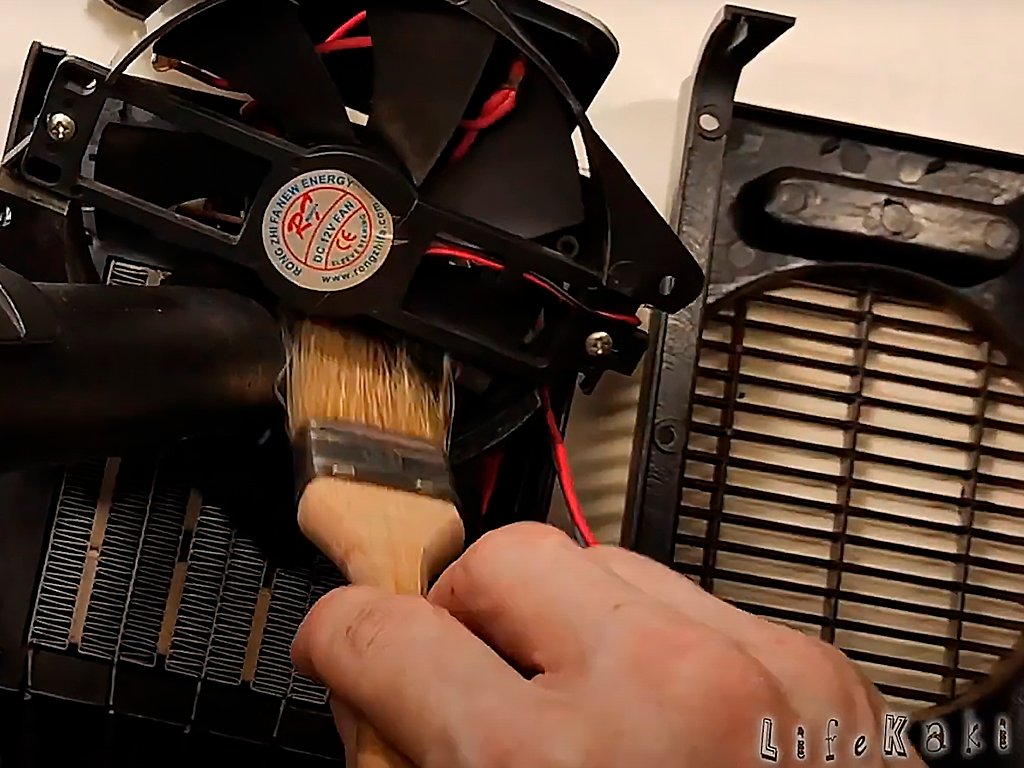
Use a vacuum cleaner with a small nozzle attachment to gently remove loose dust from the fan and surrounding area.
For stubborn dust, use a soft brush or a dry cloth to wipe the blades.
Avoid using water or cleaning sprays directly on the fan, as moisture can damage electrical components.
If you notice heavy grime, you can slightly dampen the cloth with mild soapy water, but make sure the fan and all surrounding parts are completely dry before reassembly.
Step 3 – Lubricating the Bearings
If the fan makes unusual noise, squeaks, or vibrates, it may be due to dry bearings. Bearings are small moving parts that allow the fan to spin freely. Over time, they can lose lubrication. To fix this:
- Locate the bearing covers, usually at the back of the fan.
- Gently remove the covers to expose the bearings.
- Apply a drop or two of silicone oil or machine oil. Do not use thick grease, as it can slow the fan.
- Rotate the fan blades by hand to spread the oil evenly.
Proper lubrication can significantly reduce noise and prolong the fan’s life.
Step 4 – Checking the Electrical Components
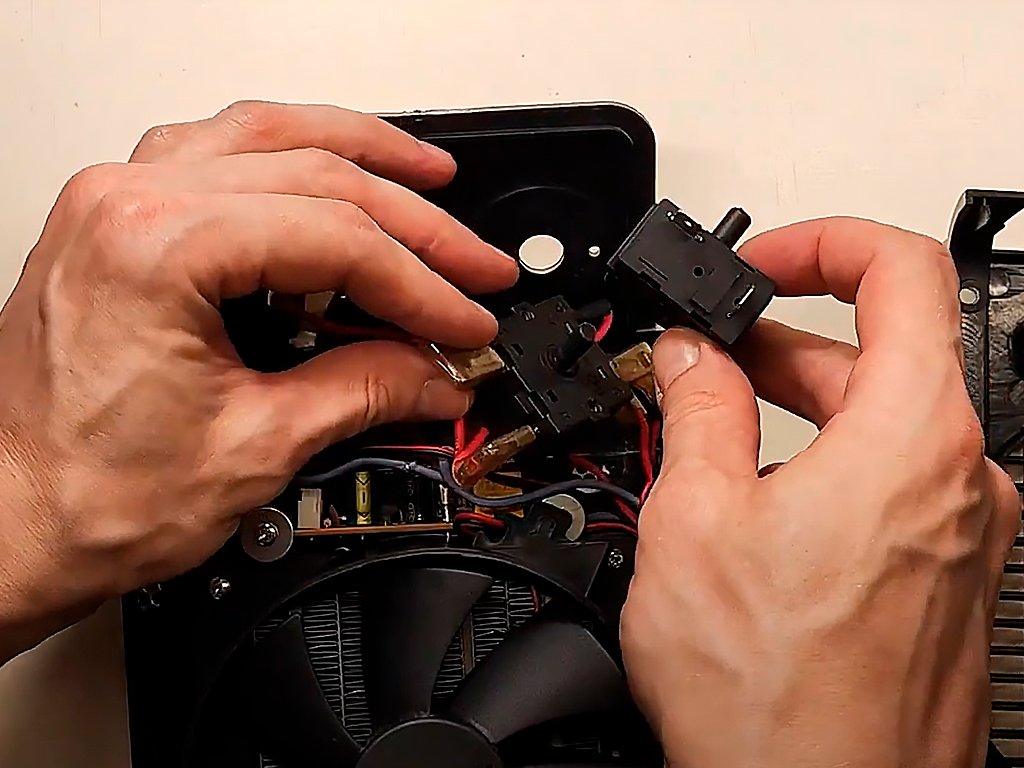
Sometimes the problem is not mechanical but electrical. If the fan does not run at all, inspect the wiring and switch. Look for any burnt or loose wires. If you suspect the rotary switch is faulty, replace it with a compatible part like the one mentioned earlier.
Replacing a switch usually involves disconnecting the old one, noting the wire positions, and attaching the wires to the same points on the new switch.
Step 5 – Reassembly and Testing
Once all cleaning, lubrication, and repairs are done, carefully reassemble the heater. Follow the reverse order of disassembly. Make sure every screw is tightened securely but not overly tight, to avoid damaging the casing.
Reconnect the heater to the power source and turn it on. Observe its operation. The fan should run smoothly, without rattling, squeaking, or irregular speeds. If everything works correctly, you have successfully repaired your space heater.
Additional Tips for Maintenance
- Clean the fan every few months to prevent dust build-up.
- Keep the heater in a dry area to avoid moisture damage.
- Do not cover the heater during operation, as it needs proper airflow.
- Check the power cord for damage regularly.
By following these steps, you can keep your space heater in excellent condition for many seasons. Proper maintenance not only saves you money but also improves the efficiency and safety of the device.
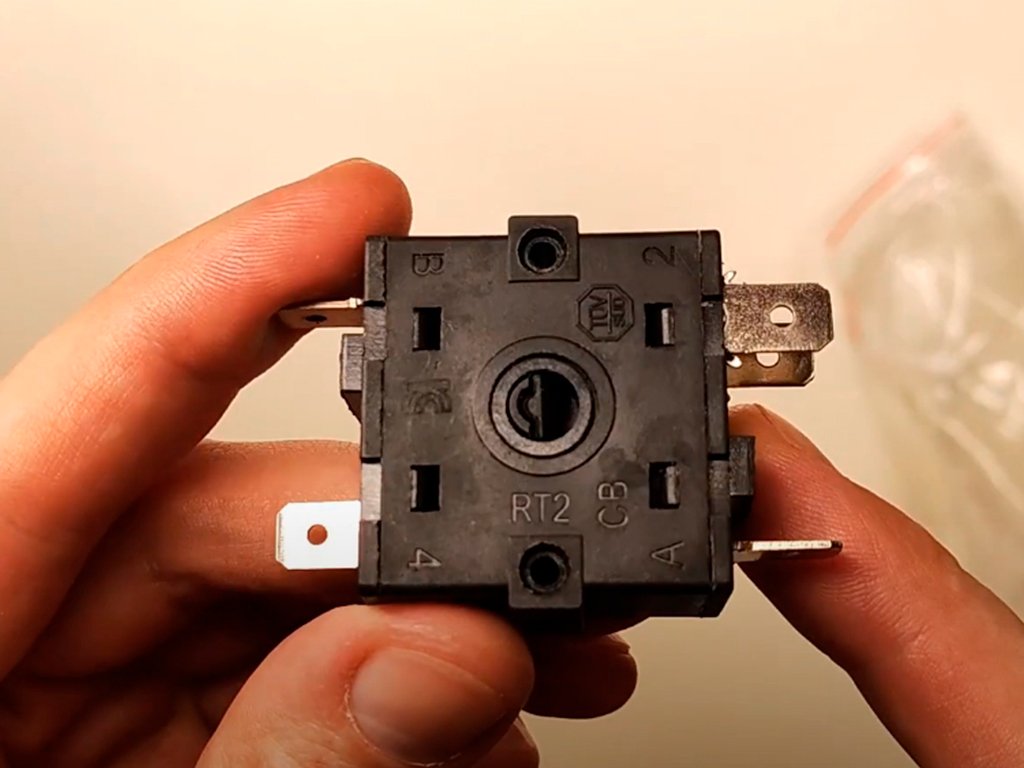
A suitable replacement is the Electric Room Heater Position 5Pin Rotary Switch Selector AC 250V 16A, which can be found here: https://alli.pub/6rxnqq
For more practical repair and DIY tips, visit our YouTube channel and click “Like” to stay updated: https://www.youtube.com/@LifeKaki
Do not miss our video on extracting a broken 3.5 mm headphone jack stuck inside a socket: https://youtu.be/sIPKT6Jjrp8
Discover more cycling gear and product reviews on the Lifekaki Channel: https://www.youtube.com/lifekaki
YouTube: Lifekaki Channel
Facebook: LifeKaki
Twitter: @LifeKaki_
Telegram: Join Us
Tumblr: Follow Blog
TikTok: @lifekaki_diy
Threads: @lifekaki_diy
Instagram: @lifekaki_diy
Linktr: https://linktr.ee/lifekaki
Moj: https://mojapp.in/@life_kaki
Recommended videos:
How to install a wired speedometer on your bike: https://youtu.be/iltdILvTFAg
Flashlight LED powerful Hy912 – USB rechargeable: https://youtu.be/FmWStMgI2fY
High Power LED Camping Light: https://youtu.be/fWiUhNOQdeQ
- Build an Easy DIY Smartphone Projector Using a Shoebox and Lens
- Useful tips – Tricks of MASTERS that really help out! – Lifehacks
- How to tie a shoelace with a metal ring
On the Lifekaki channel, you will find tutorials, product reviews, and creative projects that teach you how to reuse, recycle, and create unique items. Our goal is to help you make the most of your resources while enjoying the process.
Breathable MTB and Road Bike Saddle – Shock Absorbing Comfort for Every Rider!
Let’s Hear from You!
Drop your experience or questions in the comments! Your feedback helps and inspires others.


Leave a Reply