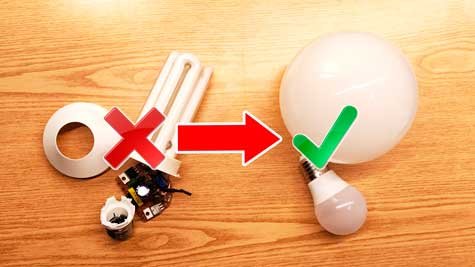
Fluorescent lamps have served as a common source of lighting for decades, but their time has passed. They consume more energy than modern LED technology, produce dim or flickering light after years of use, and contain mercury that is harmful to both people and the environment.
If you are tired of paying high electricity bills and want to modernize your lighting system, converting an old fluorescent lamp into an LED lamp is the perfect solution.
The process is not as complicated as it may seem. With a few tools, a suitable LED replacement, and a bit of patience, you can easily build a bright and energy-efficient LED lamp using the old fluorescent housing or even reusing the glass cover from a traditional bulb.
This guide will show you two approaches – replacing a fluorescent tube with an LED tube and repurposing an old bulb housing with a modern LED light source. Both methods are budget-friendly and suitable for home or office projects.
Tools and Materials You Will Need
- Screwdriver or pliers
- Wire cutters and strippers
- Electrical tape and wire connectors
- Heat-resistant silicone (for bulb restoration method)
- LED tube or LED bulb insert
- Safety gloves and protective glasses
- Ladder if working with ceiling fixtures
Method 1 – Converting a Fluorescent Tube Fixture
This is the most common upgrade. There are two ways to install LED tubes: plug-and-play or ballast bypass. The second method is more reliable and efficient.
Steps for Ballast Bypass Conversion:
- Switch off power – Always cut the electricity at the circuit breaker.
- Remove the fluorescent tube – Rotate and pull it out gently.
- Open the housing – Locate and remove the ballast. Disconnect all unnecessary wires.
- Rewire the socket – Connect live (L) and neutral (N) wires directly to the lamp holders according to the LED tube instructions.
- Secure wiring – Use tape or connectors to avoid exposed contacts.
- Insert the LED tube – Fit it into the holder and lock it in place.
- Test – Turn the power back on and check for stable light.
This method ensures that your LED tube is connected directly to the mains without ballast interference, which improves efficiency and avoids future failures.
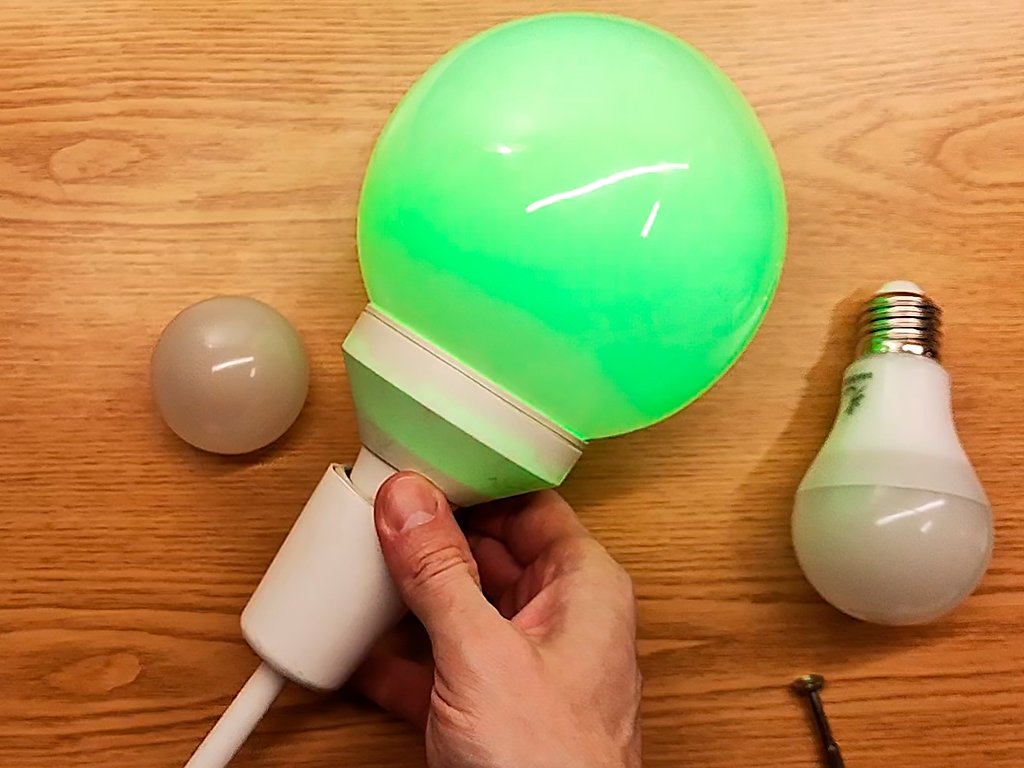
Method 2 – Reusing an Old Bulb Housing with LED Insert
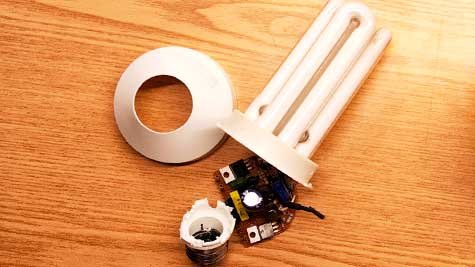
If you have an old glass bulb (often called a “pear-shaped” bulb), you can restore it by replacing the inside with a modern LED. This is a creative DIY method that combines recycling with efficiency.
Here is a simple work plan:
- Disassemble the bulb housing
If it is a glass bulb, gently pry open the metal base with a screwdriver or pliers. - Remove internal elements
Carefully pull out the spiral and socket contacts. Detach and clean the old base completely. - Clean the glass cover
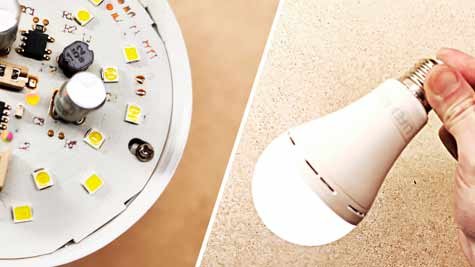
Remove glue, dust, and any residue. Make sure the glass is not cracked. - Prepare the LED light
Choose a suitable LED insert that matches the size and power you need. Verify that the socket type fits your lamp holder. - Insert the LED inside the glass cover
If needed, fix it in place with heat-resistant silicone or a special holder. - Reassemble the lamp
Screw the restored LED bulb into the socket and power it on.
Tip: Always work with the network completely de-energized and wear protective gloves when handling glass and electrical components.
Safety Tips
- Always cut off the power supply before starting.
- Use gloves to avoid cuts and electrical shock.
- Follow the LED manufacturer’s wiring diagram carefully.
- Dispose of fluorescent tubes properly at recycling centers.
Benefits After Conversion
After upgrading, you will notice brighter, cleaner light and significantly reduced power consumption.
Your lamp will no longer flicker, require less maintenance, and have a modern, efficient lifespan. This DIY project not only saves money but also contributes to environmental protection by reusing parts and reducing waste.
Converting a fluorescent lamp to LED is an excellent way to modernize your lighting while lowering your electricity bills. You can choose between a straightforward fluorescent-to-LED tube replacement or a more creative method of restoring an old bulb housing with a new LED insert. Both approaches are practical, safe, and rewarding for DIY enthusiasts.
For a detailed demonstration, watch the full LifeKaki video tutorial and see the step-by-step process in action.
Follow us here:
Lifekaki Channel: https://www.youtube.com/lifekaki
Facebook: https://www.facebook.com/LifeKaki/
Twitter: https://twitter.com/LifeKaki_
Telegram: https://t.me/lifekaki
Tiktok: https://www.tiktok.com/@lifekaki_diy
Instagram: https://www.instagram.com/lifekaki_diy/
Related Videos You Might Like:
- How to Sharpen Panasonic ES-SL41-S520 Foil Shaver
- Subwoofer canturrea – reparación de Fácil Subwoofer de Fijación de Subwoofer Buzz!
- How Clean Can Your Shaver Get With This Trick?
Let’s Hear from You!
Did you know about this method? Drop your experience or questions in the comments! Your feedback helps and inspires others.


Leave a Reply