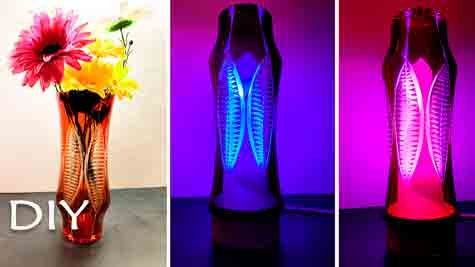
Do you have a crystal vase that’s been sitting unused for years? Don’t throw it away. With a few simple parts, you can turn it into a stylish LED RGB lamp that looks like a high-end designer piece.
This project combines classic crystal with modern LED technology. The result is a smart decorative lamp that changes colors, creates beautiful light reflections, and costs a fraction of store-bought designer lighting.
What You Need for This Project
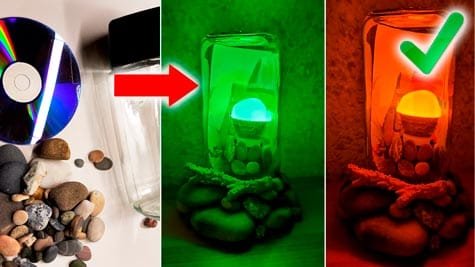
This build doesn’t require rare tools or expensive parts. Most items are easy to find or already at home.
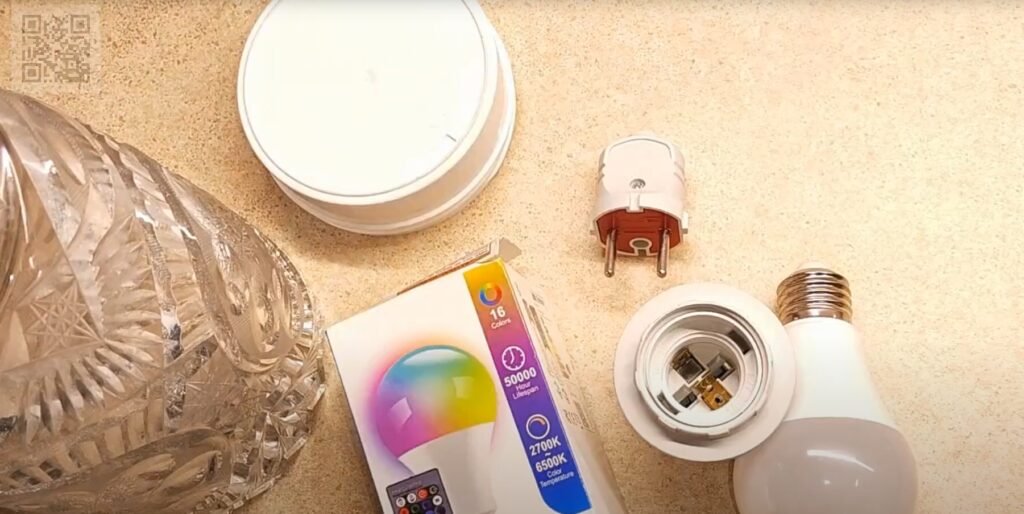
- Old crystal vase – any faceted or cut-glass vase works best
- Plastic jar – a cream container or similar, used as the inner base
- RGB LED bulb – with remote control (16 colors recommended)
- Electrical parts – socket, power cable, plug
- Tools – drill, glass/plastic drill bits, screwdriver
Step-by-Step Assembly
Step 1: Making the Inner Base
Choose a plastic jar that fits tightly into the neck of the crystal vase. This jar will hold all electrical components and keep everything hidden.
Step 2: Drilling Openings
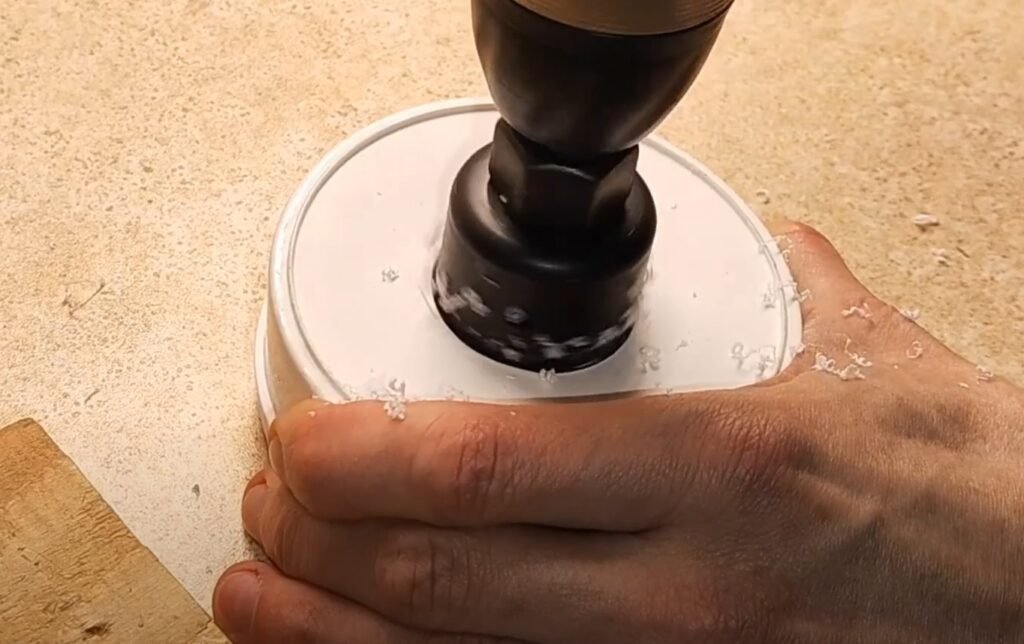
- Drill a center hole in the lid of the jar for the light socket
- Drill a small side hole for the power cable
Take your time here — clean holes make the final result look professional.
Step 3: Wiring
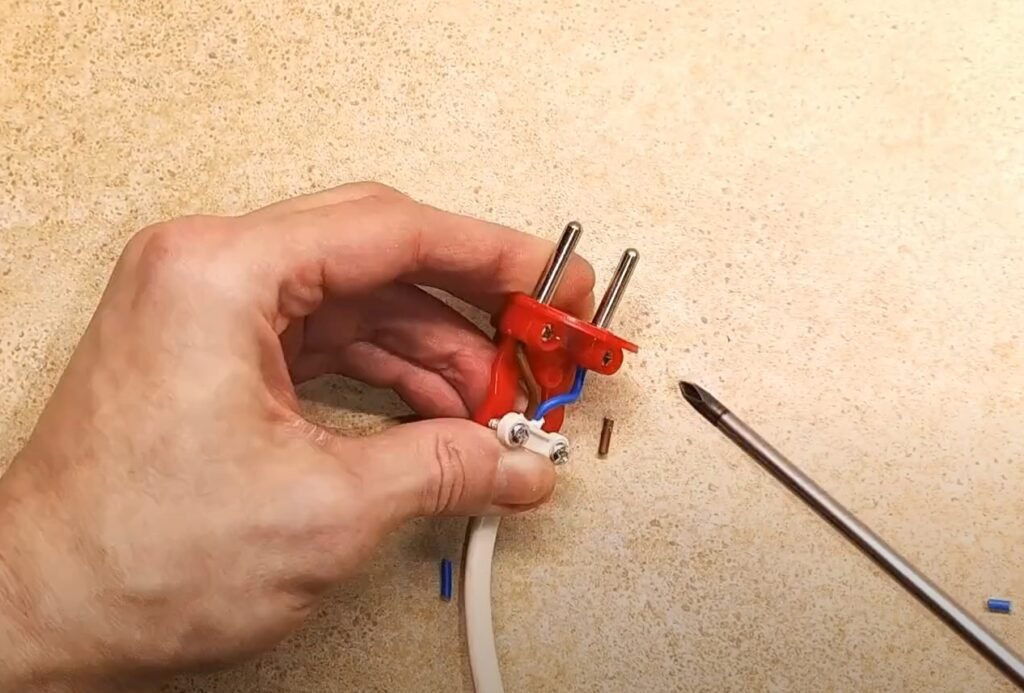
Pass the cable through the side hole and connect it to the socket terminals. Assemble the plug according to standard wiring rules.
Make sure all connections are secure before continuing.
Step 4: LifeKaki Pro Trick
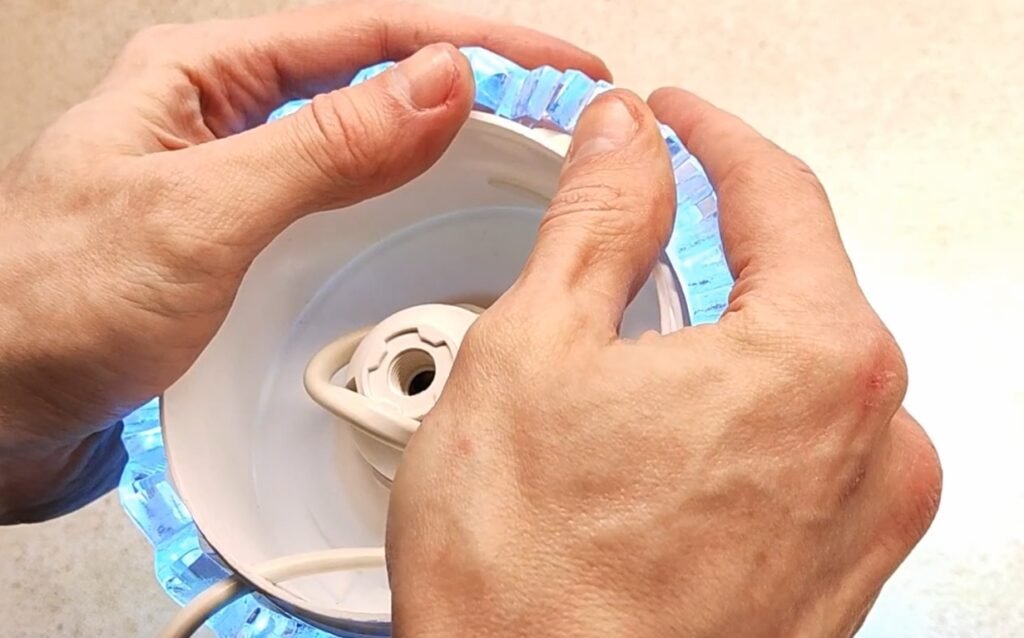
Instead of glue, use thin wire pieces around the edge of the plastic jar. This slightly increases the diameter and creates a tight, friction-based fit inside the crystal vase.
✔ No glue
✔ No mess
✔ Easy to remove or adjust later
This small trick makes the lamp feel solid and well-made.
Screw in the RGB bulb, insert the plastic base into the vase, and plug it in. Use the remote to change colors and modes.
Once lit, the crystal cuts reflect the light and create stunning patterns on nearby walls.
Why This Lamp Looks So Expensive
- Crystal naturally amplifies light
- RGB bulbs add depth and movement
- The hidden base keeps the design clean
- Every lamp is one of a kind
This isn’t just DIY — it’s smart upcycling.
LifeKaki Tip
Try “Smooth” or “Flash” modes for the most dramatic wall reflections, especially in a dark room.
With minimal cost and basic tools, you get:
- a unique designer-style lamp
- a second life for an old object
- a functional piece of modern decor
Perfect for bedrooms, living rooms, or as a handmade gift.
Love projects like this? Follow LifeKaki for more creative DIY lighting and upcycling ideas.
Related Videos You Might Like:
- How to Make NEW YEAR’S TOY in 10 Minutes with a Plastic bottle!
- LED Bicycle Front Light with Type-C Rechargeable Battery – Complete Unboxing and Review
- How to Change the Circle on the Grinder Without a Key – Easy and Safe Methods
Let’s Hear from You!
Did you know about this method? Drop your experience or questions in the comments! Your feedback helps and inspires others.


Leave a Reply