Creating your own projector from household items is not only possible-it’s surprisingly easy. This guide shows you how to use a shoebox and a magnifying glass to turn your smartphone into a basic projector that can enlarge your screen up to ten times. This is a fun, educational project that works well for kids, classrooms, or movie nights at home.
What You’ll Need
- 1 shoebox with a lid
- 1 magnifying glass (large lens works better)
- A sharp knife or box cutter
- A pencil
- A ruler
- Your smartphone
- Optional: black paper or paint (to darken the inside of the box)
How It Works
The principle is simple: a magnifying glass bends light, so when your phone’s screen is placed behind the lens, the image can be projected onto a wall. With the right alignment and some darkness, it creates a surprisingly clear picture.
Step-by-Step Instructions
- Mark the Lens Hole
Place the magnifying glass at one end of the shoebox and trace its outline with a pencil. - Cut Out the Circle
Use a sharp knife to carefully cut the hole. Make sure the lens fits snugly. - Insert the Magnifying Glass
Fix the lens into the hole. Use tape or hot glue if needed, making sure there’s no light leakage. - Darken the Box (Optional but recommended)
Paint the inside of the box black or use black paper. This improves contrast and image quality. - Create a Phone Stand
Fold some cardboard into a stable holder that fits inside the box. It should let you slide the phone back and forth. - Adjust Phone Settings
- Turn screen brightness to maximum
- Lock screen rotation
- Flip the video upside down (your phone will be flipped during use)
- Focus the Image
Move the phone forward or backward to adjust focus. The ideal image size can range from 10 to 20 inches, depending on the lens. - Darken the Room
Turn off the lights and aim the lens at a white wall or paper screen. Enjoy your DIY projector.
Tips for Better Performance
- Use a high-quality magnifying lens for sharper projection
- Clean the lens and phone screen for clearer images
- The further the box from the wall, the bigger the image—but the darker it needs to be
- Use pre-recorded videos to avoid rotating screen issues during playback
Why This Project Is Great
- No expensive materials
- Fun for kids and adults
- Encourages creativity and problem solving
- Reuses household items
- Teaches basic optics in a visual way
This DIY smartphone projector is a clever and educational way to explore light and lenses. It won’t replace a professional projector, but for casual viewing or science experiments, it’s a winner. Plus, kids will love seeing how everyday objects can be turned into tech tools.
Turn off the lights, grab your popcorn, and enjoy your homemade cinema.
Follow us here:
Lifekaki Channel: https://www.youtube.com/lifekaki
Facebook: https://www.facebook.com/LifeKaki/
Twitter: https://twitter.com/LifeKaki_
Telegram: https://t.me/lifekaki
Linktr: https://linktr.ee/lifekaki
Tumblr: https://www.tumblr.com/blog/lifekaki
Tiktok: https://www.tiktok.com/@lifekaki_diy
Threads: https://www.threads.com/@lifekaki_diy
Instagram: https://www.instagram.com/lifekaki_diy/
Related Videos You Might Like:
- How to Solder to Aluminum: The Hidden Skill No One Teaches
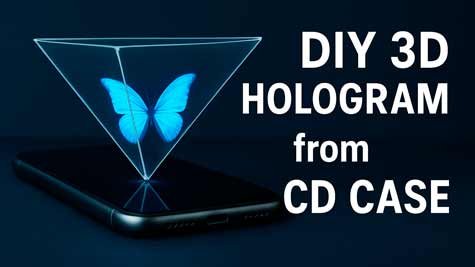
- Como fazer um holograma 3D projetor Com o seu telemóvel
- Razor Maintenance Tricks from the Pros
- How Clean Can Your Shaver Get With This Trick?
- Useful tips – Tricks of MASTERS that really help out! – Lifehacks
Let’s Hear from You!
Did you know about this method? Drop your experience or questions in the comments! Your feedback helps and inspires others.


1 comment