I first made this New Year’s night light from a plastic can not for decoration, but out of necessity. During winter evenings, I needed a soft, safe light source that could work independently from the power grid and wouldn’t overheat.
After several experiments, this simple DIY solution proved to be one of the most reliable and reusable holiday projects I’ve ever made.
What surprised me most was how well ordinary plastic works as a light diffuser. When combined with LED lighting, it creates a warm, calm glow without heat, sharp shadows, or safety risks. Over time, this project evolved from a quick experiment into a permanent part of our seasonal decorations.
Why a Plastic Can Works Better Than Expected
From hands-on experience, plastic containers offer three major advantages over glass or metal:
- They don’t shatter if dropped
- They resist moisture and can be wiped with water
- They stay cool when paired with low-voltage LEDs
This makes them especially suitable for homes with children, pets, or limited space. In my tests, the same night light worked reliably for weeks using only battery-powered LEDs.
Materials and Preparation (Based on Practice)
Instead of starting with tools, I always begin by choosing the right container. Thick-walled food jars or sturdy plastic bottles work best. Thin plastic tends to warp during drilling.
You will need:
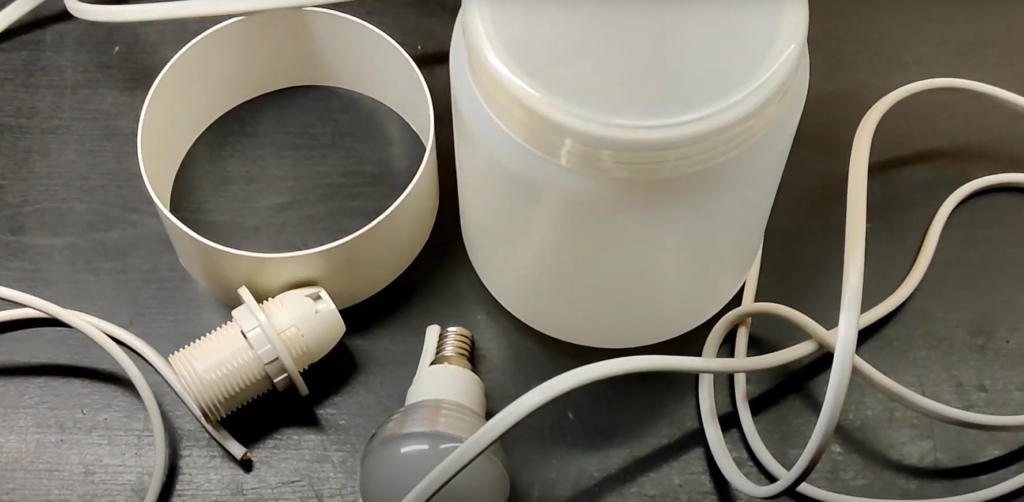
- A clean plastic can or bottle
- Battery-operated LED light or LED string
- A drill with a small bit (or a heated metal tool)
- Marker for layout planning
- Fine sandpaper for edge smoothing
Before any cutting, I wash and dry the container completely. Leftover moisture can reduce LED lifespan over time.
Step-by-Step Creation Process
I never start with decoration. First, I place the LED inside the container and test the light direction. This helps determine where openings are actually needed.
Next, I mark the pattern. In my experience, fewer holes produce a calmer, more elegant light effect. Drilling is done slowly, without pressure, to avoid melting the plastic edges.
After drilling, I lightly sand the openings. This small step significantly improves the finished look and prevents sharp edges. Only then do I insert the LED light permanently, making sure the battery compartment remains accessible.
Additional Tips for Long-Term Use
- Use only low-heat LEDs, never traditional bulbs
- Keep ventilation holes small to maintain structure
- Clean occasionally with a damp cloth, no chemicals
- Store without batteries when not in use
- Works well as emergency lighting during outages
One unexpected benefit: these lights remain useful long after the holidays. I now use them as soft night lighting in hallways and bedrooms.
This New Year’s night light is more than a decorative craft. It’s a practical example of how recycled materials can become functional, safe, and visually pleasing objects. From personal experience, I can say this is one of those rare DIY projects that actually gets reused year after year.
If you enjoy simple, creative recycling ideas, this project is a great starting point.
Love projects like this? Follow @LifeKaki for more creative DIY lighting and upcycling ideas.
Related Videos You Might Like:
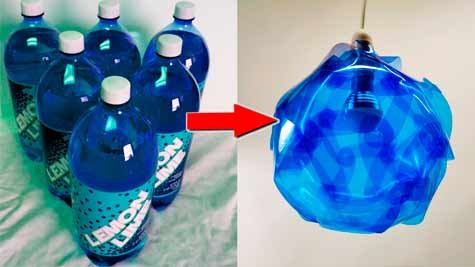
- How to Make NEW YEAR’S TOY in 10 Minutes with a Plastic bottle!
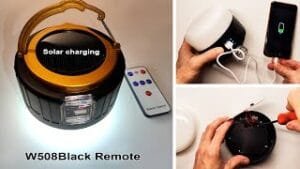
- LED Bicycle Front Light with Type-C Rechargeable Battery – Complete Unboxing and Review
- How to Change the Circle on the Grinder Without a Key – Easy and Safe Methods
Let’s Hear from You!
Did you know about this method? Drop your experience or questions in the comments! Your feedback helps and inspires others.


Leave a Reply